
This post is designed to be a complete how to install a Genie Keypad for all Genie Garage Door Openers made since 1995. The Genie GK Wireless Keypad is designed to work on all Intellicode Garage Door Openers. This install guide will cover the most common install of the Genie Wireless Keypad which is to operate only one Genie Garage Door Opener.
Please see the YouTube video for instruction to program multiple Genie Garage Door Openers to one GK Wireless Keypad.
https://www.youtube.com/watch?v=eKQdV_xWb74&t
Steps to setting up a new Genie GK Wireless Keypad
**Note** do NOT mount the Genie Wireless Keypad to the wall until after it is programmed
- Remove the battery cover and pull the protective battery tab out, then close the battery cover.
- Locate the PROGRAM, or LEARN CODE button on your Genie Garage Door Opener

- Hold down the button referenced above for a few seconds until the light begins to flash

- Within 30 seconds you must enter the factory assigned 3 digit PIN 357
- After entering the 357 default PIN push the Up / Down arrow button once a second until your garage door begins to operate
-
The LED light and keypad backlight will flash slowly and stay on for 15 seconds (indicating a correct PIN was entered)
- If the LED and keypad backlight flash rapidly for 2-3 seconds an incorrect PIN was entered
- Wait 15 seconds from the incorrect PIN entry to attempt to enter it again
- Change the Genie Garage Door Opener Keypad PIN
- Enter the default PIN of 357 then press the program key at the top of the Genie Garage Door Opener Keypad
- Enter your new PIN, any number combination between 3 and 8 digits long
- Press the program key again to set this new custom PIN and erase the default PIN
- Test your custom PIN by entering it and pressing the Up / Down arrow button, the door should operate
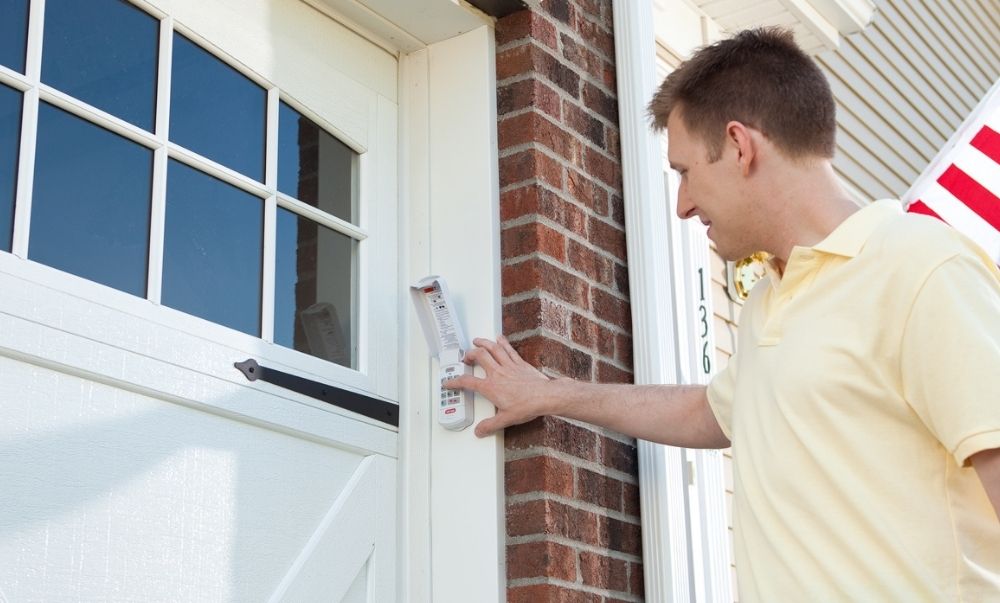
- Mount the Genie Garage Door Opener Keypad to the exterior of the garage door
- Measure 5 feet from the ground on the exterior rim of the garage door casing

- Remove the battery cover and batteries from the keypad (NOTE – this will NOT reset your PIN)
- Mark and drill a small pilot hole 5’6” from the ground

- Install the provided Phillips head mounting screw into the garage door casing with a 1/8” gap between the screw head and the wall
- Slide the Genie Wireless Keypad top mounting hole over this screw
- Mark the location for the lower mounting screw that is behind the battery cover

- Drill another pilot hole and place the screw through the battery compartment into the garage door casing

- Reinstall the batteries and the battery cover
- The install of your new Genie Wireless Exterior Garage Door Keypad is complete


To clear an existing PIN and reset an existing keypad; press and hold the program button and the Up / Down arrow button for 5 seconds. The LED and keypad backlighting will flash twice. The keypad has been reset.
4 comments