37461V.S - 44" Emergency Release Cord Installation Instructions
PDF Instructions for Emergency Release Cord Replacement for 8-Foot High garage doors
37461V.S Emergency Release Cord Replacement Instructions for 8-foot high garage door models
Current Model Replacement Instructions (Other model instructions are below)
WARNING
BE SURE ELECTRICAL POWER HAS BEEN DISCONNECTED FROM THE INPUT POWER LINES PRIOR TO REMOVING THE MOTOR COVER.
WARNING
ANY AND ALL REPAIRS MADE TO THIS UNIT MUST BE PERFORMED WITH THE DOOR DISCONNECTED FROM THE OPENER AND IN THE CLOSED POSITION.
1. Close the garage door.
2. Pull emergency release cord on carriage to disengage opener to close door if necessary. (If unable to lower door using opener, use extreme caution manually closing door. Before pulling emergency release cord, make certain people and objects are clear of door opening.)
3. Remove damaged release cord if necessary.
4. Ensure release lever is in the down position.
5. Insert loose end of replacement cord through release lever and draw cord up to release assembly as shown. FIG. 1-2.
6. Insert lower end of release cord through release handle and tie simple overhand knot. FIG. 3.
NOTE: Release handle should be approximately 6 feet above floor or high enough to clear vehicle.
7. Test release lever to ensure it does not bind and fully retracts.
8. Ensure release lever is in the up (locked) position and move door until carriage locks into bullet.

Release Cord Replacement (OLDER MODELS)
1. Close door.
2. Pull emergency release cord on carriage to disengage opener to close door if necessary. (If unable to lower door using opener, use extreme caution manually closing door. Before pulling emergency release cord, make certain people and objects are clear of door opening.)
3. Remove damaged release cord if necessary.
4. Cut loop from new style release cord. FIG. 1. (Older style, short loop, does not require this step)
5. Pull release lever into the DOWN position.h FIG. 2.
6. Pull release cord so the crimp is fully seated into release lever. FIG. 3.
7. Insert lower end of release cord through release handle and tie simple overhand knot. FIG. 4.
NOTE: Release handle should be approximately 6 feet above floor or high enough to clear vehicle.
8. Test release lever to ensure it does not bind and fully retracts.
9. Ensure release lever is in the up (locked) position and move door until carriage locks into bullet.

-

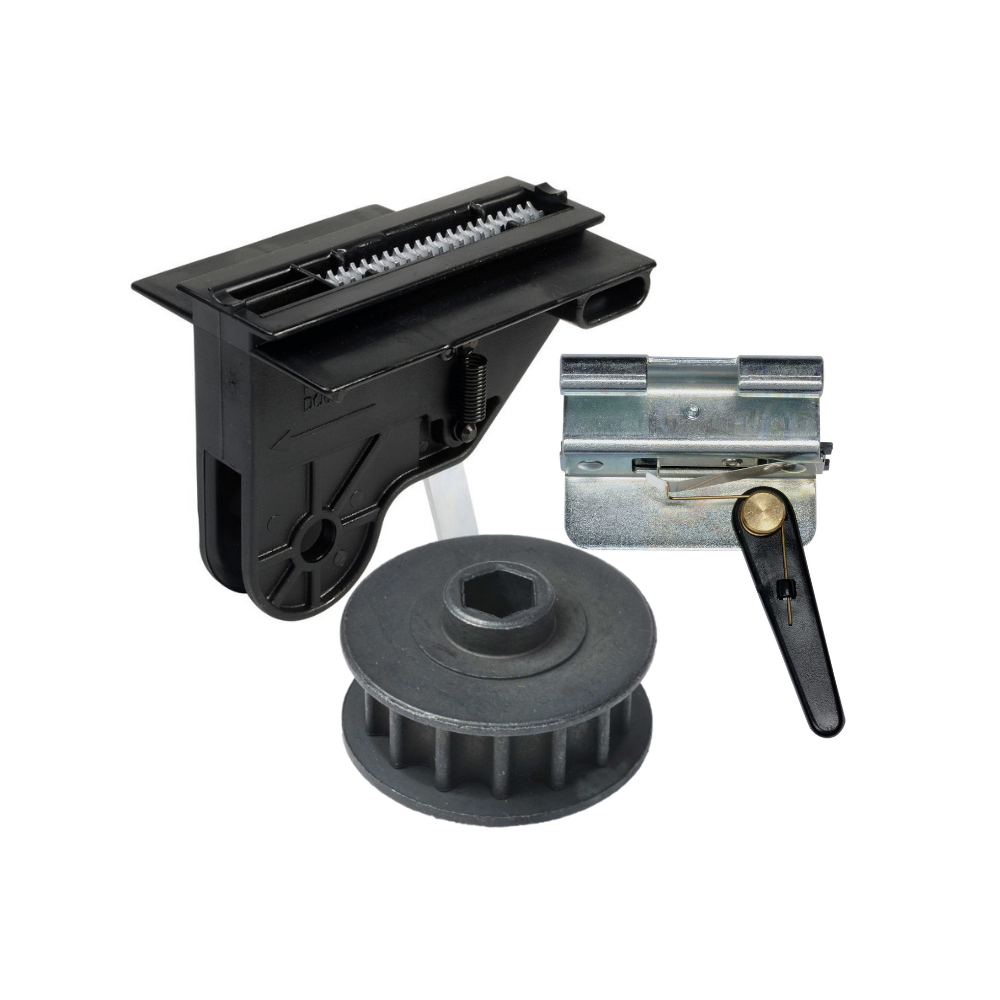
Genie Garage Door Opener Replacement Parts
Need help finding the right garage door opener part? Not sure which...
-

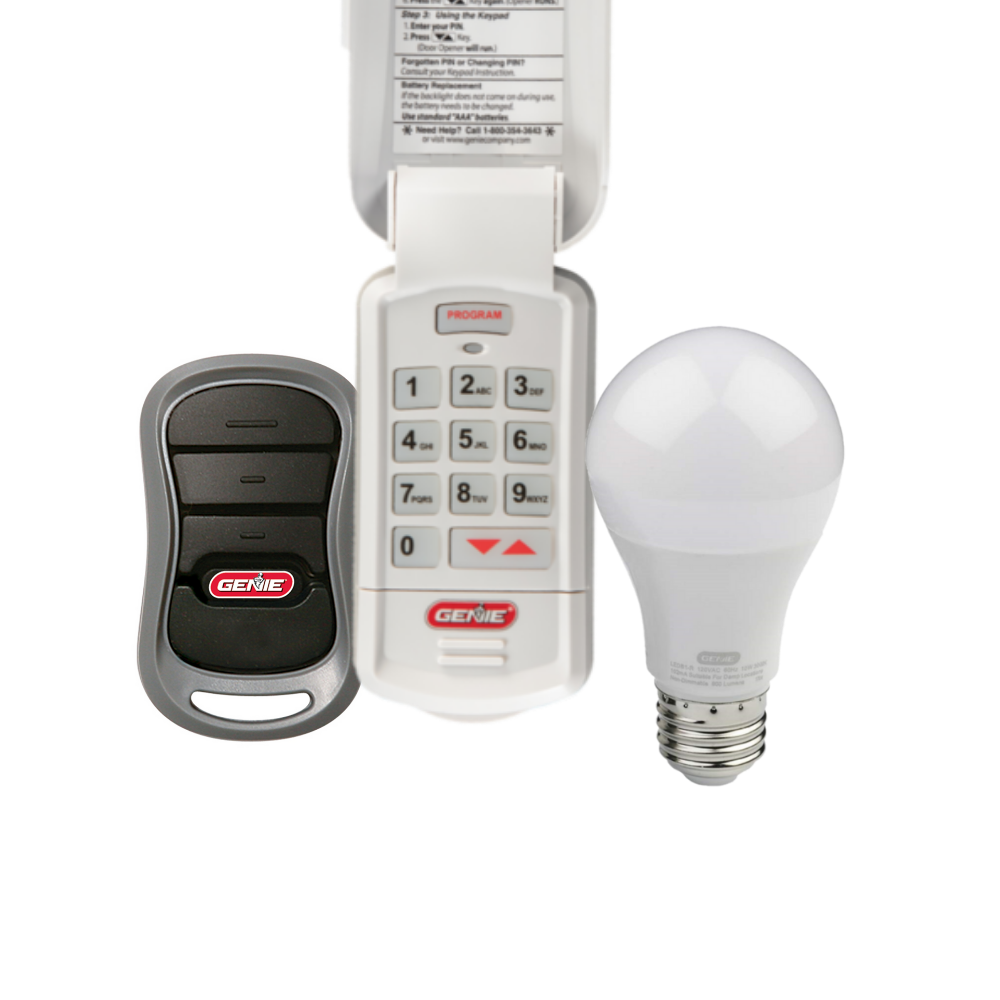
Accessories
[split] Find the right accessories for your garage door opener: The Genie...
-

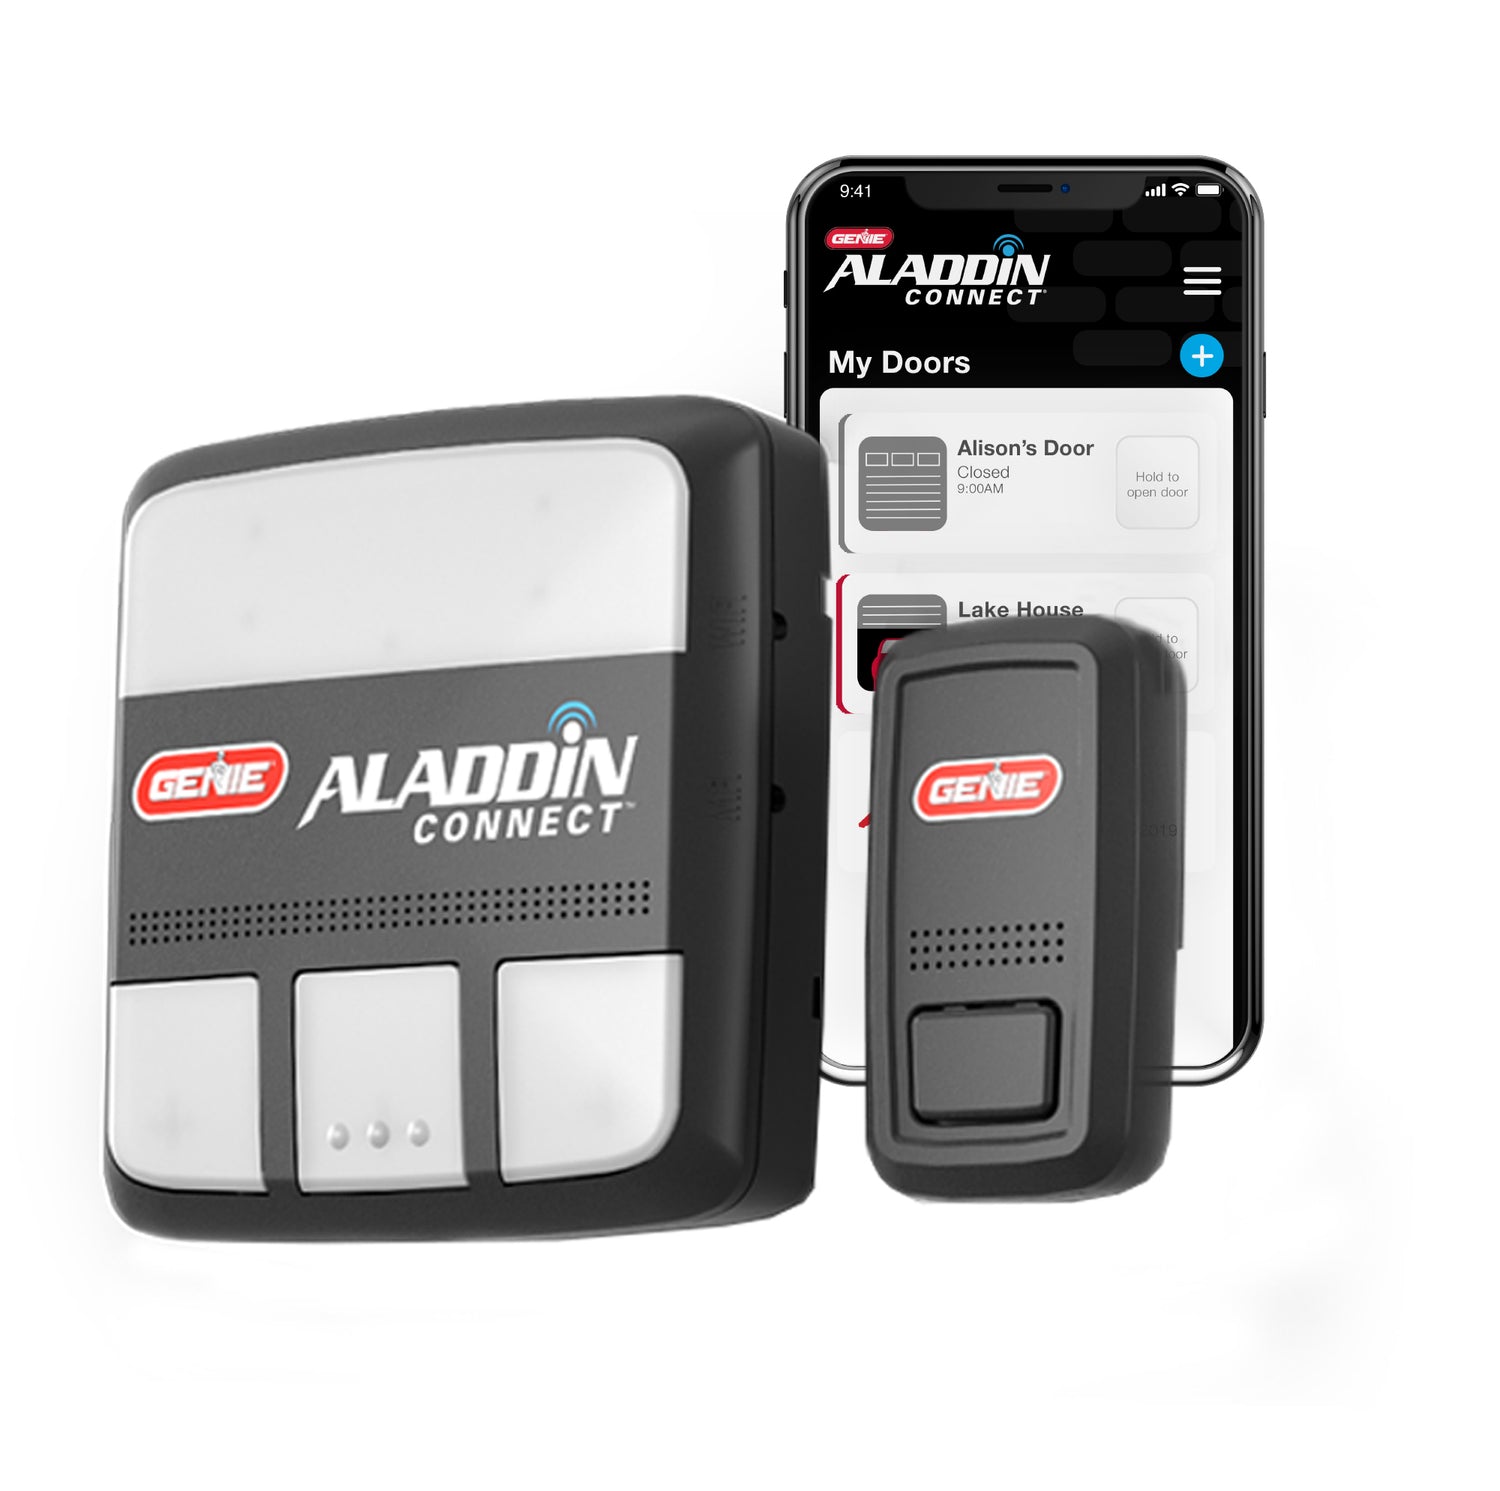
Smart Device Compatible
Smart Device Compatible Garage "Can I make my garage door opener smart?"...


