
Aladdin Connect 2.0 Instructions

- You will need a ladder, a #2 Phillips head screwdriver, a 3/32 drill bit, and drill.
- A light will flash, and a beep will sound as indication that the door is about to move when commanded by the Aladdin Connect or compatible app(s).
- These instructions will show the physical installation of the retrofit kit pieces only. All other instructions are defined in the app.

MOUNT & POWER DOOR CONTROL HUB
- Locate the Door Control Hub with its mounting bracket and hardware. Select an installation location that meets the following listed criteria:
- Can be seen and heard from anywhere inside the garage.
- Should be less than 30ft from the garage door opener.
Should be within 5ft of standard 110v AC power outlet. - Should have at least two bars of Wi-Fi signal when a smartphone is placed in the proposed position. If there are not at least two bars in the desired location, try these steps to improve Wi-Fi signal strength:
- Make sure that the Wi-Fi router is out in the open (not concealed).
- Move the Wi-Fi router closer to the garage.
- Purchase a Wi-Fi extender, available at most electronics stores.
Locations could be above the opener secured to drywall, fastened to the perforated angle that holds the opener, near the wall console or any other location that meets the above criteria.

2. Install the Door Control Hub:
- If mounting to drywall, use the mounting bracket as a template to mark and drill 2-3/32” pilot holes. Use provided anchors as needed (FIG A).
- If mounting to perforated angle at opener location, use nuts, washers and screws provided (FIG B).
3. Slide the Door Control Hub onto its mounting bracket so it snaps into place (FIG C).
4. Plug in the USB-C to the Hub and power cord to the outlet. The Wi-Fi LED on the Hub should light up when powered on (FIG C).
5. Affix the unattended warning placard next to wall control in plain sight to signify that the door can operate remotely. Tacks or staples (not supplied) should be used if the placard does not adhere to the mounting surface (FIG C).


READ AND FOLLOW ALL INSTALLATION INSTRUCTIONS
To reduce the risk of severe injury or death to persons:
- DO NOT install this product on garage door openers made prior to 1993 without safety sensors.
- DO NOT install this product on one piece doors.
Install hub in a location where it can be seen and heard while standing in the door opening with the door in the open position. - This operating system is designed for unattended operation. The door could move unexpectedly.

- Remove and immediately recycle or dispose of used batteries according to local regulations and keep away from children.
Do NOT dispose of batteries in household trash or incinerate. - Even used batteries may cause severe injury or death.
- Call a local poison control center for treatment information.
- Replace only with Type CR2450 3V batteries.
- Non-rechargeable batteries are not to be recharged.
- Do not force discharge, recharge, disassemble, heat above (manufacturer’s specified temperature rating) or incinerate. Doing so may result in injury due to venting, leakage or explosion resulting in chemical burns.
- Ensure the batteries are installed correctly according to polarity (+ and -).
- Do not mix old and new batteries, different brands or types of batteries, such as alkaline, carbon-zinc, or rechargeable batteries.
- Remove and immediately recycle or dispose of batteries from equipment not used for an extended period of time according to local regulations.
- Always completely secure the battery compartment. If the battery compartment does not close securely, stop using the product, remove the batteries, and keep them away from children.
MOUNT & POWER DOOR POSITION SENSOR
Locate the Door Position Sensor with its mounting bracket and hardware.
You will need a ladder to access the top section of your garage door. DO NOT remove the battery pull tab until directed by the app.
- Standing inside the garage looking out, find the end stile on the far left or right of the TOP PANEL OF THE GARAGE DOOR (FIG G), directly under the top hinge.
NOTE: DO NOT mount to unreinforced door panel. - Vertically and horizontally center the mounting bracket between the top roller bracket and first hinge.
- Use the mounting bracket as a template to mark and pre-drill (2) 3/32 holes and use the included self-tapping screws to mount the bracket to top door panel end stile (FIG H).
NOTE: DO NOT drill all the way through door. - Slide Door Position Sensor down onto mounting bracket until it snaps into place (FIG I).
- Use the app to continue Wi-Fi setup and complete installation.

FCC/IC Statement:
This equipment contains licence-exempt transmitter(s)/receiver(s) that comply with Part 15 of the FCC Rules, ICES-003 Class B specifications, and ISED Canada’s licence-exempt RSS(s). Operation is subject to the following two conditions: (1) this device may not cause harmful interference, and (2) this device must accept any interference received, including interference that may cause undesired operation. Changes or modifications not expressly approved by the party responsible for compliance could void the user’s authority to operate the equipment. This equipment also complies with FCC and ISED RSS-102 RF exposure limits for an uncontrolled environment. It must not be co-located or operated in conjunction with any other antenna or transmitter. To ensure compliance, a minimum separation distance of 20 cm (7.9 inches) must be maintained between the antenna and the user’s body during normal operation. Users must follow the specific operating instructions to maintain RF exposure compliance.
-
Genie Garage Door Opener Replacement Parts
Common Garage Door Problems & the Parts That Fix Them Door won’t...
-
Accessories
[split] Find the right accessories for your garage door opener: The Genie...
-
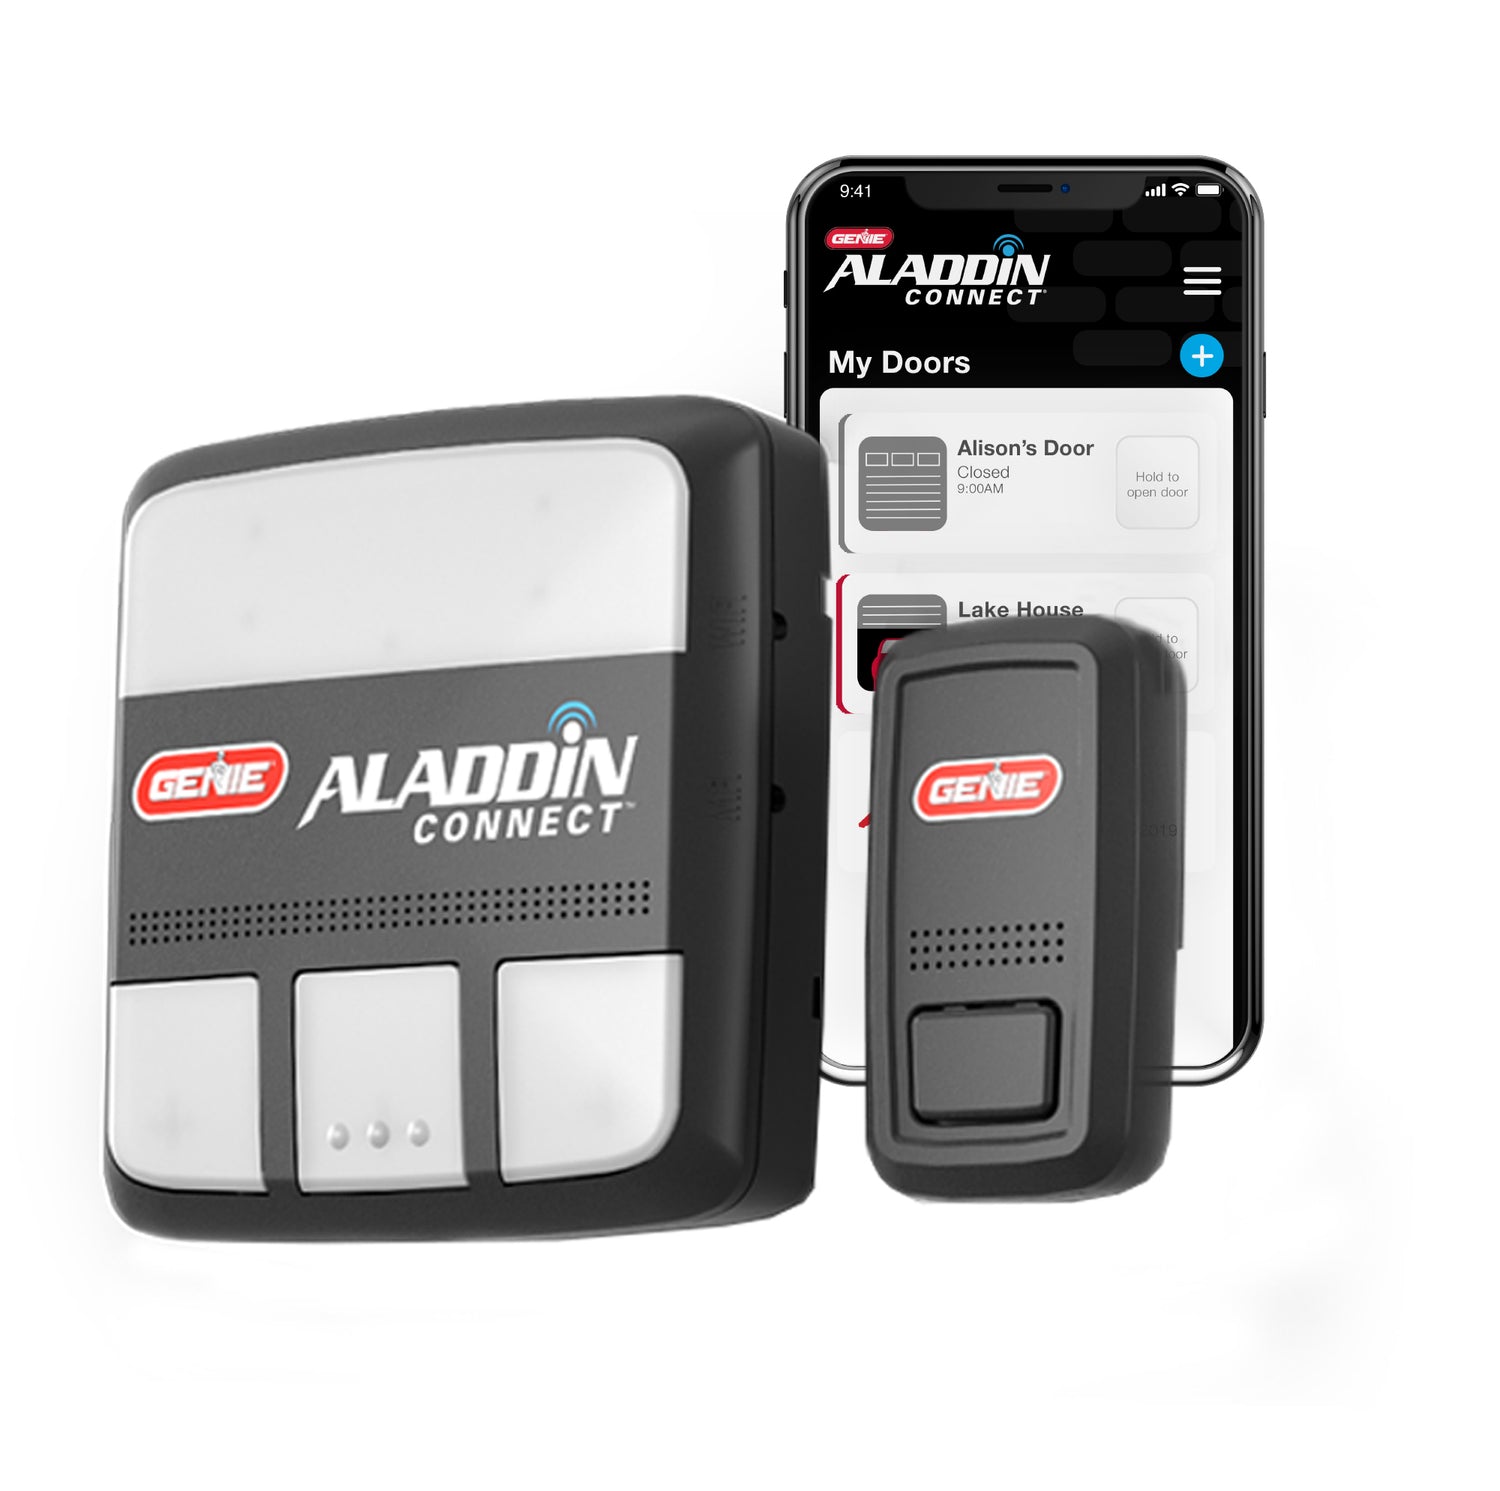
Smart Device Compatible
Smart Device Compatible Garage "Can I make my garage door opener smart?"...
