
The Genie Company
Extension Kit (to 8') for 3 Piece, Screw Drive C-Channel Rails
Extension Kit (to 8') for 3 Piece, Screw Drive C-Channel Rails
Couldn't load pickup availability
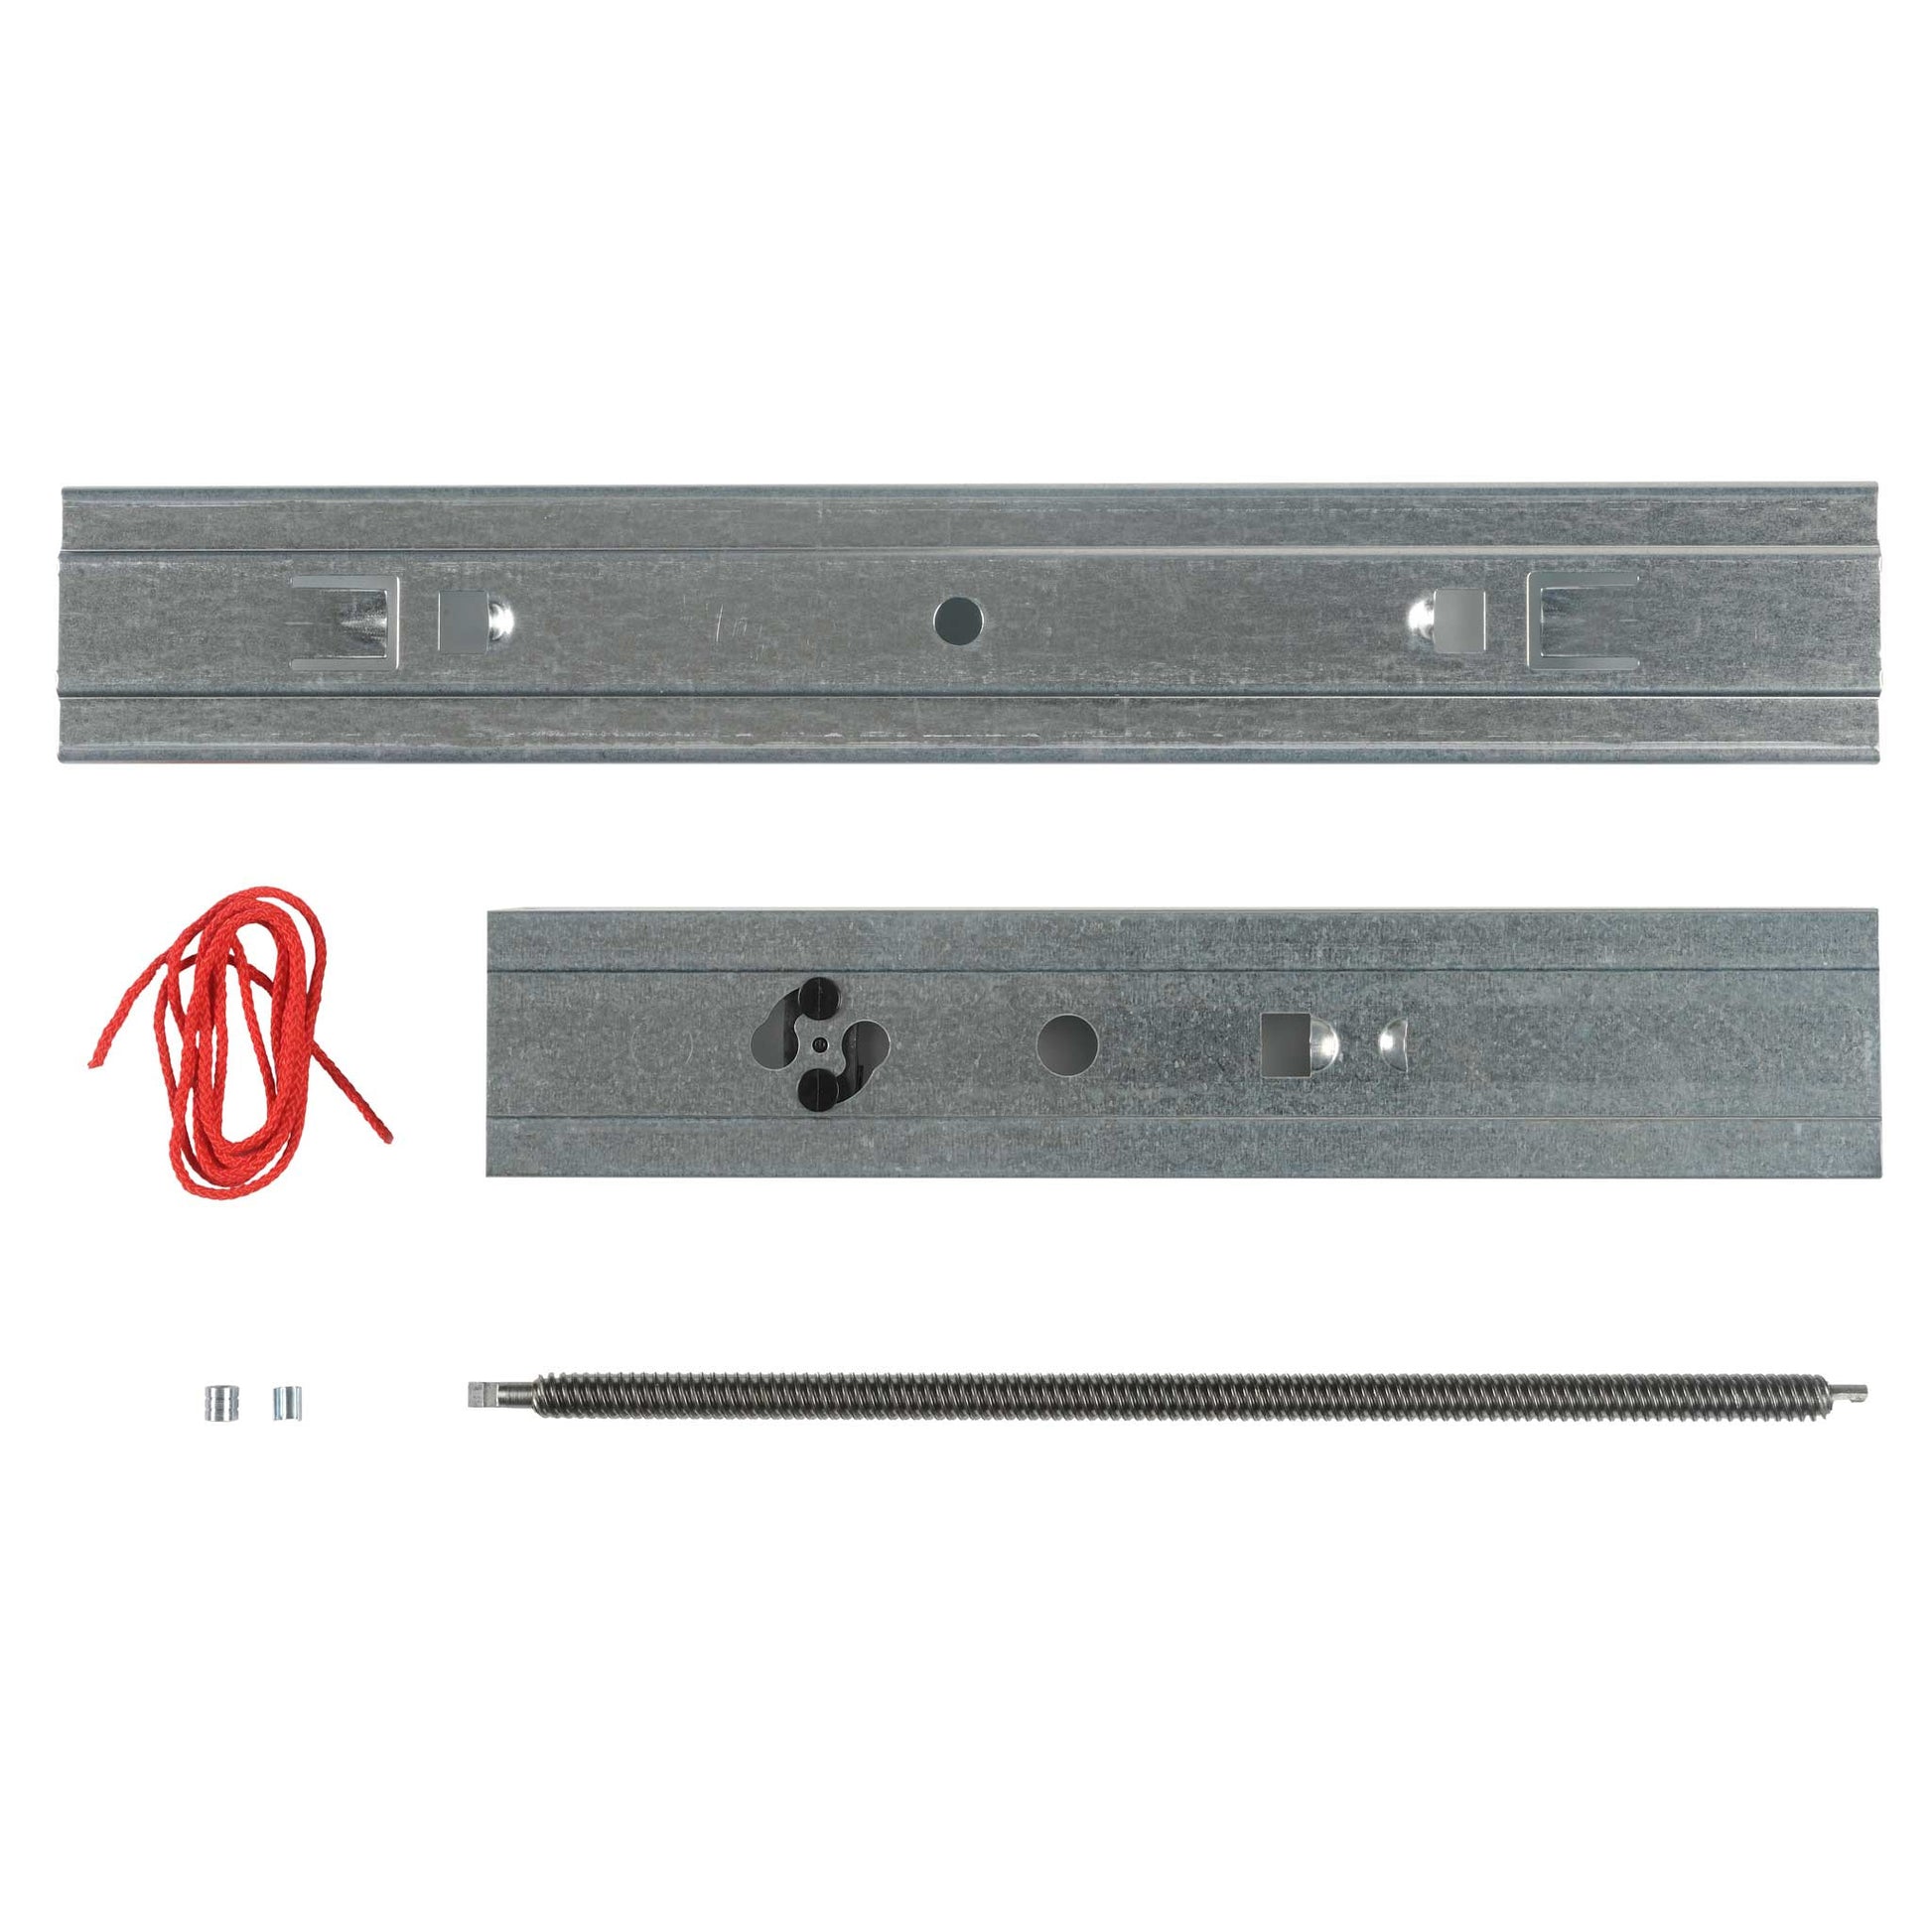
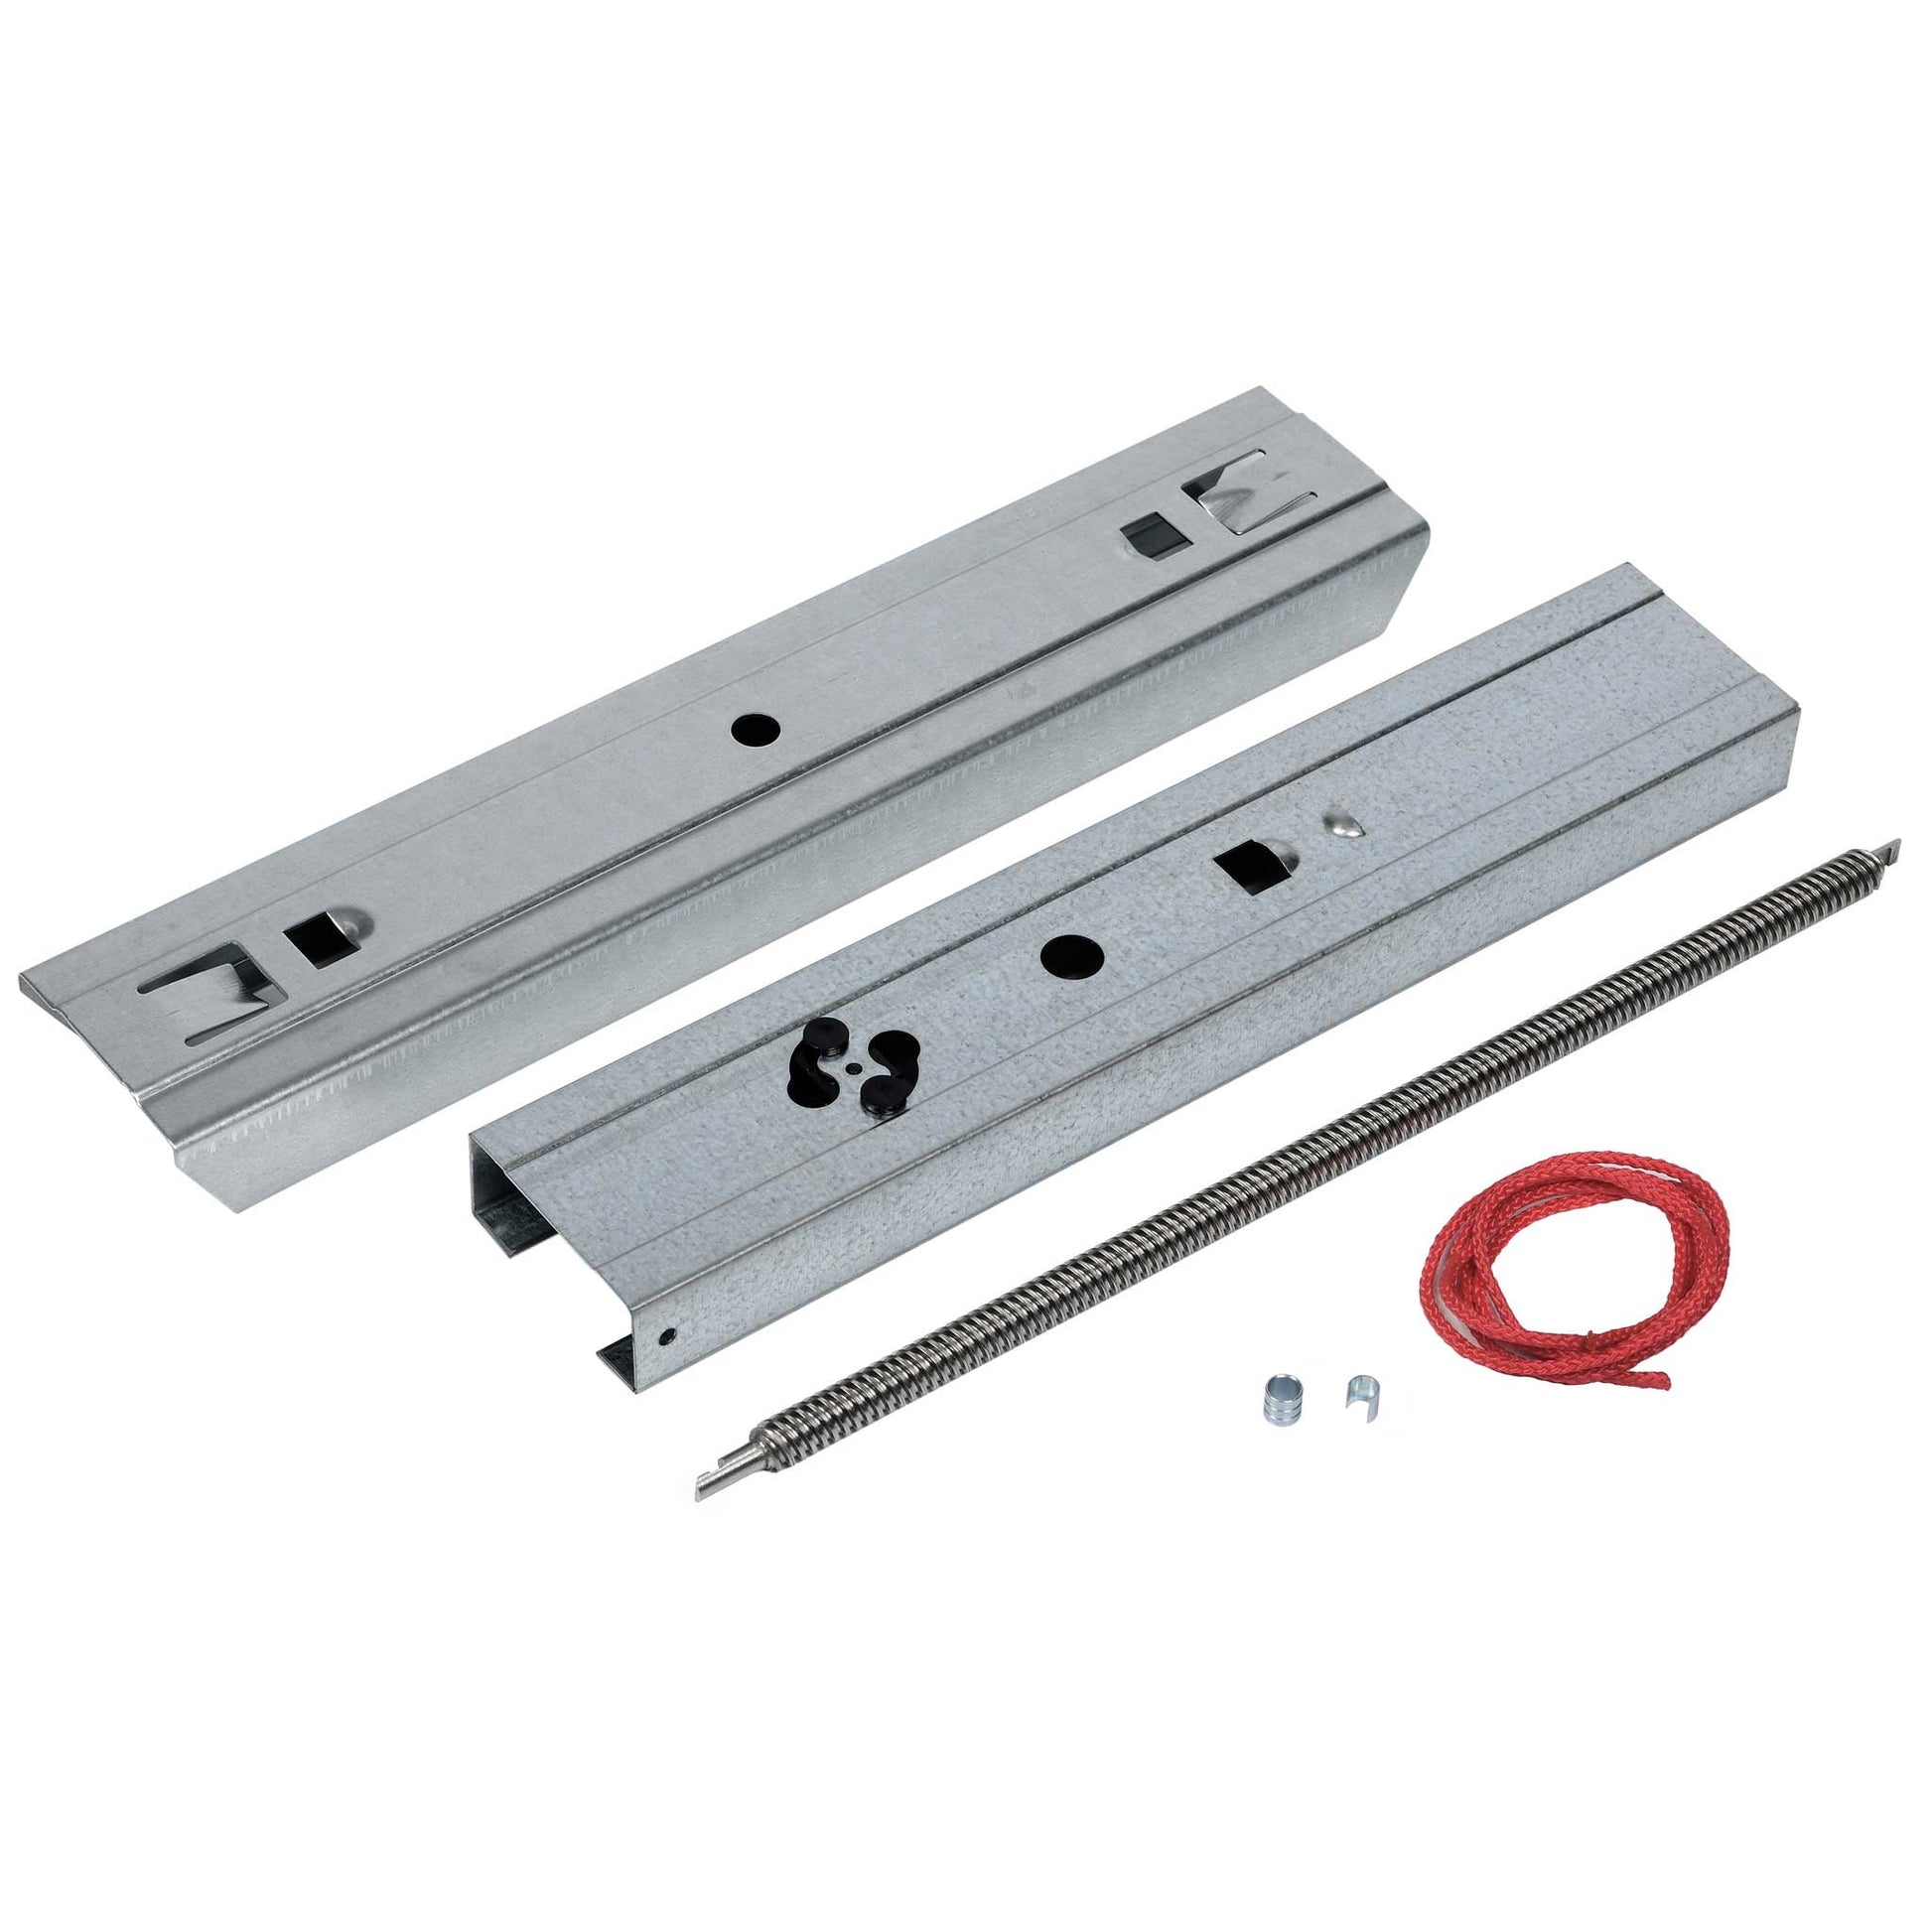
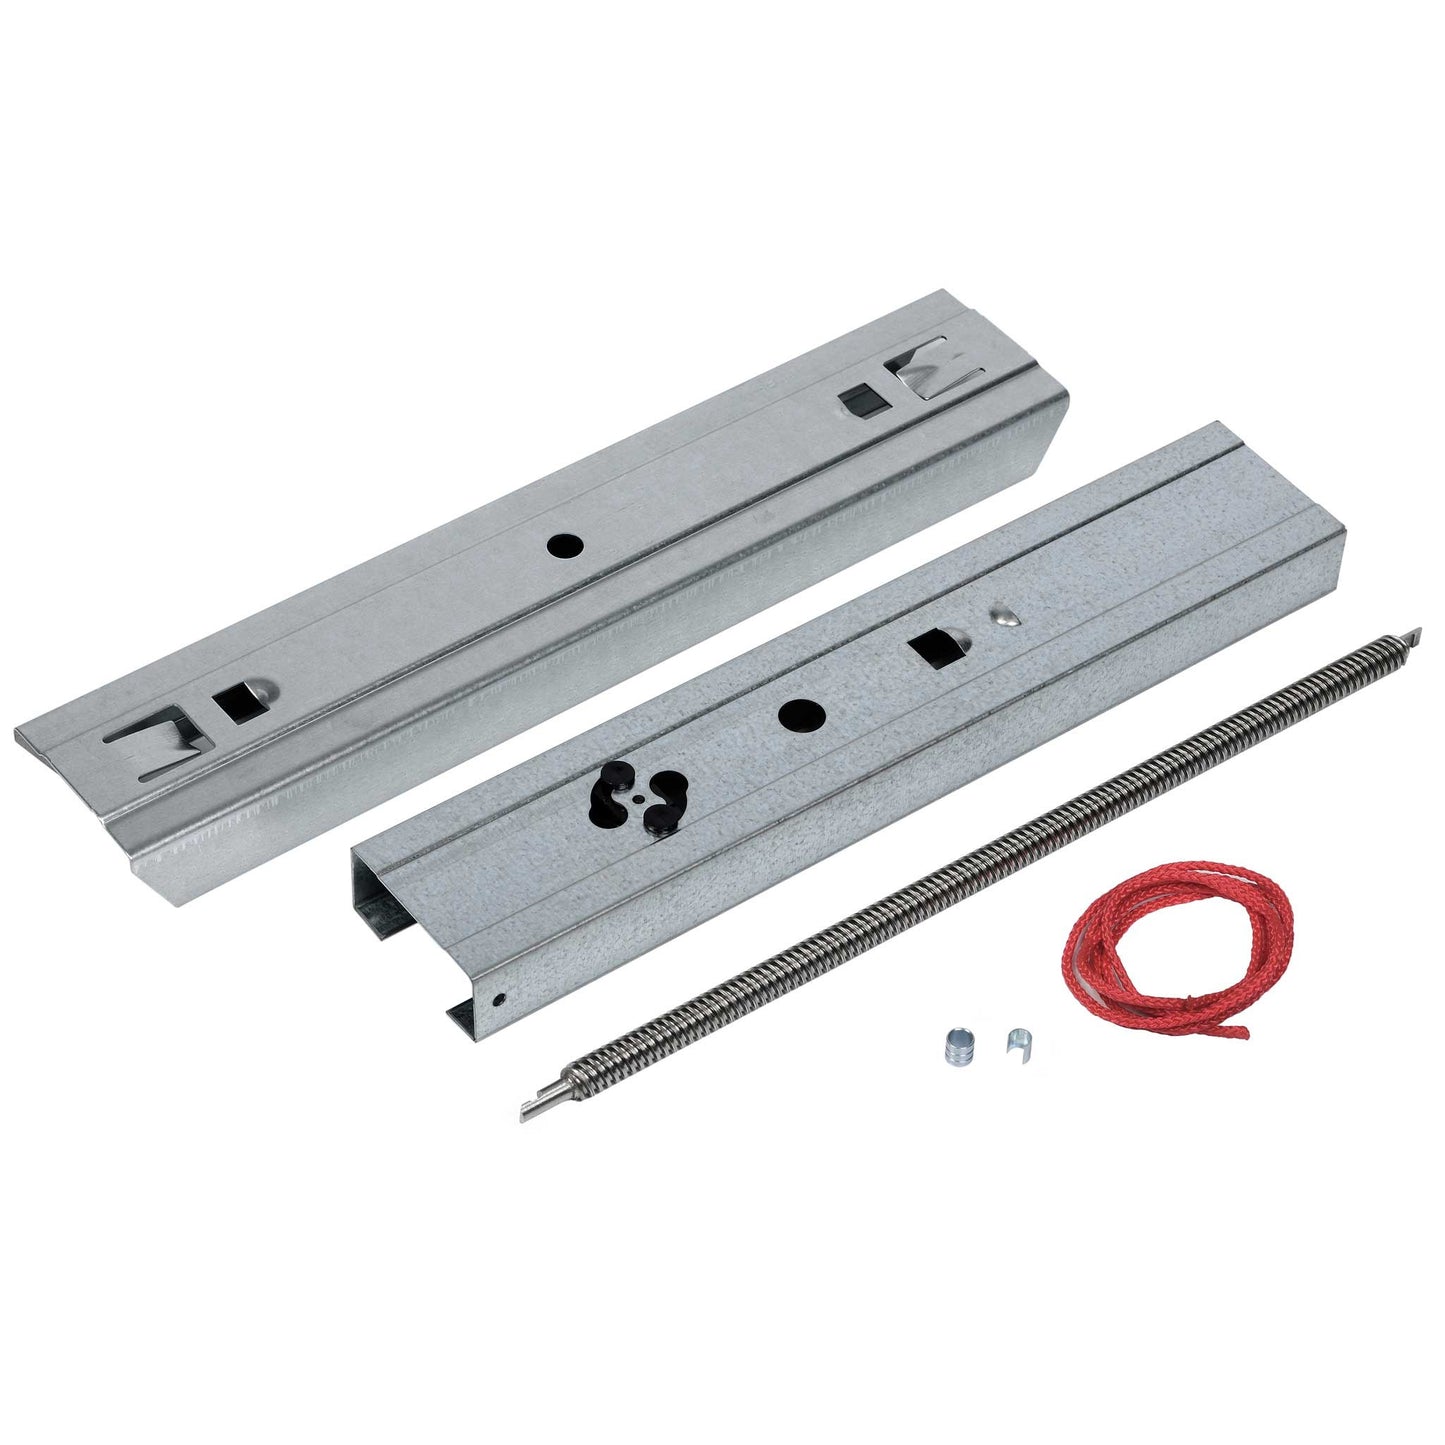
An extension kit will extend the 3 piece, screw drive C-Channel rail for a 7' high door to accommodate an 8' high door. This kit is designed specifically for Genie screw drive openers.
- Compatible with Models: 2562, 3062, 4062, 4063, PowerLift 900, PowerMax 1200, PowerMax 1500, Excelerator, MachForce, MachForce Connect
- For specific model information please see the plate on the operator's head
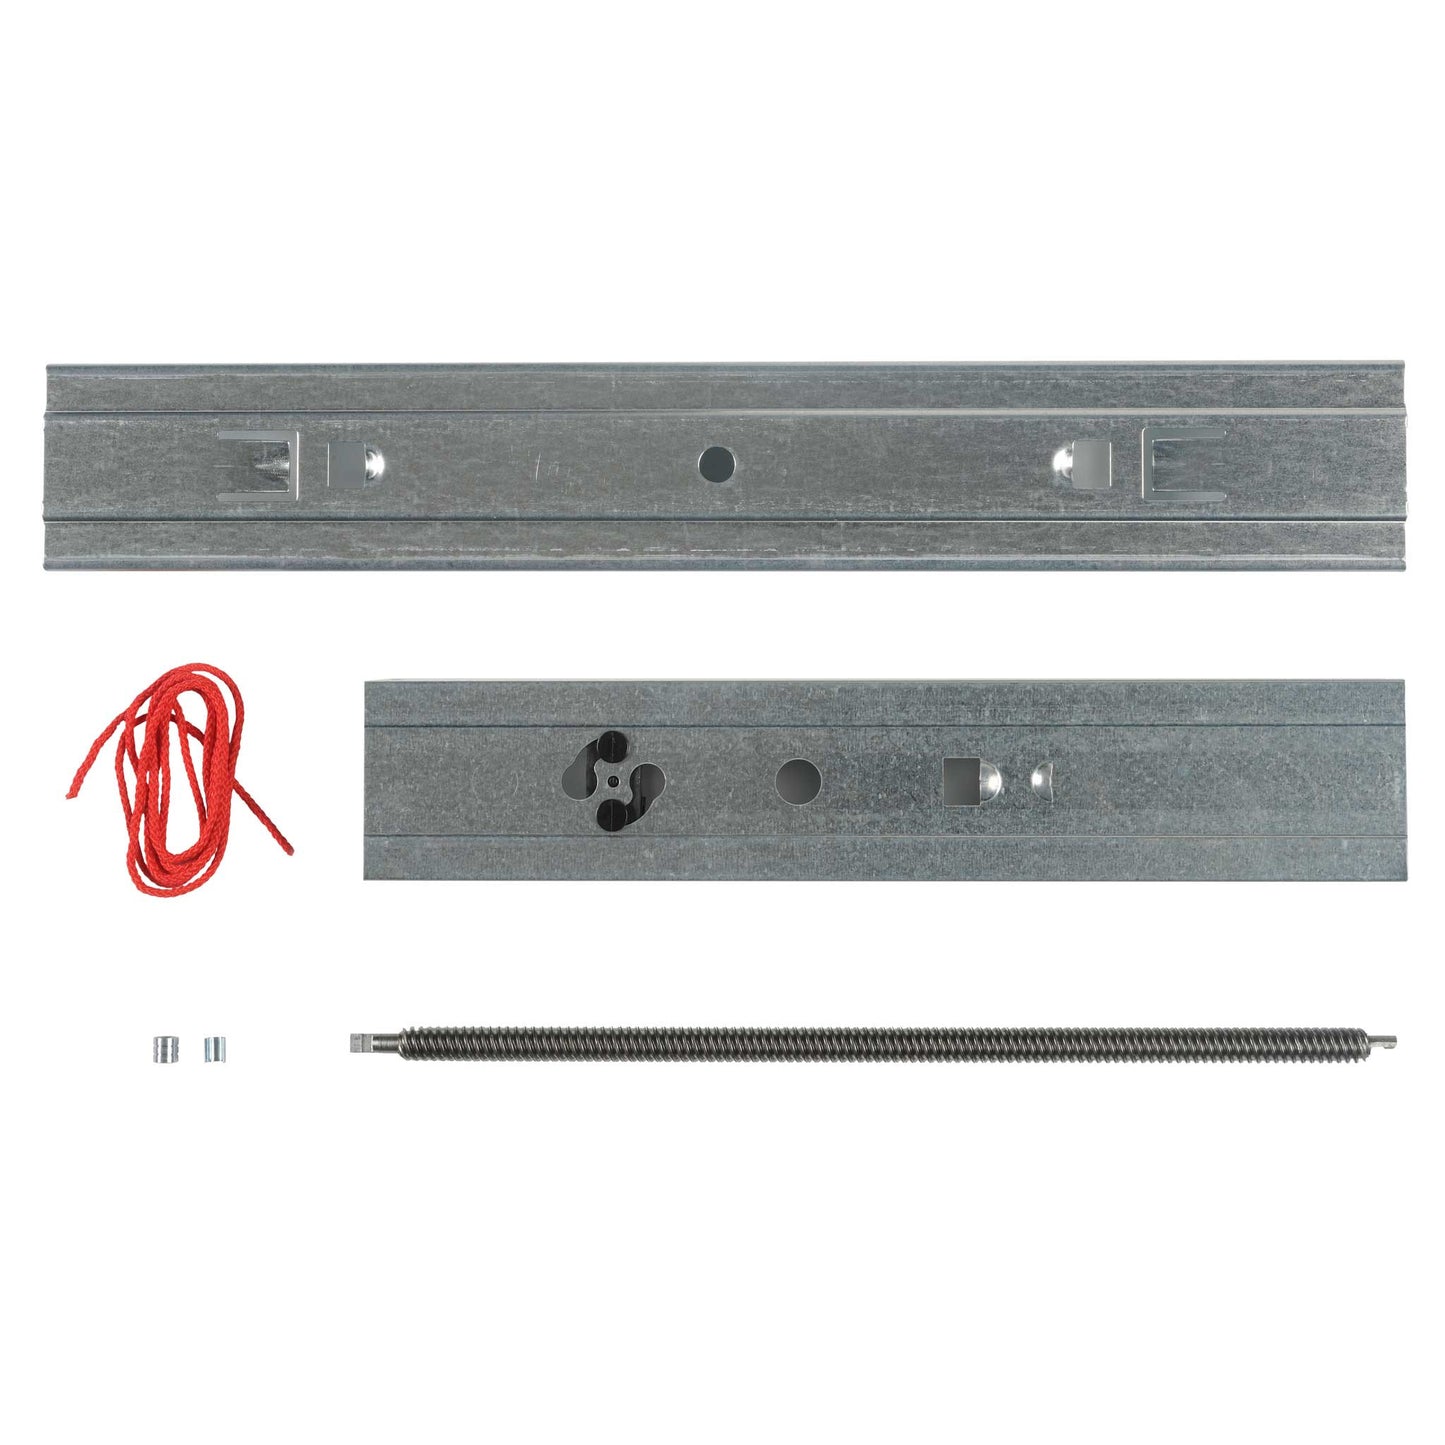
- Includes rail extension, screw section and hardware to install
- Kit allows opener to fully open garage doors up to 8ft. high
- Model EKSC
SKU: 37303R
UPC: 050049017439
In Stock! Usually ships within 24 hours.
ASK A QUESTION View full details


PDF Installation Instructions for the EKSC Genie Screw Drive Rail Extension Kit
37303R EKSC Screw Drive Rail Extension Kit (For 8-foot tall garage doors) Installation Instructions
WARNING: Carefully read all instructions and warnings contained in the Assembly/Installation poster and/or Owners Manual prior to assembly of this kit. Safety glasses are required for this assembly.
CAUTION: Edges of rail and connector sections can be sharp. Avoid contact with edges.
NOTICE: These instructions supersede installation poster steps 3 & 4 (1c & 1d)
Parts Included With the EKSC Kit: Screw Extension (XS), Additional Rail Connector (K), Rail Extension (X), 2-ea. Clips & Collars.
ASSEMBLE THIS KIT ON A FLAT CLEAN WORK SURFACE. (Alphanumeric digits in parenthesis (1a) indicate steps on older posters)
1. Assemble screw rail per installation poster steps 1 through 2 (1a/1b).
2. Pull screw drive sections out of rail sections B & C to allow assembly of extension screw. FIG. 1.
3. Install EKSC (37303R) screw extension (XS) between sections B & C with clips and collars included with this kit. FIG. 1.
4. Install rail connector K to rail section B until it locks. Care should be taken NOT to bend screw connections. FIG. 2.
5. Install rail section C into rail connector K until it locks. Care should be taken NOT to bend screw connections. FIG. 2.
• Screw drive section will now protrude beyond original rail section C. FIG. 3.
6. Install rail connector XK onto rail section C until it locks. FIG. 3.
7. Install rail extension X into rail connector XK until it locks.
8. Continue assembling screw-rail assembly per installation poster step 5 (1e).
• Remember to complete step 6 (1f) for screw sections A & B.

-

Free Shipping
We offer FREE shipping and handling on all orders that total over $17.99 and are shipped to a US address. All orders are shipped using UPS ground, directly from The Genie Company.
-

Genuine Replacements
Buying GENUINE Genie accessories and parts guarantees that you are getting quality OEM materials backed by a Genie warranty.
-

Support
Need assistance? We are here for you! We offer a wide range of customer support options including contact by phone or email, web chat services with a live agent, and a robust support section also located on our website. All customer care teams and services are based in the USA.
