27096A.S - Main Drive Gear Installation Instructions
To replace the ChainGlide® Drive gear:
PDF Document available for download

This job can be done with a 1/4" nut driver or socket wrench with out the need to remove the unit from the ceiling.
- Unplug the Unit
- Remove main cover from the operator powerhead with one 1/4" screw.
- Remove three 1/4" screws attaching the gear case cover to the main housing. Use care when removing the cover, small parts (numbers 18, 22, gear 21, shaft 19) could come out with the cover.
- Remove broken drive gear. Inspect for other broken parts and pieces of the old gear.
- Apply a small amount of low temperature grease to the new drive gear. Excess grease from original gear is acceptable.
- Replace new drive gear.
- Make sure the drive shaft bushing (#18) is properly seated into the bottom of the gear case cover.
- Replace drive shaft washer to shaft while installing gear case cover.
- Replace the three 1/4" screws.
- Replace the powerhead cover and screw. (Note: these units will not operate correctly without the main cover installed).
- Check the door balance, limit switch adjustments, and force adjustments to insure your unit is operating safely and efficiently. See owners manual for maintenance requirements.
-

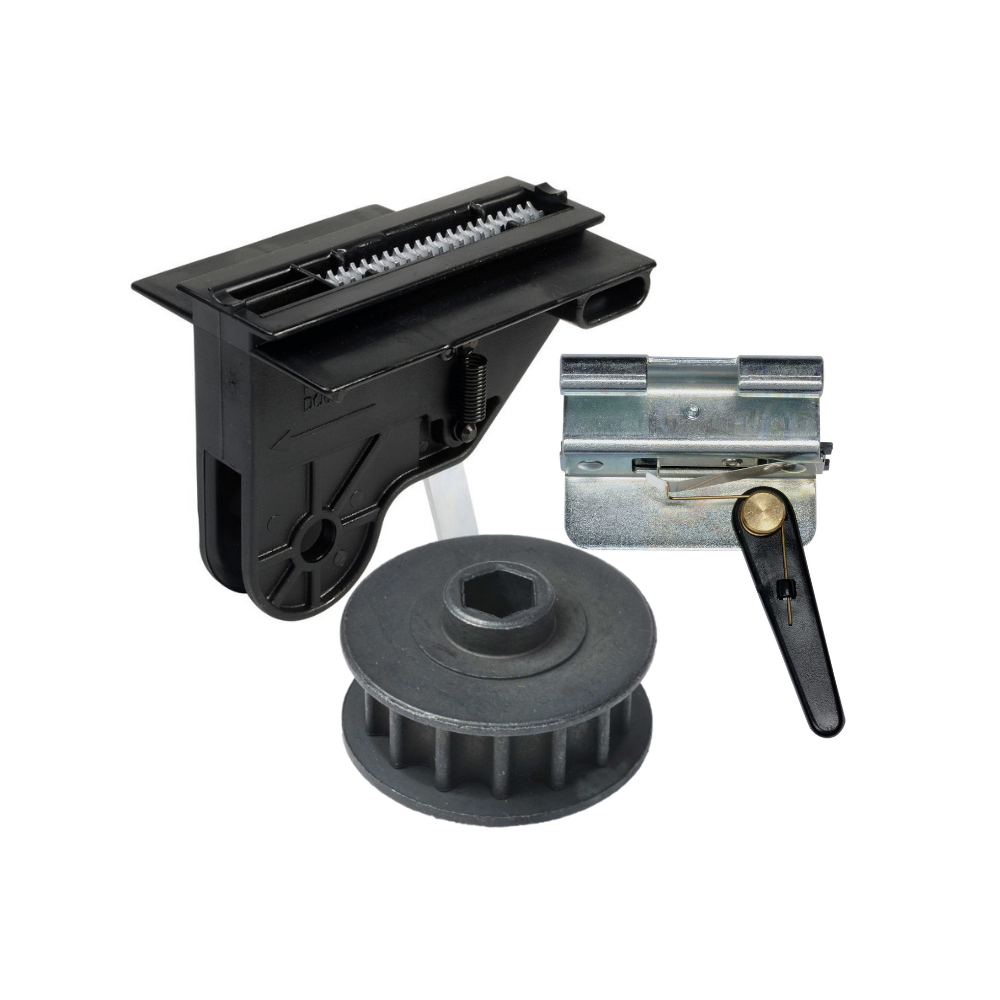
Genie Garage Door Opener Replacement Parts
Need help finding the right garage door opener part? Not sure which...
-

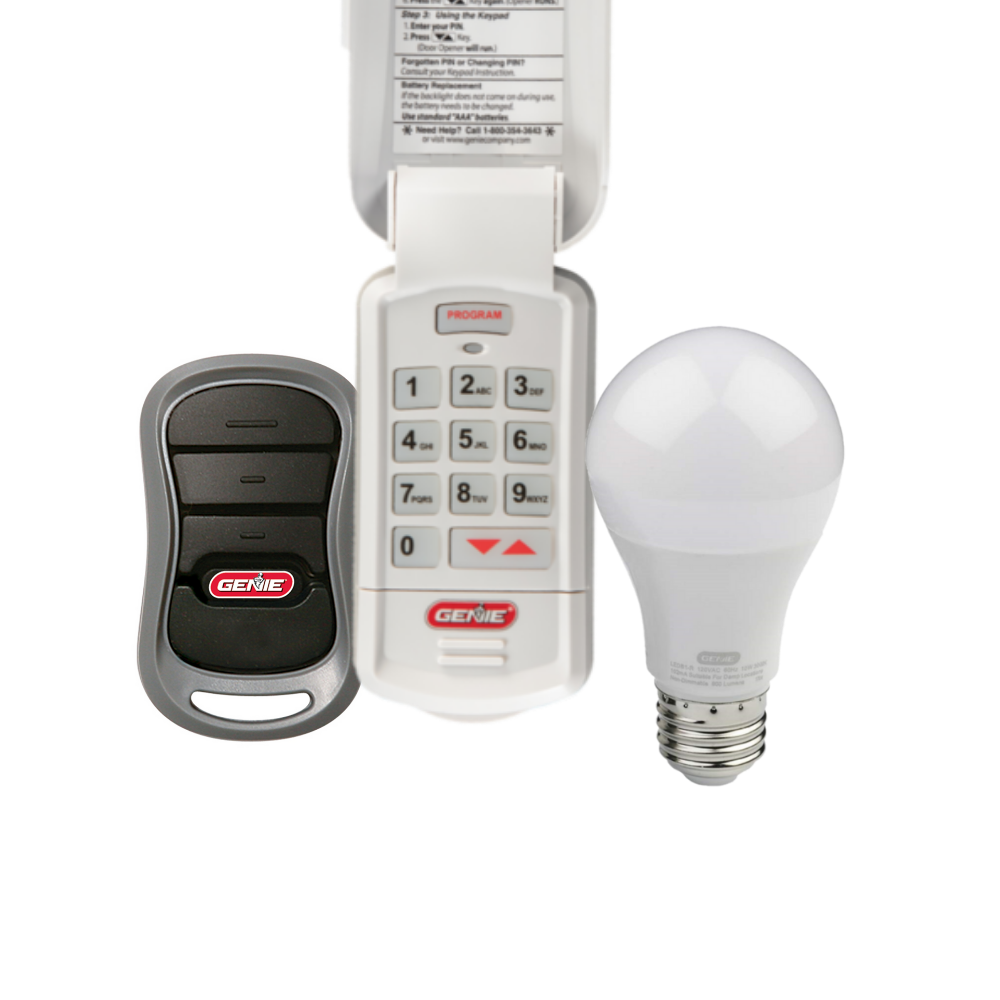
Accessories
[split] Find the right accessories for your garage door opener: The Genie...
-

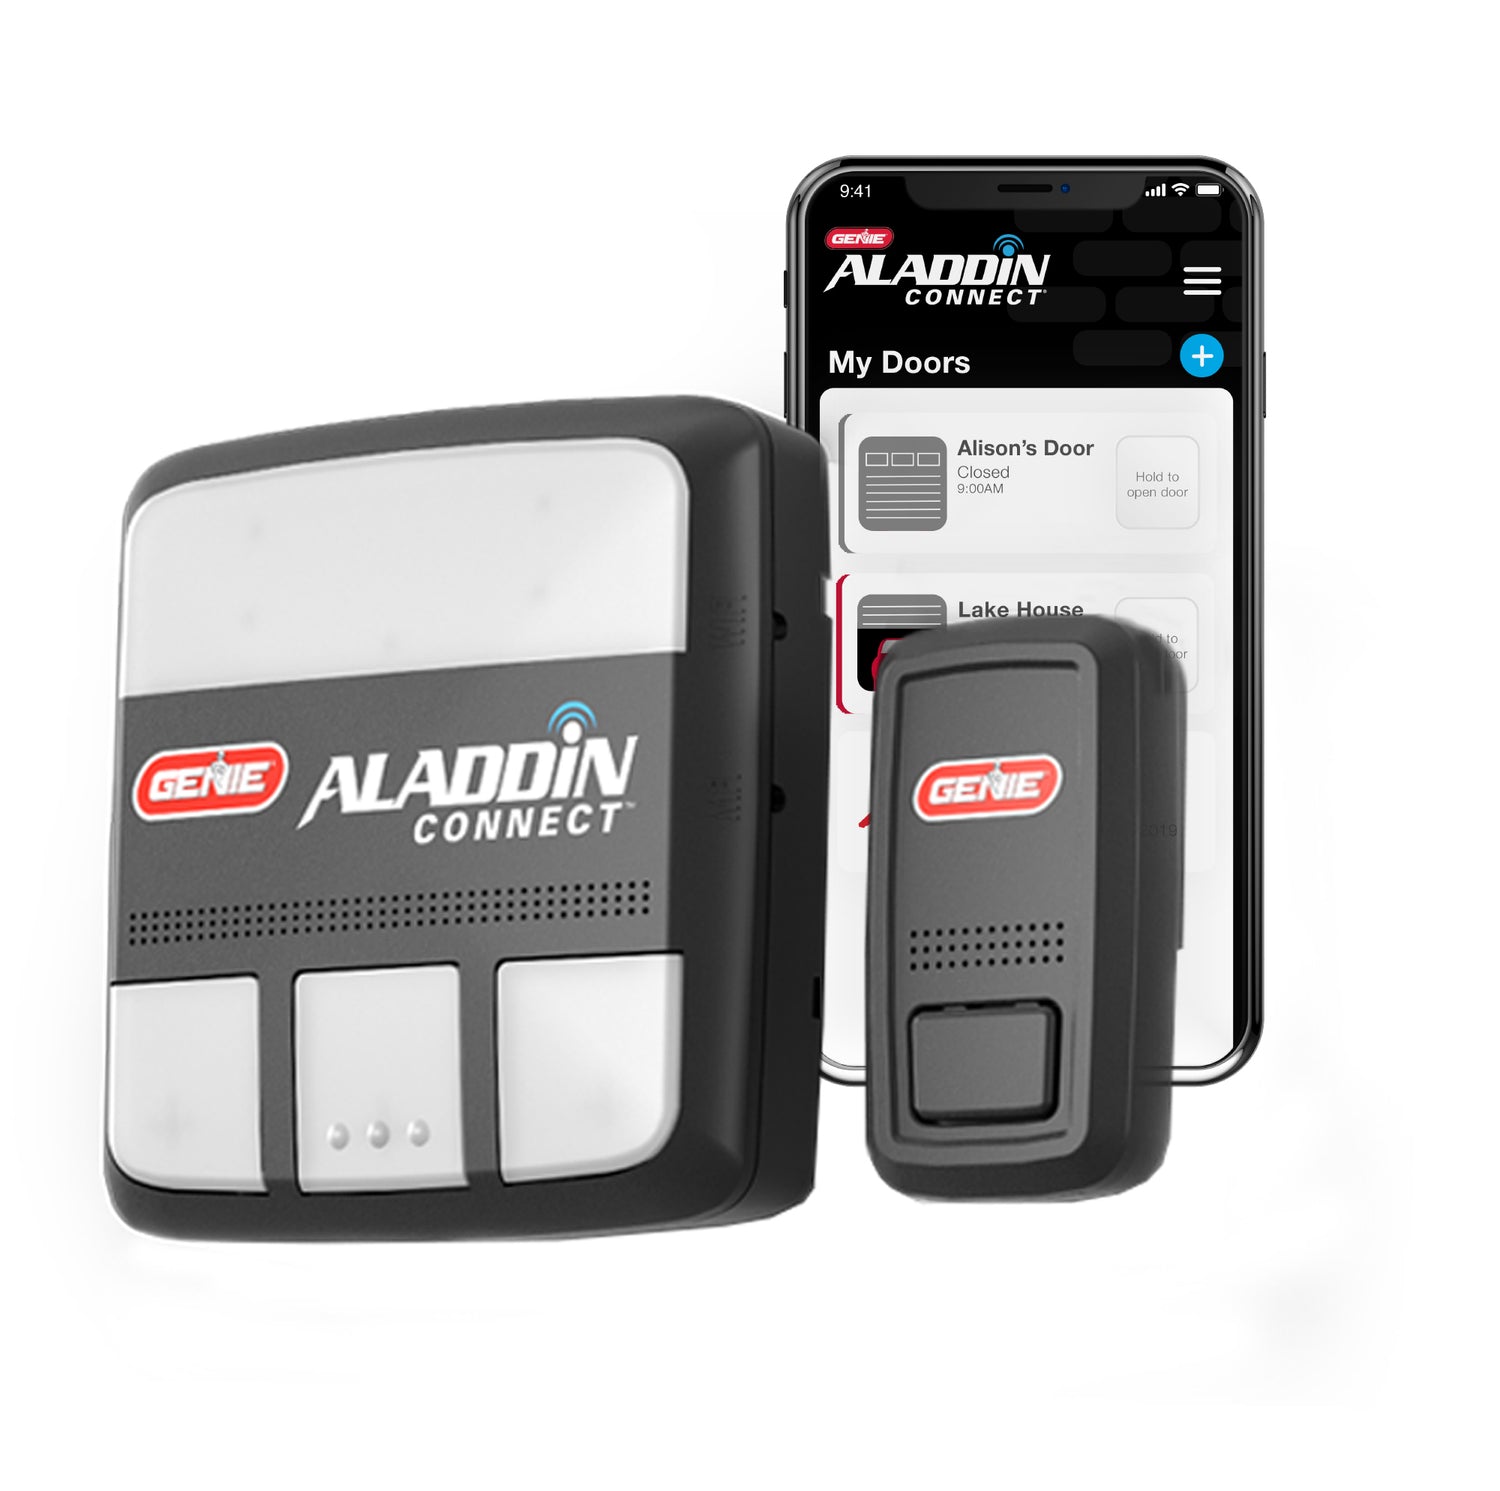
Smart Device Compatible
Smart Device Compatible Garage "Can I make my garage door opener smart?"...


