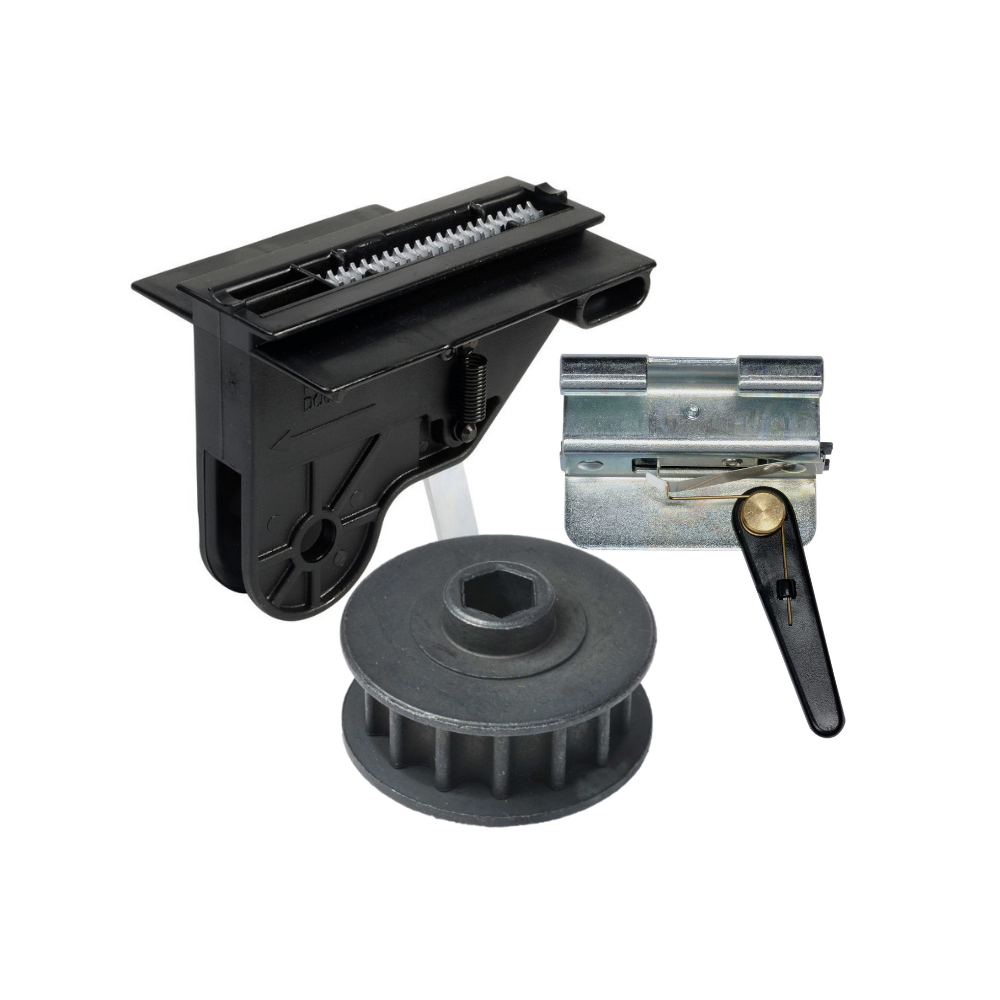
36179R.S - Screw Drive Carriage Installation Instructions
To replace the 36179R.S Genie Screw Drive Carriage follow these steps:
1- With the garage door in the closed position, disengage the screw drive carriage by pulling the red emergency release cord. After pulling the release cord, slide the old worn-out carriage to about 6 inches from the door end of the rail.

2- Pull the clevis and cotter pin, from the garage door arm that is attached to the old screw drive carriage. Hold the garage door arm and do not let it fall against the garage door. Once the clevis pin and cotter pin are both removed, slowly slide the door arm down toward the garage door.

3- Slide the screw drive carriage down closer to the garage door (until it is about 2 inches from the end of the rail). Then remove the nut and bolt from the header bracket that is above the garage door. Hold onto the rail while doing so. (You may want to use a ladder to rest the garage door opener rail on), or have a second person helping you.
4- Slightly lift up on the screw drive rail, slide the old carriage out of the rail. Then slide the new 36179R.S screw drive carriage back on the rail. Reattach the rail to the header bracket above the garage door with the nut and bolt.
5- Reattach the garage door arm to the screw drive carriage and reconnect the door arm with the clevis and cotter pin that was removed. After reattaching, re-engage the new screw drive carriage assembly by pulling the red emergency release cord towards the powerhead of the garage door opener.

-

Genie Garage Door Opener Replacement Parts
Need help finding the right garage door opener part? Not sure which...
-

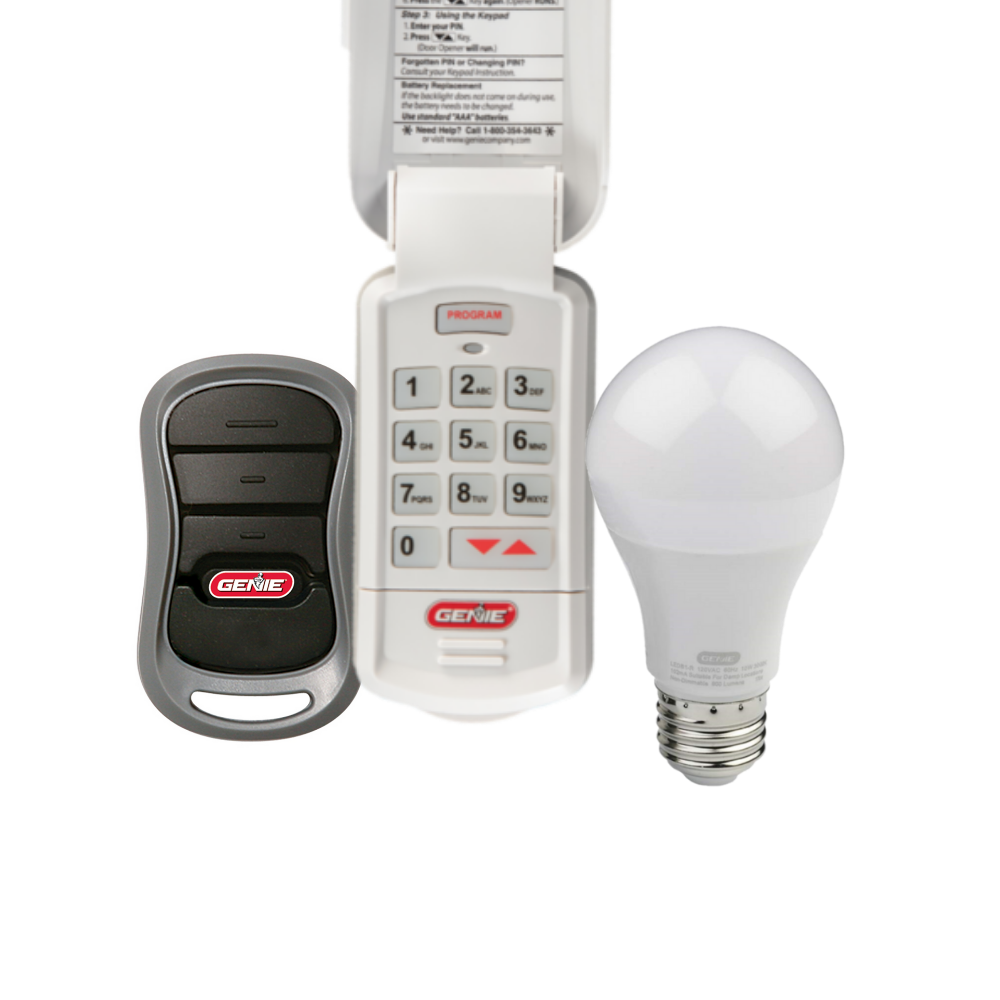
Accessories
[split] Find the right accessories for your garage door opener: The Genie...
-

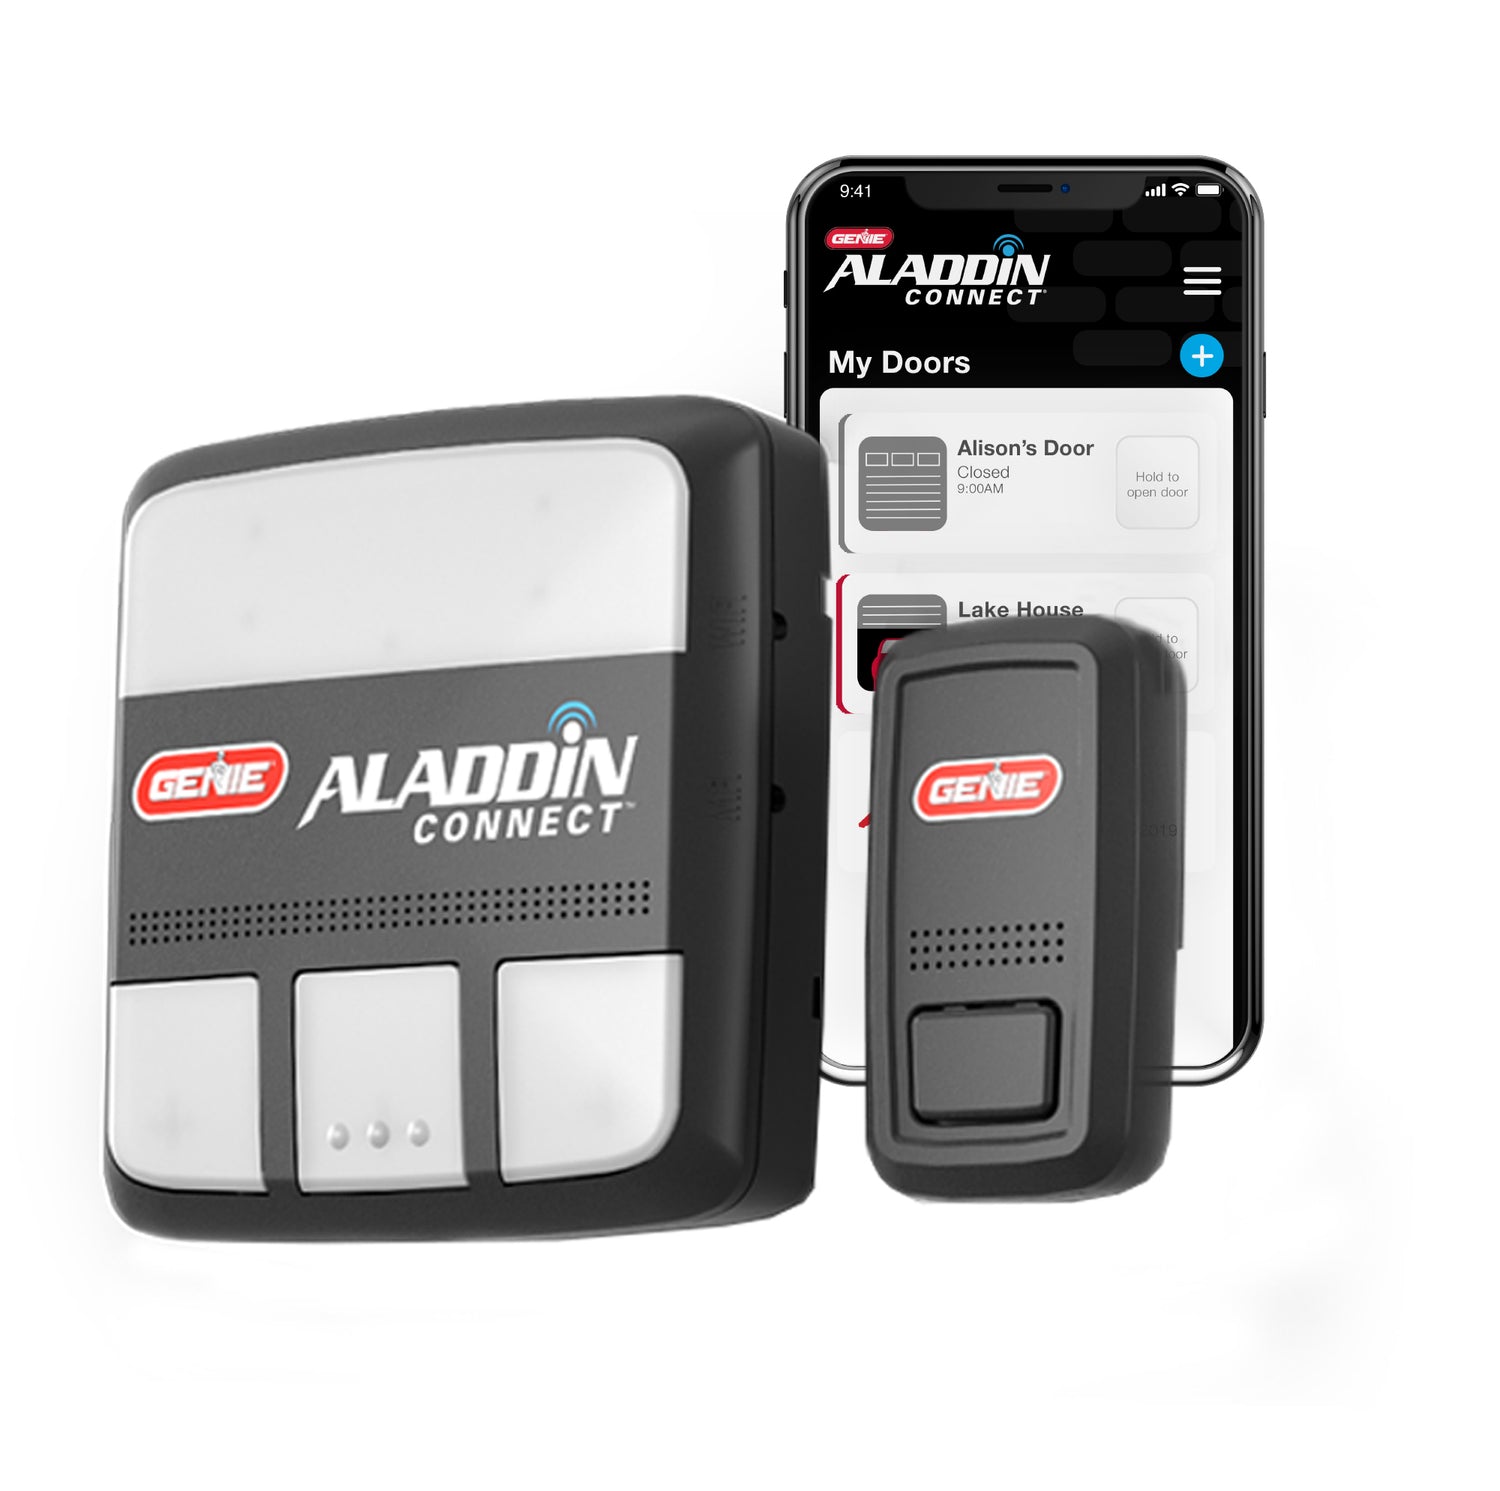
Smart Device Compatible
Smart Device Compatible Garage "Can I make my garage door opener smart?"...


