41738R - Garage Door Opener Hanging Kit Installation Instructions
Garage Door Opener Hanging Kit Installation Below
Installing the garage door opener hanging kit

BEFORE YOU BEGIN
Read and follow all instructions for the installation of the garage door opener.
- Attach the door opener to the door header bracket as described in the opener installation manual.
- Ensure that the opener cord is in reach of the nearest power outlet. DO NOT connect the opener using an extension cord.
- Prop opener up to be level or slightly lower than level and measure from opener mounting tabs to ceiling.
- Cut the two- 20in. drop down brackets to that length with a hack saw or other suitable tool.
- Mount the 26in. ceiling bracket to the ceiling directly above the opener mounting tabs with the two provided lag screws.
- NOTE: Lag screws MUST be mounted to garage framing material. DO NOT install lag screws into ceiling cover material such as plywood or drywall only.
- Measure the width of the opener mounting tabs and using provided bolts & nuts, install the two drop brackets onto ceiling bracket.
- Raise opener and use two provided bolts & nuts to secure drop down brackets to opener mounting tabs.
- Place the 14in. cross brace onto drop down brackets and secure with two provided bolts & nuts at approximately 45 deg. angle.
- Tighten all nuts & bolts and continue opener installation.
-

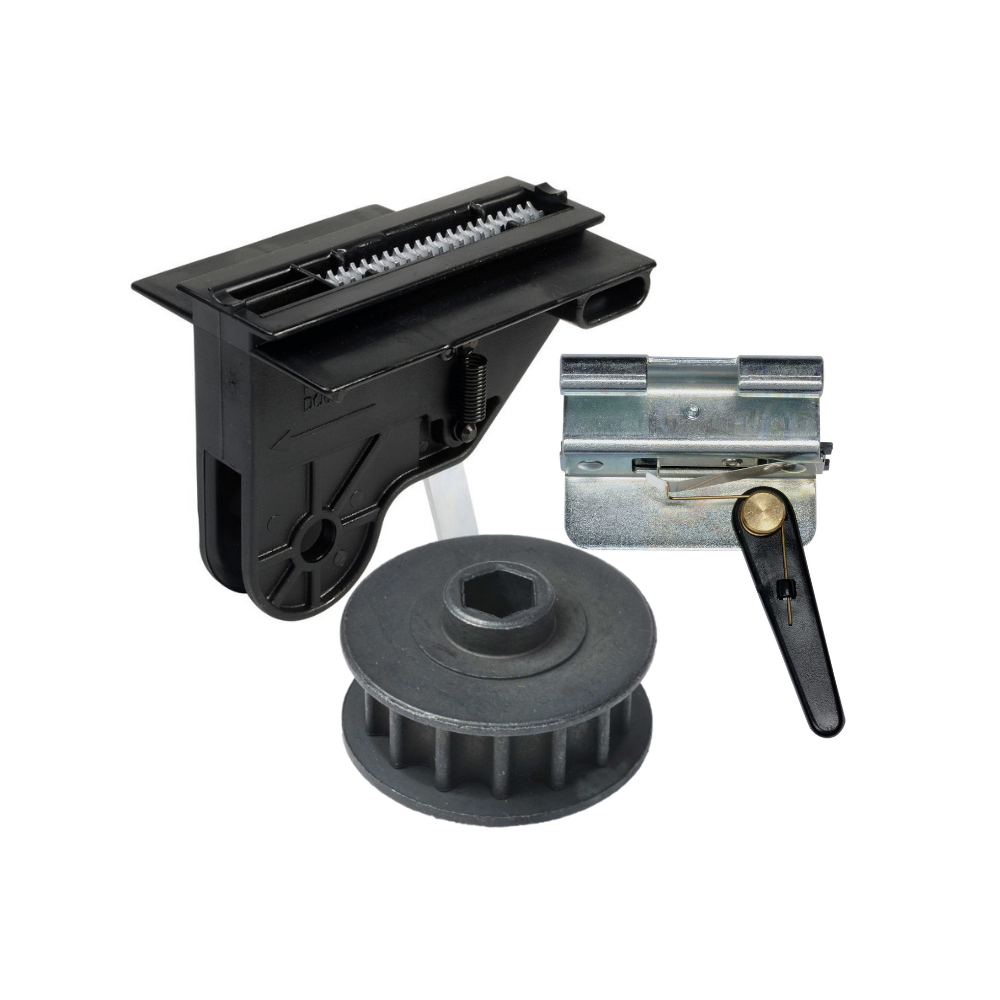
Genie Garage Door Opener Replacement Parts
Need help finding the right garage door opener part? Not sure which...
-

Accessories
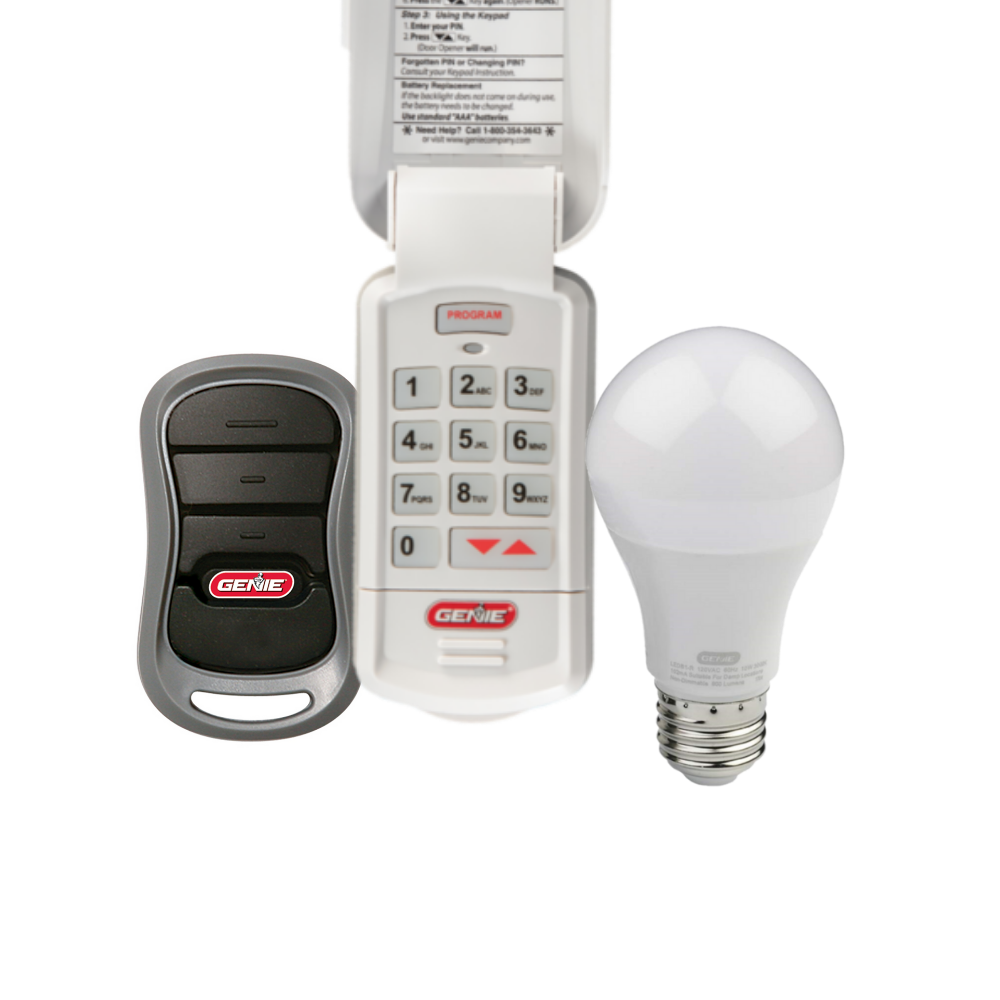
[split] Find the right accessories for your garage door opener: The Genie...
-

Smart Device Compatible
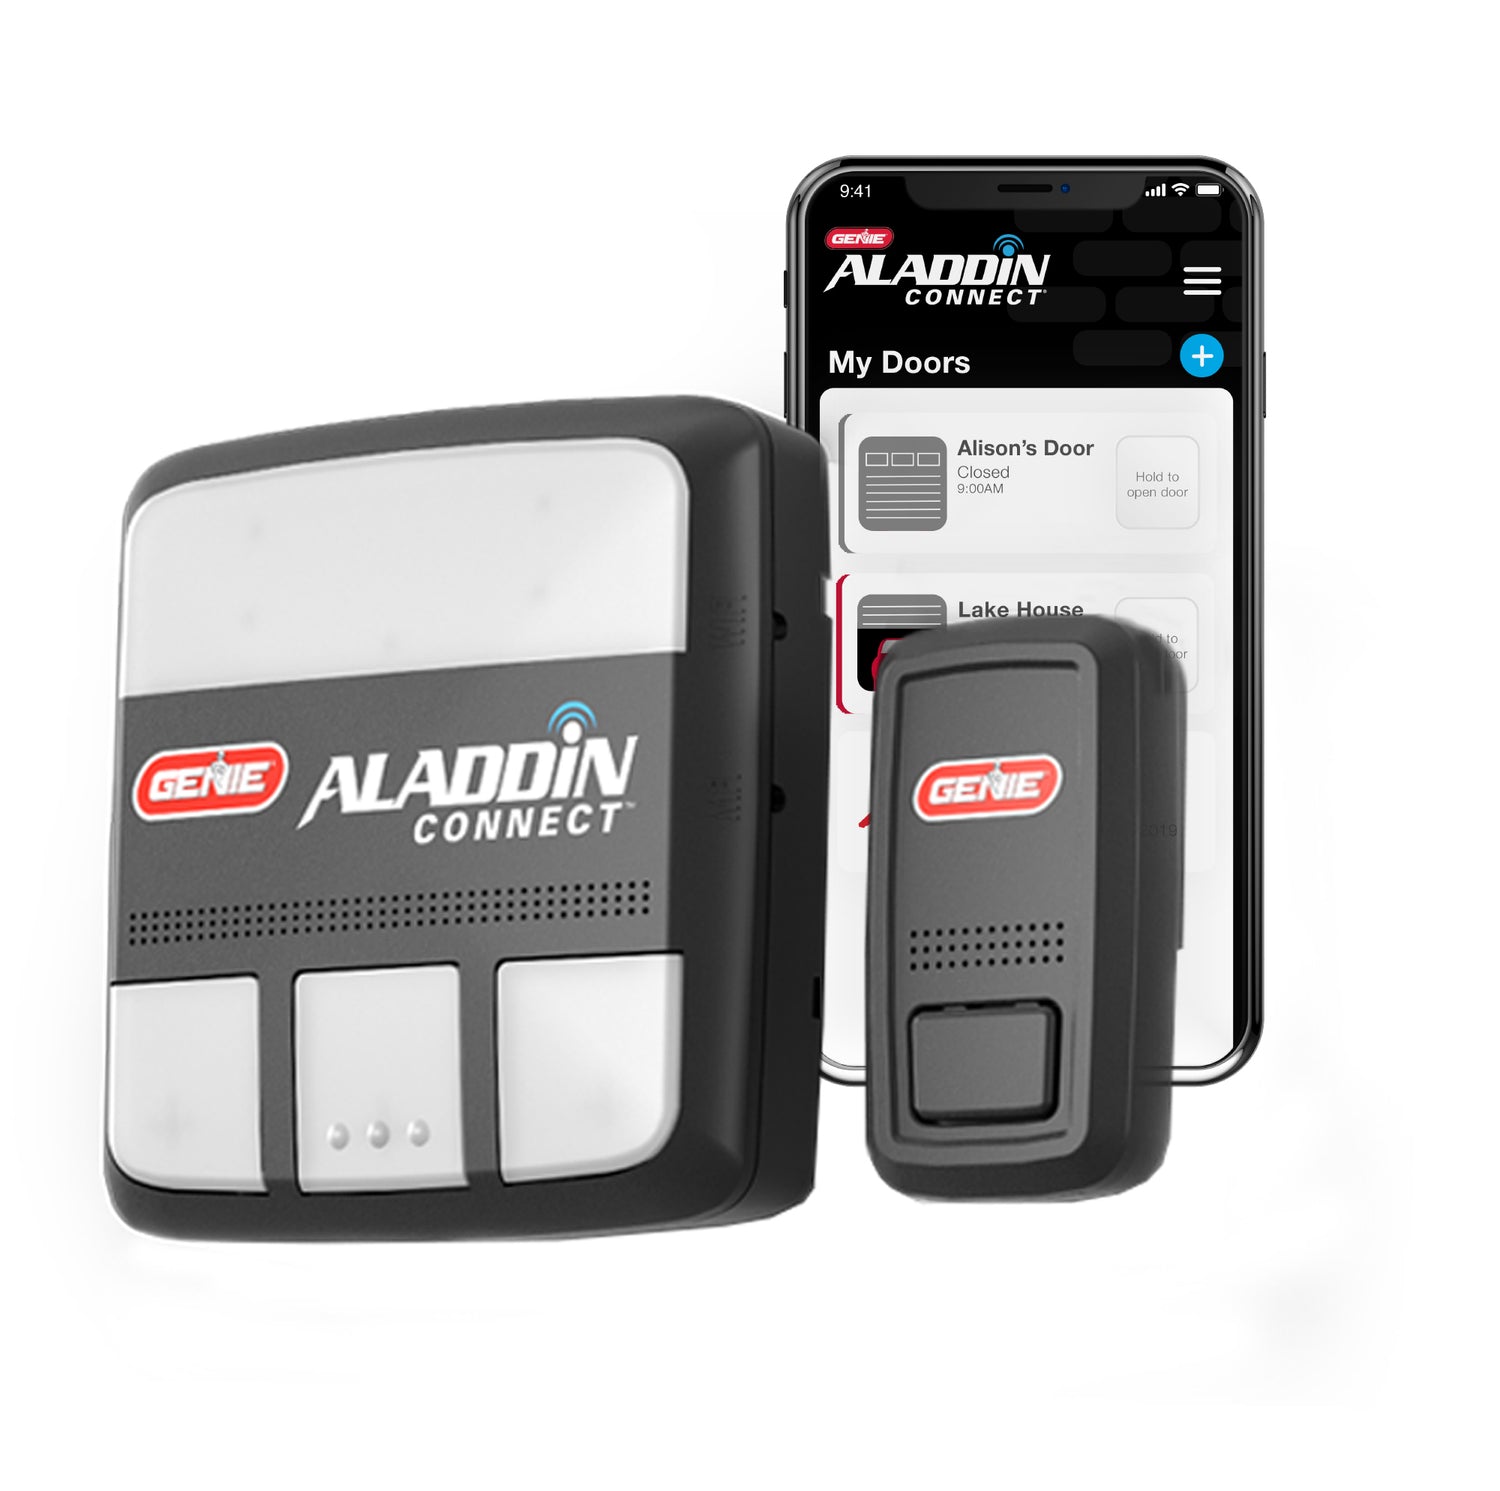
Smart Device Compatible Garage "Can I make my garage door opener smart?"...


