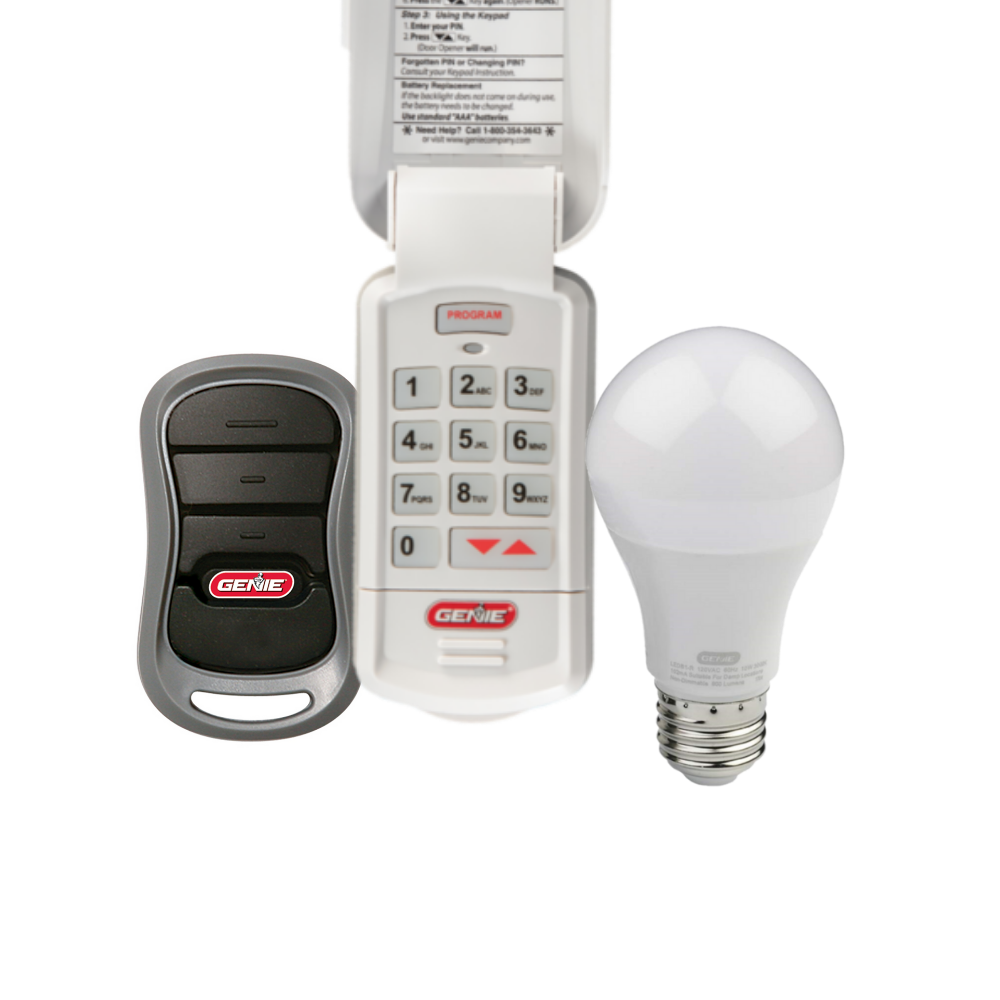
GUK-BX Universal Wireless Entry Keypad Programming Instructions
Programming the Genie GUK-BX Universal Wireless Keypad Video
Genie Universal Wireless Garage Door Opener Keypad Programming Instructions
Alternative Programming Instructions (Fixed Code Models)
Genie Universal Keypad Compatibility Chart
Universal Keypad Instructions

IMPORTANT FEATURES OF THIS KEYPAD:
- An audible beep will sound with every key pressed.
- Keypad will operate up to 3 doors with one PIN number.
- A temporary PIN can be set for convenient non user access.
- Do not press the LEARN button for longer than the noted 2-3 seconds as it could cause the operational remotes to no longer work.

STEP 1 - FIND SPECIFICATIONS & LEARN/PROGRAM BUTTON
- Locate the brand and opener/receiver specifications for the device by consulting the label on the opener/receiver, the instructions manual, the current remote controls for the opener, or the original manufacturer or the opener/receiver.
- Find the LEARN/PROGRAM button on the device - shape, color or name of this button could vary by brand. For garage door openers, be sure to check under the light covers. For commercial openers, this button may be on the circuit board or the opener. In some cases, this button could also be on an external receiver that is mounted on or nearby the product. Consult the devices manual if needed.

STEP 2 - CLEARING THE KEYPAD
Perform this task first before setting the PIN or at anytime the keypad needs to be reset to its factory default:
- Remove activation tab from inside battery compartment.
- Press both the PROGRAM & UP/DOWN keys at the same time and hold for 5 seconds. (tone will sound) - then release (green LED will flash and go out).
- The keypad is now ready to be programmed. Start at STEP 3.
If the opener/receiver has dip switch technology, please move to the alternate instructions listed on our website at this time: www.geniecompany.com/dipswitchesGUK
STEP 3 - PROGRAMMING TO ONE OR MORE OPENERS
This keypad can be programmed to up to 3 individual garage door openers in any combination of manufacturer specifications. You will need your opener ID# from Chart A for these steps. To start over at any time, start at STEP 2 - CLEARING THE KEYPAD.
IMPORTANT: For ID#4 Chamberlain®/LiftMaster®/Craftsman® Yellow Learn Button ONLY, move to NEXT SECTION.
PROGRAM OPENER #1 (For all openers EXCEPT ID#4 Yellow Learn)
- On the keypad, enter a personal PIN (3-8 digits)
- On the keypad, press and release the UP/DOWN key (LED flashes slowly).
- On the keypad, enter the ID# of the opener from Chart A.
- On the keypad, press and release the UP/DOWN key (LED flashes rapidly).
- On the opener, press the LEARN/PROGRAM button for 2-3 seconds and then release.
- On the keypad, press the UP/DOWN key once every two seconds until the opener operates. DO NOT press any additional buttons until the opener stops running
- WAIT until backlighting is out before attempting additional keypad entries. Programming is complete
ONLY for ID#4 Chamberlain®/LiftMaster®/Craftsman® Yellow Learn: PROGRAM OPENER #1
- On keypad, enter personal PIN (3-8 digits).
- On keypad, press and release UP/DOWN key (LED flashes slowly).
- On keypad, enter the ID#: 4
- On keypad, press and release UP/DOWN key (LED flashes rapidly).
- Then press and hold down UP/DOWN key.
- Release button after tone sounds (5 sec).
- On opener, press LEARN/PROGRAM button 2-3 seconds and then release.
- On keypad, press UP/DOWN key ONE time. Opener will click.
- On opener, press LEARN/PROGRAM button 2-3 seconds again and then release.
- On keypad, press UP/DOWN key again ONE time. Opener will click.
- On keypad, press UP/DOWN key again ONE time. Opener will operate.
- WAIT until backlighting is out before attempting additional keypad entries. Programming is complete.
MULTIPLE OPENERS: Complete steps for Opener #1 above. To program Opener #2 or #3 at any time, follow the steps below. Be ready to reference Chart A and then #3 from above:
- . With keypad backlighting off, press the PROGRAM button 2 times to program a second opener OR press it 3 times to program a third opener (blue LED flashes slowly).
- . With blue LED still flashing, return to #3 in the section above and enter its opener ID# from CHART A.
- Continue with the remaining numbered steps.
TIP: As soon as the opener activates, DO NOT press any additional buttons until the opener stops running.

Genie® and Intellicode® are registered trademarks of The Genie Company. All other listed names and trademarks are the property of their respective owners.
SINGLE DOOR OPERATION:
- Ensure number pad back lighting is of
- Enter PIN
- Press the UP/DOWN key.
- Opener will operate.
MULTI-DOOR OPERATION:
- Ensure number pad back lighting is of
- Enter PIN.
- . Press the UP/DOWN key
- Press number key corresponding with desired door (1, 2, or 3).
- Desired opener will operate
ADDITIONAL PROGRAMMING
SETTING A TEMPORARY MAIN PIN:
If the keypad is to be used by normally unauthorized personnel (such as a repairman) a temporary PIN can be assigned to that personnel to gain access to the garage. This PIN will remain active until the main PIN is used again. (PRGM = PROGRAM).
- Enter main PIN.
- Press PRGM key three times (LED will turn solid indicating keypad is ready for temporary PIN).
- Enter temporary PIN (3-8 digits)
- Press PGRM key one time (LED will blink twice and go out indicating a temporary PIN is set).
- To cancel the temporary PIN, operate the keypad/door with the original main PIN.
CHANGE PIN:
If the main PIN needs changed, follow these steps
- Enter current main PIN.
- . Press PRGM key one time (LED will turn solid indicating keypad is ready for new PIN).
- Enter new PIN (3-8 digits).
- . Press PGRM key one time (LED will blink twice and go out indicating a new PIN is set).
MOUNTING KEYPAD/REPLACING BATTERIES
Keypad MUST be mounted within sight of the garage door(s) at least 5 feet above floor and clear of any moving door parts. NOTE that programming will not be lost during battery removal.
- Remove battery cover and batteries. Replace if necessary. NOTE: Only use standard or alkaline AAA batteries. DO NOT use rechargeable batteries.
- Drill a 3/32” pilot hole for the top mounting screw
- Install included screw into pilot hole, leaving 1/8” gap between the screw head and wall.
- Hook the slotted mount on back of keypad over the screw.
- Mark and drill a 3/32” pilot hole for the bottom screw and secure keypad to the wall. (Do not over-tighten).
- . Reinstall batteries.

-

Genie Garage Door Opener Replacement Parts
Need help finding the right garage door opener part? Not sure which...
-

Accessories
[split] Find the right accessories for your garage door opener: The Genie...
-

Smart Device Compatible
Smart Device Compatible Garage "Can I make my garage door opener smart?"...


