

BenchSentry by Genie
BenchSentry Connect Smart Lock Upgrade Kit
BenchSentry Connect Smart Lock Upgrade Kit
Couldn't load pickup availability
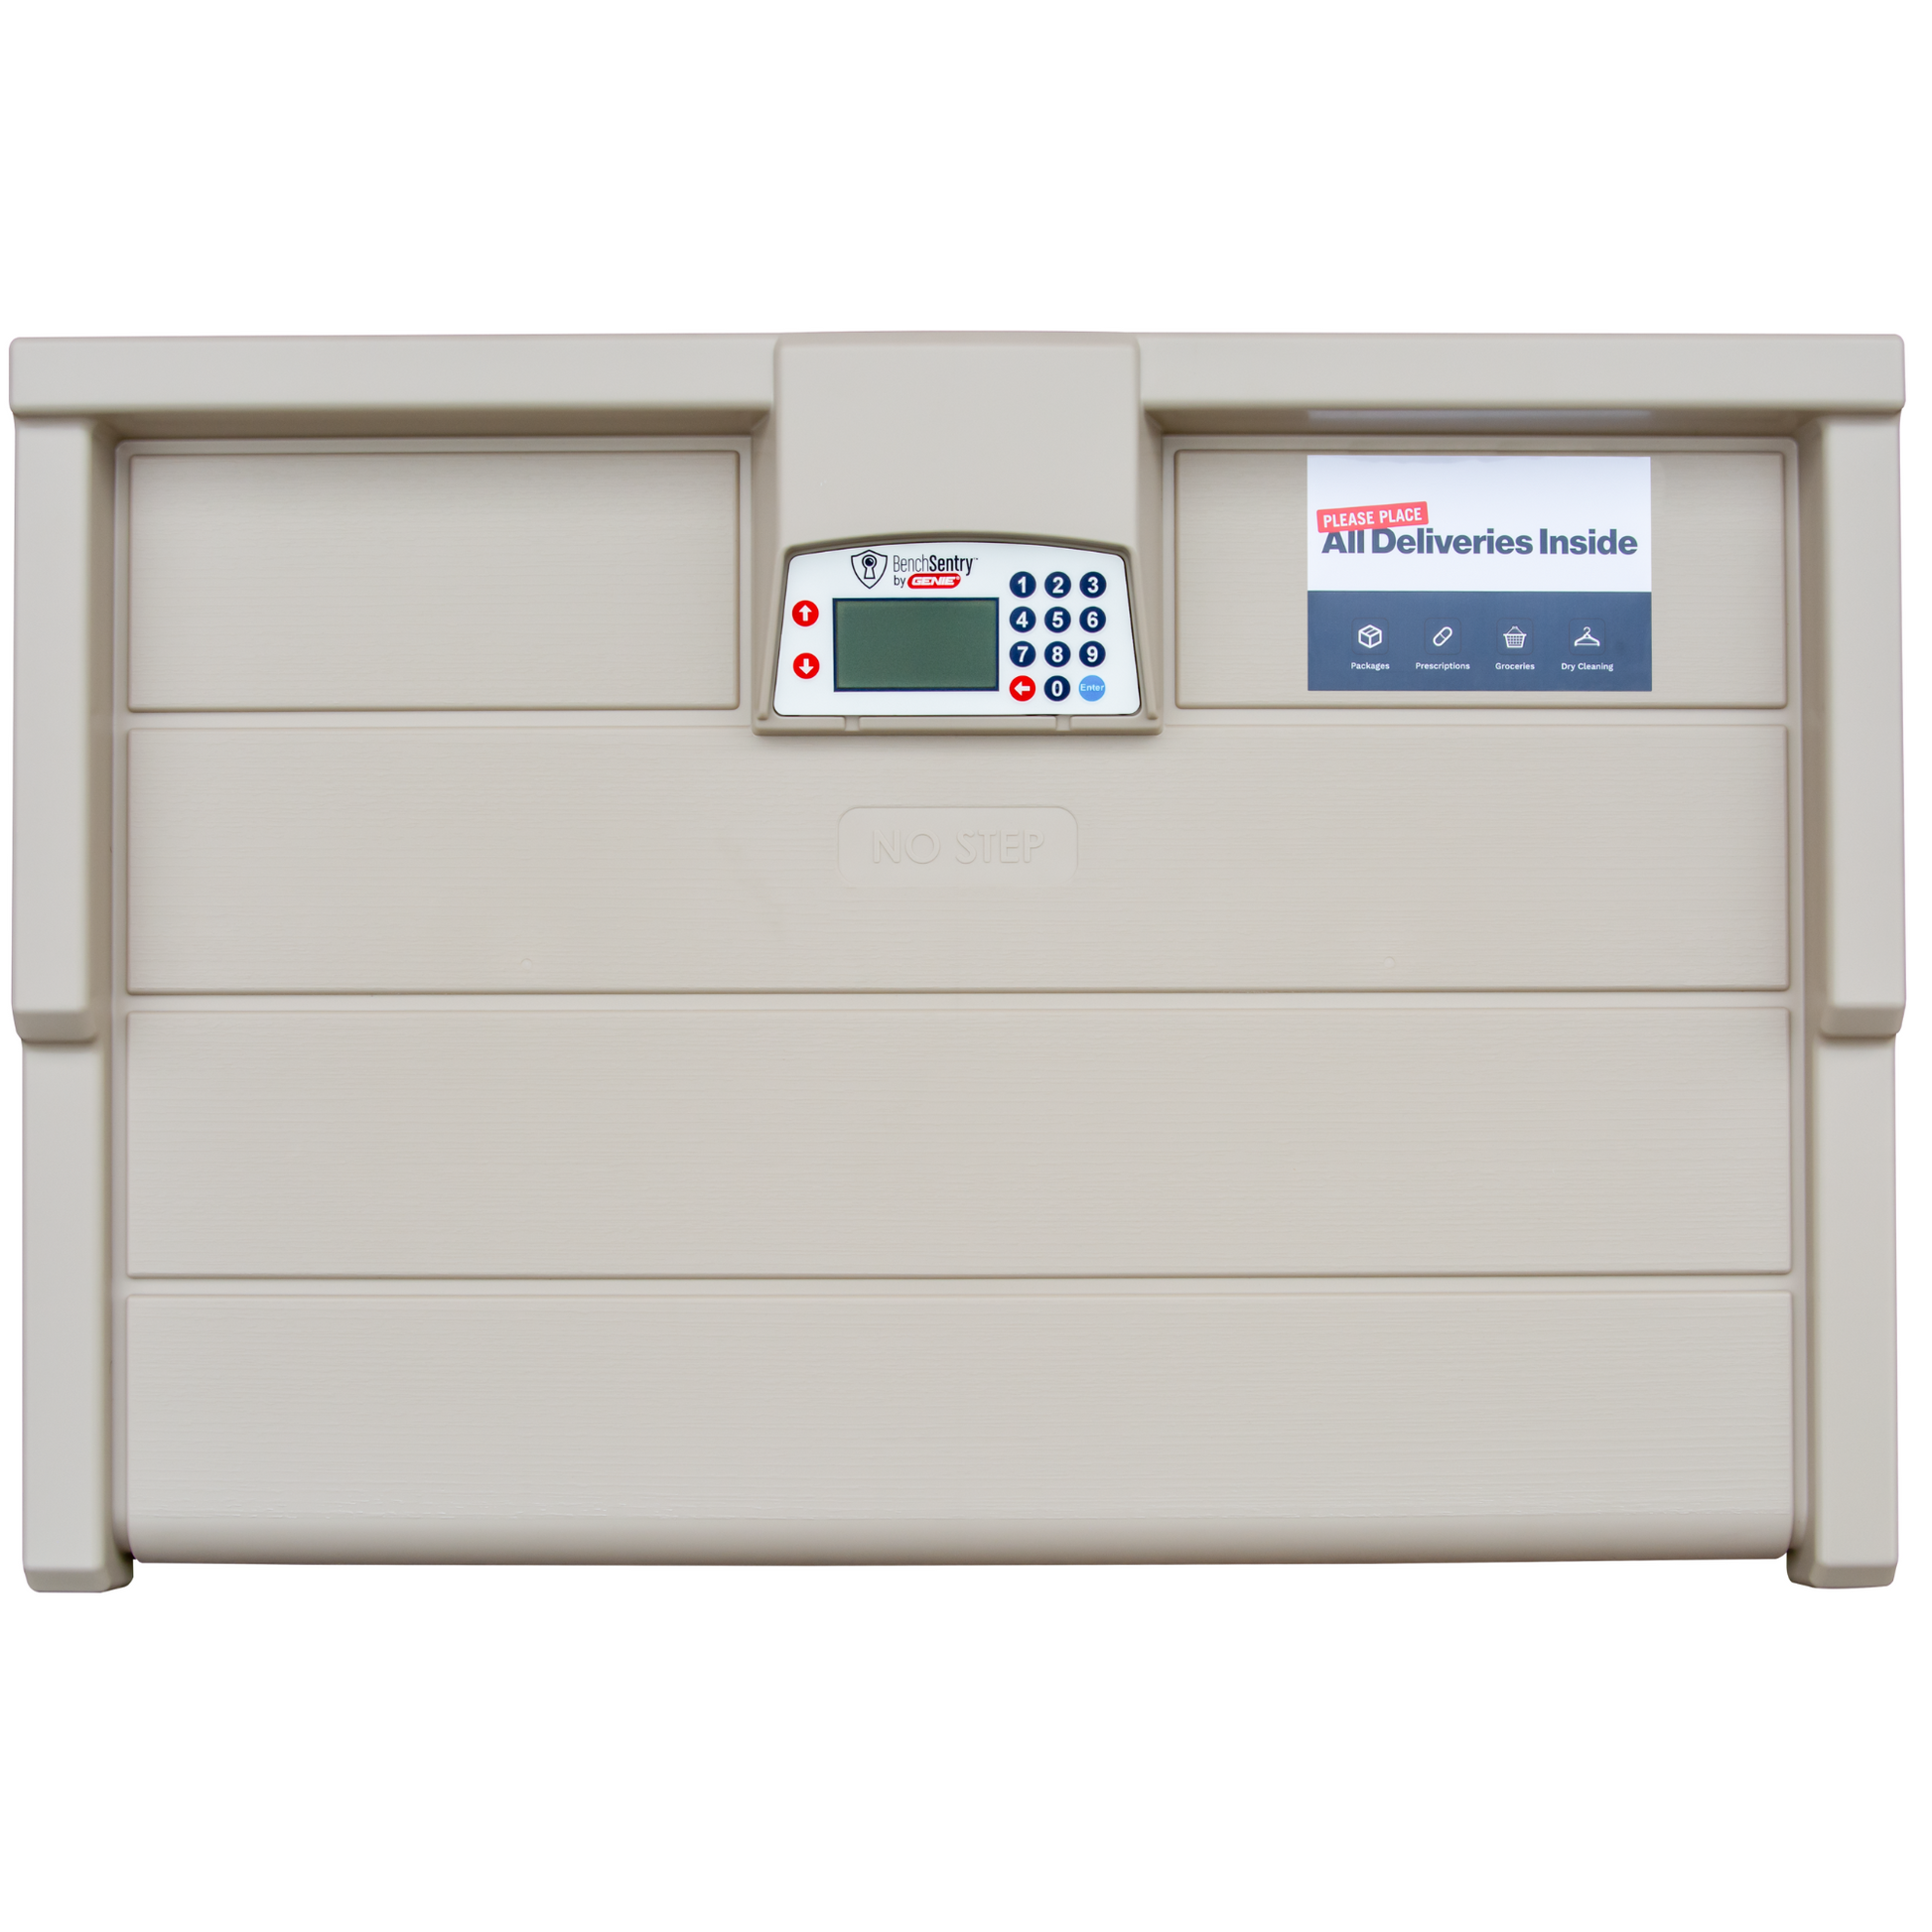
Ensure your packages are safe from porch pirates with the all-new Smart Lock Kit for BenchSentry. This upgrade introduces advanced features and a superior lid locking mechanism, delivering the highest level of security for your deliveries. Plus, with the BenchSentry free app, you can create custom entry codes to share with friends and family for seamless item exchanges.
- Available as an Upgrade: Add this kit to the BenchSentry Package Delivery Box, part numbers 41997R, or 41997S
- Includes: Replacement lid and hardware.
- Advanced Filter Option: Effortlessly manage and sort your deliveries with the newly added filter feature.
- Invalid Code Alert: Receive instant notifications on the bench screen whenever an incorrect code is entered, keeping you informed.
- Delivery Time Tracking: Add expected delivery times when creating new tracking codes for better organization and planning.
- Mark as Delivered Function: Easily keep track of received packages with the new "Mark as Delivered" option.
- Tailored Delivery Instructions: Set up specific instructions for different carriers to ensure smooth and accurate drop-offs.
Key Benefits:
- Keeps Packages Safe & Secure:
- Protect packages from theft with a smart lock.
- Guarantee packages with a protection plan for up to $500.
- Works for All Deliveries:
- Compatible with all delivery companies using tracking ID (FedEx, UPS, USPS, Amazon, etc.).
- Works for secure pick up, Â give access to open.
- Perfect for grocery or meal deliveries and items from family or friends using custom codes.
- Convenient and Easy to Use:
- The easy-to-use app allows you to track deliveries from anywhere.
- Receive notifications on your phone when a delivery is complete.
- Driver signage and audio prompts make it easy to train your driver.
For Extra Value:
For extra-large deliveries, you can pair the BenchSentry Connect porch vault with Aladdin Connect to set it to open the garage upon deliveries!
SKU: 42179S
In Stock! Usually ships within 24 hours.
ASK A QUESTION View full details


QUESTIONS & ANSWERS
Have a Question?
Be the first to ask a question about this.
BenchSentry Connect Upgrade Kit Instructions can be found on the BILT app for easy to follow step by step instructions.

Tools Required for installation:

Parts Included:

! WARNING:
- To ensure safety, do not attempt to assemble this product without following the instructions carefully.
- Use caution when lifting and carrying to avoid injury.
- This product is NOT a toy chest. This product is NOT intended for use by children. To prevent possible risk of suffocation, DO NOT allow children to play inside this product.
- To prevent possible injury, when opening and closing the lid, keep fingers and hands clear of hinges and product opening.
- DO NOT store near excessive heat.
- This product may become susceptible to impact damage in freezing temperatures.
- To prevent possible injury, DO NOT stand on product.
- Use only with supplied power cord rated 12VDC, 1 Amp.
- Unplug the BenchSentry before making any repair or upgrade
If you have a BenchSentry package delivery box, that does not currently have a smart electronic lock, start the instructions here. If your current Bench contains a smart electronic lock, skip through the first 18 steps and follow the end instructions.
1. REMOVE LID
- Pry off the End Cap by inserting a screwdriver under the flat edge of the end cap
- Use the screwdriver or other tool to push out the Hinge Pin from the Lid (left and right side). Remove the Lid.

- Step A: Install the Lock Plate with the tabs facing outward. Fasten with (6) M3 x 10 Screws.
- Step B: Place the Lock Hook on the Lock Plate and align its holes with the holes in the Lock Plate. Slide the pins on the Safety Strap through the holes in the Lock Plate and Lock Hook.

3. INSTALL FLAT DAMPER BRACKETS TO SIDE PANELS
- Attach Flat Damper Brackets (part of Damper Set) to Side Panels using (2) M4 x 12 Screws.

4. INSTALL ANGLE DAMPER BRACKETS TO LID
- Attach the Left and Right Angle Damper Brackets to the Lid using (2) M4 x 12 Screws.

5 (a). INSTALL LOCK ON LID
- Secure the Lock to the Lid with (6) M3 x 10 Screws. Start with the outer 4 screws, then fully seat the screws.

5 (b). INSTALL LOCK ON LID
- Install the remaining 2 screws. If needed, push the wire harness aside to access one of the screws.

6. PLUG IN WIRE HARNESS
- Locate label on PCB that says lock
- Plug harness in

7. SECURE WIRE HARNESS
- Lock wire clip

- Use the 2 Lock Wire Clips (shown above) to secure the harness to the Lid.
- Lock Wire Clips do not have a hole.
- Push the 2 clips, barb side down, onto the Lid’s vertical center rib, halfway between the horizontal ribs.
- Press the wire harness into each clip by applying pressure to the harness with both thumbs about 1/4 inch away from each of the clip edges.

8. REMOVE BATTERY TAB (If Included)
- Holding your thumb against the Battery to keep it in place, pull out the Battery Tab with the other hand.
- If the Battery comes out, replace it in the slot with the smooth side up, as shown.

9. LID PLACEMENT
- Set Lid in place with holes aligned.

10. INSTALL HINGE OIN AND END CAP ON LID (LEFT AND RIGHT SIDE)
- Slide the Hinge Pin into the hole, with the angled end to the outside, and add the End Cap.
- Repeat on the other side.
- Failure to install the End Cap could cause the Hinge Pin to fall out.
- An extra end cap is provided in the package.

11. INSTALL DAMPER (LEFT SIDE)
- Open the Lid, and align the plastic clip on the Angle Damper Bracket with the notch on the Damper arm. Snap the Damper into place.

12. INSTALL DAMPER (RIGHT SIDE)
- Align the plastic clip on the Angle Damper Bracket with the notch on the Damper arm. Snap the Damper into place.

13. DAMPER FORCE ADJUSTMENT (IF NEEDED)
- The force needed to close the lid can be adjusted using the provided Hex Key Wrench.
- If the lid slams, or closes too quickly, increase the tension in the damper screw by rotating it clockwise in small increments. If the lid is difficult to close, loosen the screw in small increments.
- Repeat these steps on both sides until the desired closing speed is achieved.

14. INSTALL POWER CORD
- Open the lid all the way
- Route the Power Cord through one of the 2 holes in the bottom panel that is closest to a power outlet. If needed, lift the box to access the hole.

- Optional location to route the Power Cord on the rear panel. Remove the cap to install. There is a risk of water intrusion if this option is used.

15. SECURE POWER CORD
- Use Power Cord Clips to secure the Power Cord to the panels. This clip has a hole for identification.

- Align the top clip with the tab on the electronic console. Press the clip, barbed side down, onto the rib on the lid as shown.
- Push the remaining 3 clips, barbed side down, onto the vertical rear panel rib as shown, halfway between the horizontal ribs.
- Press the narrow side of the cord into the clips. Apply pressure to the cord with both thumbs about 1/4 inch away from each of the clip edges. Make sure there is plenty of slack in the cord between the lid and the back panel, so that the lid opens freely and the cord is not pulled out.

- As you secure the cord, remove all slack between the clips on the rear panel.

- Pull any excess slack through the hole in the bottom panel.
- Plug the power cord into a wall outlet.
16. FINAL SETUP OF BENCHSENTRY
- Please scan the QR code to download the BenchSentry® app and set up an account and Wi-Fi.
- Refer to Instruction Videos located online at www.benchsentry.com for setup of Mobile App and entry of tracking codes.

17. ADJUST LID LIMIT SWITCH SCREWS ON LOCK (IF NEEDED)
- If the Lid does not close all the way, or rocks to either side with pressure, use a small Phillips screwdriver to loosen the screws and push UP on the Door Close Limit Switch Holder until you hear one click. Tighten the screws gently (do not over-torque).
- If the Lid does not lock, loosen the screws and push DOWN on the Door Close Limit Switch Holder until you hear one click. Tighten the screws gently (do not over-torque).
- In either case, adjust the Switch Holder up or down until proper operation is achieved.

18. ANCHOR OPTIONS
- Slots are provided for a security cable lock to pass through to secure BenchSentry® to a post or other anchor. (Security cable lock not included).

- Holes are also provided to anchor BenchSentry® to concrete, wood, etc. if you prefer. (Hardware not included)

- There are also pre-hole embossments on the rear panel, which allow anchoring to a wall.

IF YOU ARE UPGRADING A BENCHSENTRY CONNECT PACKAGE DELIVERY BOX THAT ALREADY CONTAINS AN ELECTRONIC TOUCHSCREEN, START HERE:
1. POWER OFF THE BENCH
- Ensure the bench is powered off and unplugged.
2. REMOVE THE POWER CORD
- Untie the power cord and remove it from the bench.
3. DISCONNECT ALL ELECTRONIC CONNECTIONS
- Remove all electronic connections from the PCB board and speaker box.
4. OPEN THE LID AND REMOVE THE END CAP:
- Open the lid and pry off the end cap by inserting a flathead screwdriver under its edge. Use the screwdriver or another tool to push out the hinge pin from the lid. (Refer to the visual instructions in the manual or the BILT app.)
5. REMOVE OLD HARDWARE
- Remove the old hardware using a Phillips screwdriver.
- Dampers

- Damper Clips

- Lock plate, hook and Pin

- Speaker box

Note: Ensure all old hardware is removed and replaced with the new hardware as mentioned in Step 6 to ensure the new Smart Upgrade Kit functions properly.
6. INSTALL NEW LID
- Follow the instructions in the Smart Kit manual or scan the BILT QR code to install the new lid.
7. INSTALL THE LATEST APP
- Download and install the latest BenchSentry app from the App Store or Google Play Store. Ensure you have the most recent update installed.
8. LOG IN TO YOUR BENCHSENTRY ACCOUNT
- Open the BenchSentry app, tap the hamburger menu (three horizontal lines) in the top left corner, then go to Settings -> Bench Settings -> Upgrade Bench to Smart Upgrade Kit, and click the Start the Upgrade Process tab to complete the upgrade process.
-

Free Shipping
We offer FREE shipping and handling on all orders that total over $17.99 and are shipped to a US address. All orders are shipped using UPS ground, directly from The Genie Company.
-

Genuine Replacements
Buying GENUINE Genie accessories and parts guarantees that you are getting quality OEM materials backed by a Genie warranty.
-

Support
Need assistance? We are here for you! We offer a wide range of customer support options including contact by phone or email, web chat services with a live agent, and a robust support section also located on our website. All customer care teams and services are based in the USA.


