

The Genie Company
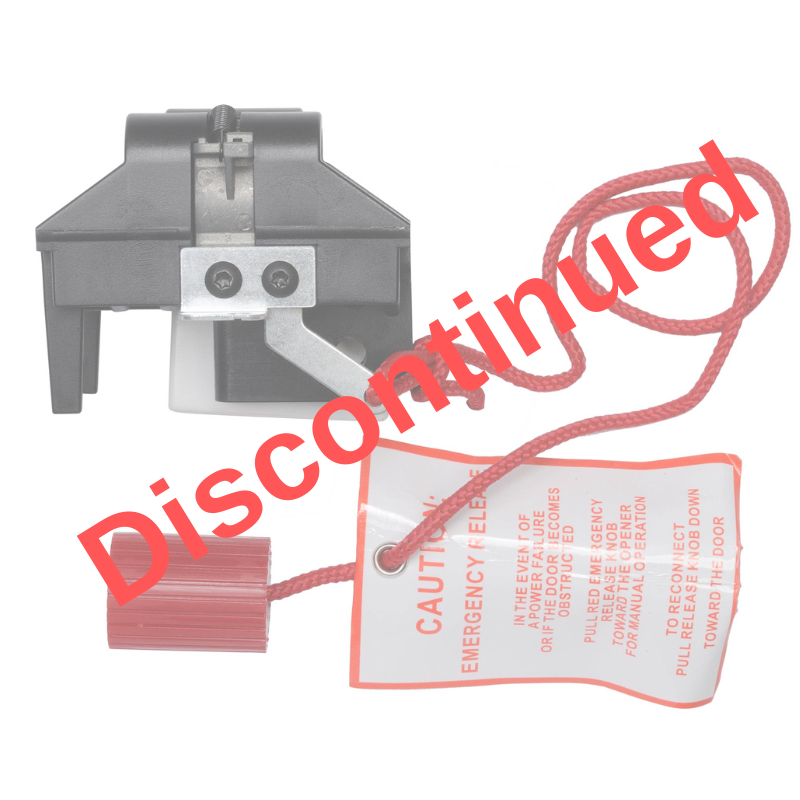
Belt/ Chain Drive Carriage Assembly - 36453A.S
Belt/ Chain Drive Carriage Assembly - 36453A.S
Product has been discontinued and is NO LONGER AVAILABLE.
This 36453A.S carriage assembly replaces the carriage on the compatible belt and chain drive Genie garage door openers.Â
- Compatible with models 1024, 2024, 1026, 2026 , 1022, 2022, 1042, 2042, 2027 (ChainLift 600, ReliaG 600, BeltLift 600, ChainLift 800, ReliaG 800, ChainLift 700, and QuietLift 800)
SKU: 36453A.S
Sorry, this product is currently out of stock.
ASK A QUESTION View full details
QUESTIONS & ANSWERS
Ask a Question-
Does the chain connect to the carriage?
The chain attaches to the "connector" that connects the chain together.
-
Can I use this with model PCG400? Looks like mine is discontinued. #11 on the rail. Carriage and glide assy.
No, the 36453A.S is not compatible with your PCG400 model. The carriage is no longer available on this model.
-
Will this belt / chain assembly fit a model SP 99 chain driven
Sorry this belt is not compatible with a Genie model SP99, the belt for that unit is not available due to the age.
-
Is there another compatible belt/chain drive carriage assembly for model 2024?
Unfortunately, there is not a compatible carriage for the 2024. We apologize for the inconvenience.
-
Is there an alternative I can find that would work for my garage door opener? I have a genie model 2024 professional line opener in my garage. My home was built in 2015. Please let me know.
No, sorry, unfortunately there is no replacement for the Belt/ Chain Drive Carriage Assembly - 36453A.S.
-

Free Shipping
We offer FREE shipping and handling on all orders that total over $17.99 and are shipped to a US address. All orders are shipped using UPS ground, directly from The Genie Company.
-

Genuine Replacements
Buying GENUINE Genie accessories and parts guarantees that you are getting quality OEM materials backed by a Genie warranty.
-

Support
Need assistance? We are here for you! We offer a wide range of customer support options including contact by phone or email, web chat services with a live agent, and a robust support section also located on our website. All customer care teams and services are based in the USA.


