The Genie Company
Chain Drive Bullet Assembly - 37557R.S
Chain Drive Bullet Assembly - 37557R.S
Couldn't load pickup availability
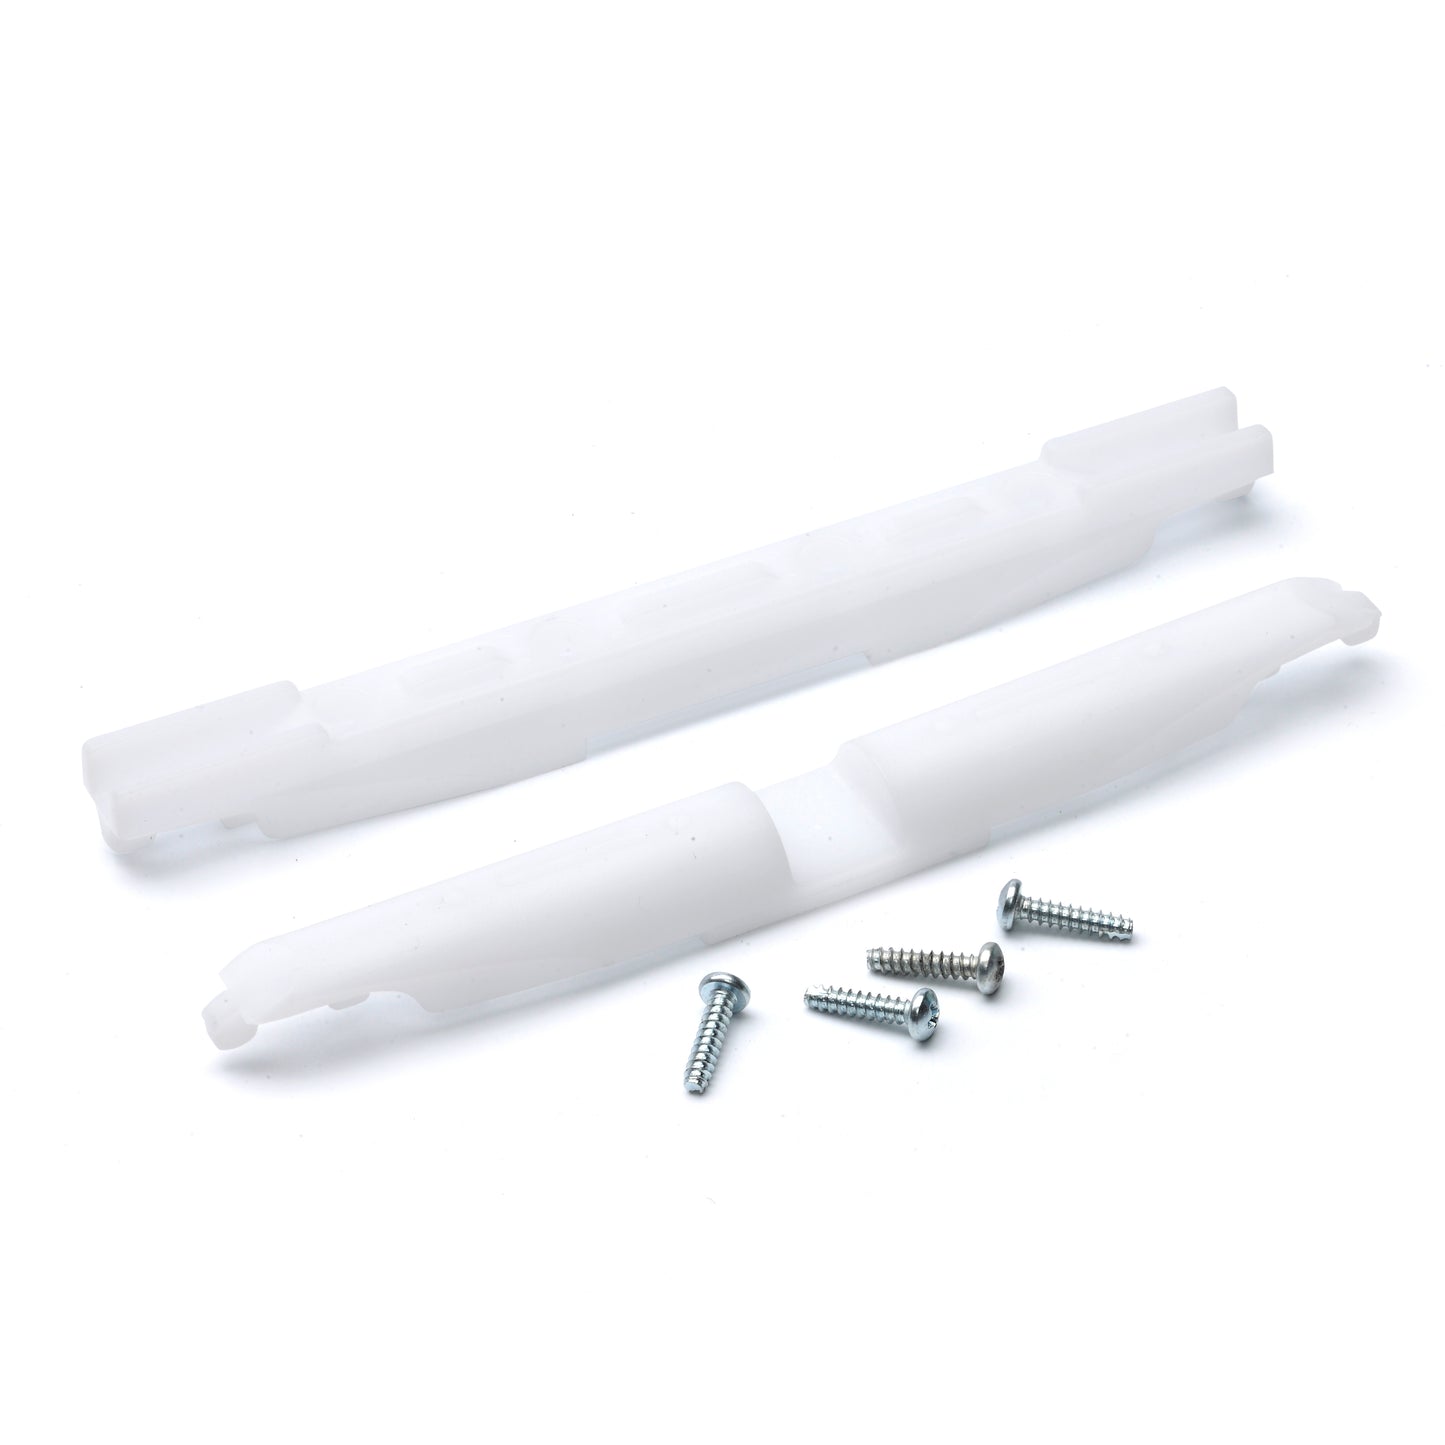
This Genie chain drive bullet assembly is the white piece that holds the chain for the garage door opener together. Works with chain model Genie garage door openers that have a C-Channel rail. The chain carriage assembly for these models also attaches to this chain bullet assembly allowing it to move the garage door open and closed up and down the rail.
- Assembly contains: The 2 Bullet side white pieces, and the four screws to install it
- Genuine Genie replacement part
- Compatible with Genie models that have a chain rail: 1028, 2028, 3020H, 3020H-B, 3024, 4024, 3022, 3042, 3120H, 3120H-B, 4022, 4042, 4124, 4164 (ChainMax, ReliaG, IntellG, and TriloG, series with these model numbers)
SKU: 37557R.S
In Stock! Usually ships within 24 hours.
ASK A QUESTION View full details

QUESTIONS & ANSWERS
Ask a Question-
Have a Genie SP99 that needs a replacement chain bullet. Can't tell what part number would be needed to replace this.
We no longer have the chain parts for the SP99 model.
-
How do you install a BELT DRIVE BULLIT ASSEMBLY
Please see the installation instructions tab on the Belt Bullet Page here.
-
need a chain drive bullet assembly for model pmx5001c/b dont know which one to get can you help dont want to buy wrong one will probably purchase two since they are plastic mine only has two screws where the ones i seen has four will it still work ? Thank you
Hello. You will need this inner slide for your Genie model PMX500IC/B garage door opener. Part number 25605R.S
Chain Bullet Assembly (37557R.S) Replacement Instructions
These instructions are written assuming that you will have ample room around the garage door opener to perform this repair. Some rare instances will require removal of the unit from it's mounting hardware and repair made on a bench or the garage floor. Refer to your owner's manual for proper assembly and carefully read and understand all warnings and cautions pertaining to your unit.
WARNING
BE SURE ELECTRICAL POWER HAS BEEN DISCONNECTED FROM THE INPUT POWER LINES PRIOR TO REMOVING THE MOTOR COVER.
WARNING
ANY AND ALL REPAIRS MADE TO THIS UNIT MUST BE PERFORMED WITH THE DOOR DISCONNECTED FROM THE OPENER AND IN THE CLOSED POSITION.
1. Pull emergency release cord on the carriage to disengage opener to close the door if necessary. (If unable to lower the door using the garage door opener, use extreme caution manually closing the door. Before pulling the emergency release cord, make certain people and objects are clear of door opening.)
2. Run opener until bullet assembly is somewhere in mid travel to access it.
3. Unplug the garage door opener power cord from the power receptacle.
4. Loosen tensioner nut from the garage door end of the rail to create slack in the chain. (FIGURE 1). Do not completely remove tensioner nut.

5. Remove 4 screws from bullet assembly and remove the bullet. (FIGURE 2-B).
6. Install the replacement bullet assembly 37557R.S in reverse order. (FIGURE 2-B).

7. Tighten tensioner nut until the slack is removed from the chain. Do not overtighten.
8. Manually Operate door until carriage engages the bullet assembly. The two will lock together.
9. Plug Opener in.
10. Reprogram limit controls per owners manual if necessary.
-

Free Shipping
We offer FREE shipping and handling on all orders that total over $17.99 and are shipped to a US address. All orders are shipped using UPS ground, directly from The Genie Company.
-

Genuine Replacements
Buying GENUINE Genie accessories and parts guarantees that you are getting quality OEM materials backed by a Genie warranty.
-

Support
Need assistance? We are here for you! We offer a wide range of customer support options including contact by phone or email, web chat services with a live agent, and a robust support section also located on our website. All customer care teams and services are based in the USA.


