The Genie Company
LED Light Module Replacement
LED Light Module Replacement
Couldn't load pickup availability
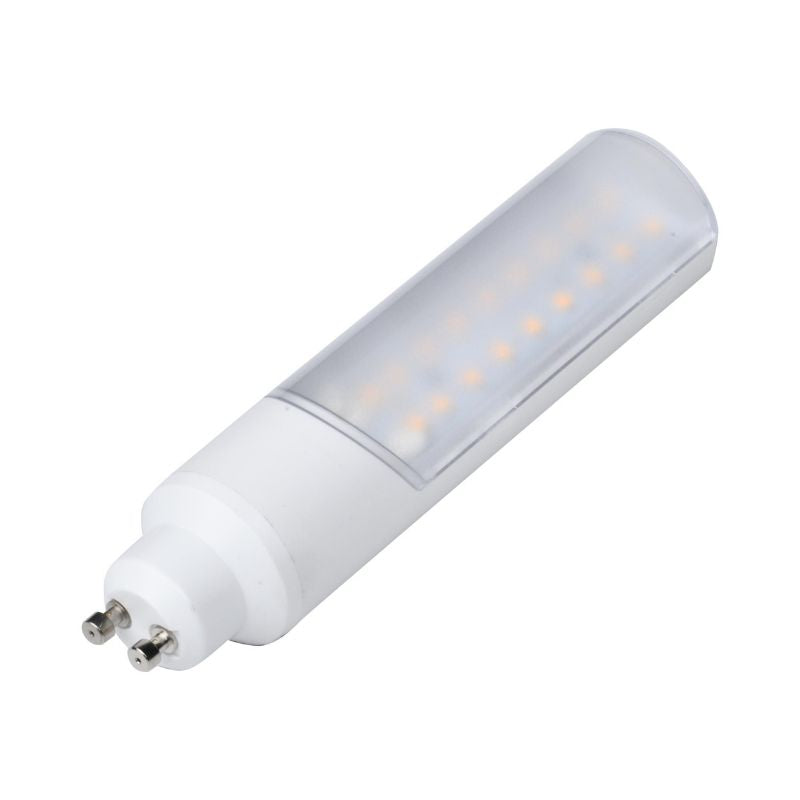
LED light module replacement. This replacement will only work on the Genie models that came with the LED module originally.
- For Genie garage door opener models with "L" (3120HL, 3155L, 3155LD, 7053L, 7155L)
- 800 Lumens
- Replacement LED light module only
SKU: 39718A.S
In Stock! Usually ships within 24 hours.
ASK A QUESTION View full details

QUESTIONS & ANSWERS
Ask a Question-
This part also works in model 3120L?
Yes, the LED Module Replacement is compatible with Genie model 3120L.
-
Are these LED module replacement bulbs available in a daylight/bright-white vs the soft/warm white?
No, sorry currently they are only available one color rating, 3045K.
-
how do you replace these LED Module Replacement
You have to twist the light bulb to the left then pull it straight out.
LED Bulb & Socket Replacement For Chain & Belt Operators
Replacing LED Light bulb part 39178A.S or Light Socket 39179A.S
Download PDF instructions here
These instructions are written assuming that you will have ample room around Opener to perform this repair. Some rare instances will require removal of the unit from it’s mounting hardware and repair made on a bench or floor. Refer to your Owners Manual or Installation Poster for proper assembly and carefully read and understand all warnings and cautions pertaining to your unit.
Tools required: Standard common screwdriver and/or 5/16” nutdriver.
NOTE: Rail not shown, rail removal is NOT necessary for this repair.
CLOSE DOOR PRIOR TO REPAIR.
- Remove power from operator.
- Unplug battery Backup (BBU) from top of opener head (if applicable).
- Press down on upper tabs to remove lens.
- Turn LED bulb as shown 1/4 turn to remove LED light bulb. Replace if needed by inserting pins into socket and rotating bulb 1/4 turn counter clockwise until it locks in place. FIG-1 & 2

- Remove LED bulbs as shown above.
- Using a 5/16” nut driver or common screw driver, remove the 2 opener cover screws and remove opener cover. FIG-3
- Note the location/position and disconnect light socket harness adapter from main control board. FIG-4
- Unplug harness adapter from LED light socket harnesses (2). FIG-5
- Press in on tab and push LED light socket out of chassis. FIG-6/7
- Install LED light socket(s) from outside of chassis in. Snap into place. FIG-7
- Install LED light socket harnesses into adapter. FIG-5
- Plug adapter into main control board reverse of step 7. (See connector detail below).
- Install cover, LED bulbs, and lens cover in reverse order.
- Reapply power to operator. Plug battery backup (BBU) into top of opener (if applicable)
- Test opener.

-

Free Shipping
We offer FREE shipping and handling on all orders that total over $17.99 and are shipped to a US address. All orders are shipped using UPS ground, directly from The Genie Company.
-

Genuine Replacements
Buying GENUINE Genie accessories and parts guarantees that you are getting quality OEM materials backed by a Genie warranty.
-

Support
Need assistance? We are here for you! We offer a wide range of customer support options including contact by phone or email, web chat services with a live agent, and a robust support section also located on our website. All customer care teams and services are based in the USA.


