
The Genie Company
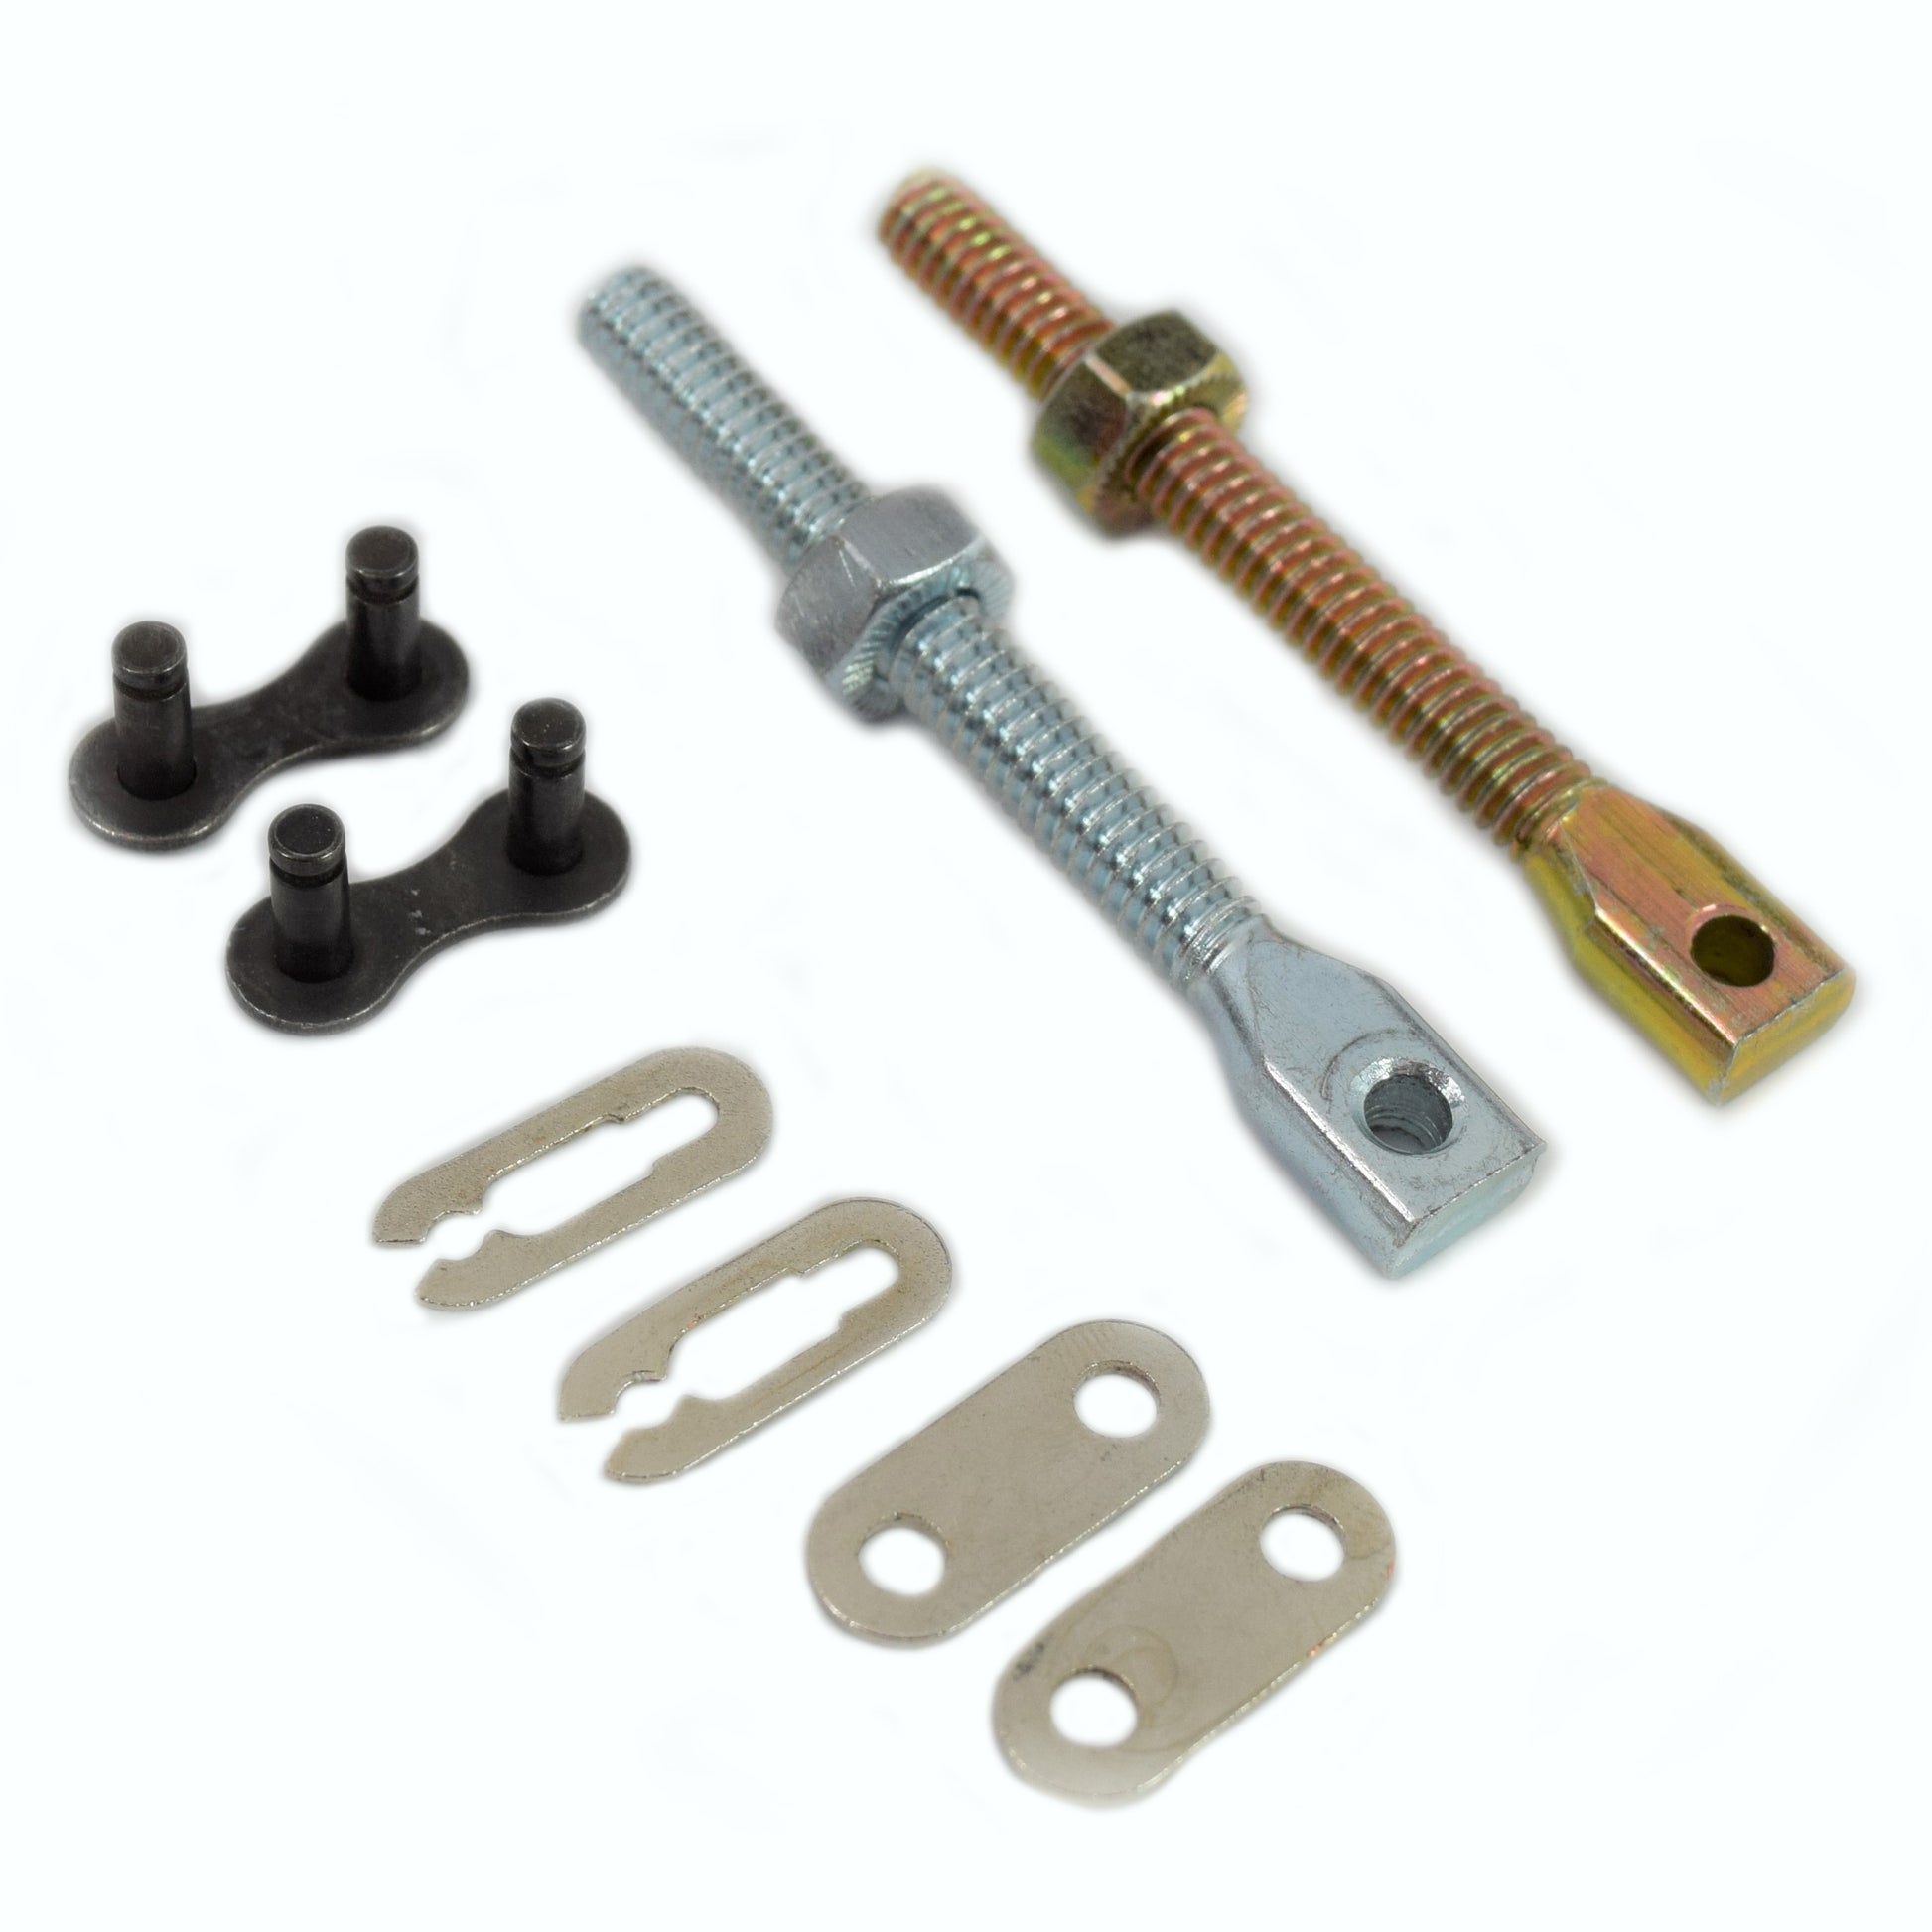
Replacement Parts Pack - Belt/Chain Hardware - 41872R.S
Replacement Parts Pack - Belt/Chain Hardware - 41872R.S
Couldn't load pickup availability
- Includes: 2 Adjusters (right hand, left hand), 2 Hex Nuts, 2 Master Links with clips, and Installation Instructions
- Works with Genie Models 1035, 2055, 2033, 2035, 2036, 2055, 3055, 3053, 3155, 7053, 7055, 7135, 7155
- Genuine Genie Replacement Parts
SKU: 41872R.S
In Stock! Usually ships within 24 hours.
ASK A QUESTION View full details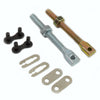

QUESTIONS & ANSWERS
Ask a Question-
Does 41872r fit genie number 7035
Yes, the Replacement Parts Pack - Belt/Chain Hardware - 41872R.S is compatible with Genie model 7035.
PDF Instructions for replacing the 41872R.S Chain/Belt Adjustment screw
41872R.S Chain/Belt Adjustment Screw Replacement:
This repair will require removal of the unit from it’s mounting hardware and repair made on a bench or floor. Refer to the Owners Manual or Installation Poster for proper assembly and carefully read and understand all warnings and cautions pertaining to this unit.
WARNING:
BE SURE ELECTRICAL POWER HAS BEEN DISCONNECTED FROM THE OPENER PRIOR TO REMOVING THE MOTOR COVER. !
ANY AND ALL REPAIRS MADE TO THIS UNIT MUST BE PERFORMED WITH THE DOOR DISCONNECTED FROM THE OPENER AND IN THE CLOSED POSITION.
Follow these steps for replacement.
1. Unplug opener power cord from power receptacle or turn off breaker.
2. Close Door. (If unable to lower door using opener, use extreme caution manually closing door. Before pulling emergency release cord, make certain people and objects are clear of door opening.) Pull emergency release cord down until it latches to close door manually.
3. Unplug Battery Backup (BBU) (if equipped) from top of powerhead. FIG. 1.


- Hold chain/belt and rotate turnbuckle with thumbs counter-clockwise until chain/belt is tensioned properly. Measure chain/belt tension on opposite side of rail until 1/4” from bottom of rail.


-

Free Shipping
We offer FREE shipping and handling on all orders that total over $17.99 and are shipped to a US address. All orders are shipped using UPS ground, directly from The Genie Company.
-

Genuine Replacements
Buying GENUINE Genie accessories and parts guarantees that you are getting quality OEM materials backed by a Genie warranty.
-

Support
Need assistance? We are here for you! We offer a wide range of customer support options including contact by phone or email, web chat services with a live agent, and a robust support section also located on our website. All customer care teams and services are based in the USA.


