


The Genie Company
ACSCTG 2-Button Universal Remote
ACSCTG 2-Button Universal Remote
Couldn't load pickup availability
Compatible with most major rolling code brands sold in the USA, the Genie universal 2-button garage door opener remote is a versatile solution that provides maximum user convenience. This ACSCTG-UNIV2 is an excellent replacement garage door opener remote for any of the compatible specifications with multiple options for visor clip placement.
- Compatible with most major rolling code garage door opener brands sold in the USA!
- Control up to 2 different garage door openers or receivers with one single remote.
- Each remote button can be programmed individually, so having multiple brands of openers controlled by a single remote is not a problem.
- Includes 1 remote, a visor clip, a single CR2032 battery, and programming instructions.
- Great replacement option for an existing remote from any of the compatible manufacturers listed such as Genie®, Overhead Door®, Chamberlain®, LiftMaster®, Craftsman®, Sommer®, Wayne Dalton® and more. (See chart)
- Can replace the discontinued style ACSCTG Type 1 Intellicode® remote, ACSCTG Type 2 Intellicode® remote, and the ACSCTG Type 3 Intellicode® remote.
- Older Genie ACSCTG remotes had numbers on the back that included B8QACSCT, B8Q315390T, TBSTG Type1 (this remote can replace them).
- Model ACSCTG-UNIV2
- ⚠ California Residents: Proposition 65 WARNING
UPC: 050049023300
SKU: 41713R
In Stock! Usually ships within 24 hours.
ASK A QUESTION View full details


QUESTIONS & ANSWERS
Ask a Question-
Do the two button remote use 1 button to open and 1 to close the garage?
No, the two buttons remotes are for two doors, so you can program one door to one button and the second door to a second button.
-
I need to replace an older remote. Model GICT390
Yes, the ACSCTG 2-Button Universal Remote is a compatible replacement for your GICT390.
-
I need a replacement remote for a Genie model # ACSGT TYPE 2 B8Q ACSGT What is a good replacement for this one. Thanks.
The G3T-R remote is a compatible replacement for this ACSGT TYPE 2 remote.
-
I have one genie remote garage door opener with one key (for one door) model no GICTD. Can I get a remote with one button for one door ? There is a wide selection of remotes on this website, but none appear to be a direct spare to what I have. What model number remote do you suggest ?
Yes, the G1T-BX remote is a compatible replacement for the GICTD remote.
-
my receiver model no. is B8Q ACSR3. which garage door opener should I get?
Yes, ACSCTG 2-Button Universal Remote is compatible with receiver ACSR3. You can also use remote models G1T and G3T.
-
My ID no. Is B8Q ACSGT. What replacement model remote should I get? ASCGT type 1
Yes, the ACSCTG 2-Button Universal Remote is compatible with your remote model ASCGT type 1, also remote models G1T and G3T would be compatible.
-
I need a remote for a ez lift model 500 garage door opener. Do you have one?
Sorry, we do not make any remotes that are compatible with this model.
-
Hello I have a model IS550/A opener , I lost my remote, what one should I order Thanks Jon
Yes, the ACSCTG 2-Button Universal Remote is compatible with Genie model IS550/A. You can also use remote G1T or G3T, they are non-universal, and therefore may be slightly easier to program.
-
What battery does it use?
The ACSCTG 2-Button Universal Remote uses a CR2032 battery.
-
This model is compatible with Genie Model GICT390?
Yes, the ACSCTG 2-Button Universal Remote is a compatible replacement for the Genie GICT390 remote.
-
Will this 2 button remote work for a 1/3 H.P. Model number PMX300IC/8?
Yes, the ACSCTG 2-Button Universal Remote is compatible with Genie model PMX300IC/B.
-
what remote works on a h4000-07/m
The best replacement would be a G3T. However the ACSCTG 2-Button Universal Remote is also compatible if you have other brand models you are attempting to use the remote with.
-
Hello Genie, What remote should I get for my Genie 1/2 P Model ISL 950/A? (Reciever Model ACSR3G) I only have one door. Its been working great for years but openers now are harder to push and batteries dont seem to last very long. Any thoughts? Thank you, Mark
The best one button replacement remote for Genie model ISL950/A is remote model G1T-BX.
-
Will this work with model 1/2 hp ims1000/a
Yes, the ACSCTG 2-Button Universal Remote is compatible with the IMS1000/A.
-
Is this remote compatible with Ryobi openers?
Yes, the ACSCTG 2-Button Universal Remote is compatible with Ryobi openers that use 372.5 MHz frequency (rolling code only).
-
I have a genie intellicode universal conversion kit and I have lost the remote. What remote will work with our kit.
Yes, the ACSCTG 2-Button Universal Remote is compatible with intellicode receivers, you can also use the G3T-R remote.
-
Why are the buttons different on the remote? My remote control has a round button with a triangle button above it, not 2 round buttons.
There was a design change for this remote, but rest assured this remote is compatible with your unit.
-
Will this work with Genie model PMX 70?
No for model PMX 70 you would need a GM3T-R.
-
Our manual says "Series CGCG & PCG Includes INTELLICODE Remote Control and SERIES II Electronics". I do not see a model number though. It is 1 double door and is 19 years old. Is this the correct replacement garage door opener?
Yes you can use the ACSCTG 2-Button Universal Remote.
-
Will this remote work for a genie h6000a garage door opener?
Yes, the ACSCTG 2-Button Universal Remote is compatible with the model H6000A.
-
Will this remote work with the PCG 650 which works with the ACSCTG type 2 remote which just failed?
Yes, the ACSCTG 2-Button Universal Remote will work with the PCG650.
-
Model compatible with ACSCTG Type3. Part 15 Ic RSS/CNR 210?
Yes the ACSCTG 2-Button Universal Remote is a compatible replacement for the ACSCTG Type 3, however it only has two buttons to operate two doors, instead of 3 buttons for 3 doors.
-
Which model is best for a ACSGT type three Port 15 IC: RSS/CNR 210
The closest replacement for ACSGT type three is the G3T-R remote.
-
My old remote that needs replacing is Model ACSCTG Type 1 FCC Part 15 IC: RSS/CNR 210. Which new remote is its replacement?
The remote ACSCTG 2-Button Universal Remote is compatible.
-
Ia this compatible with the Genie Excelerator 1/2 HP?
Yes, the ACSCTG 2-Button Universal Remote is compatible with the Genie Excelerator 1/2 HP model.
-
will this work with the Genie GX9000 (screw drive)?
No the ACSCTG 2-Button Universal Remote is not compatible with the GX9000, the GM3T-R is compatible with the GX9000.
-
Does this remote work on a Genie pro max 1/2 HP model ACSRIG?
Yes the ACSCTG 2-Button Universal Remote is compatible with the ACSRIG model.
-
Will this work for model B8QACSCT
Yes, ACSCTG 2-Button Universal Remote is compatible with B8QACSCT
-
Will this work on a model lsl950/a
Yes the ACSCTG 2-Button Universal Remote is compatible with the model ISL950/A.
-
will this remote work on model is550/a
Yes, it is compatible.
-
I have a Genie cm 7500-s will this remote work ?
No the ACSCTG 2-Button Universal Remote is not compatible with the CM 7500-S, the compatible remote would be the GM3T-R.
-
I have a 1/2 HP Model 3060L Garage Opener 120V 60Hz 6 AMP were can I find the replacement remote for this opener and cost?
The best replacement remote for the 3060L is the G3T or G1T.
-
Will this work for genie model 3060L-07/M
Yes this remote ACSCTG 2-Button Universal Remote will work with a Genie 3060L.
-
will this remote work with model pcg450
Yes, it will.
-
I have a Genie Model ISD990 Garage door. Will this remote work/is it compatible with my Genie garage door model?
Yes it will.
-
My remote was lost, now I want to buy a new one. My model is older; please show me what kind of remote suits me my model CM8600IC/A receiver model/model ACSRG, Thank you
Any of our current remotes will be compatible with the CM8600IC/A.
-
What remote works on Genie model 2560/m?
Any of current remotes will work with your Genie garage door opener.
-
Will this be compatible with model number CM 8600 XL/m
Yes, you can use the ACSCTG 2-Button Universal Remotewith your Genie model CM8600XL garage door opener.
-
Have a Genie Pro Max Series II chain, need a remote opener. What will work?
Yes the ACSCTG 2-Button Universal Remote will work with your Genie ProMax series II garage door opener.
-
Does this remote work for a Genie Intelligence Model IS550/A? If not what remote does?
Yes, the ACSCTG 2-Button Universal Remote will work with your Genie model IS550/A garage door opener.
-
can this remote replace an older Genie intellicode model ACSCTG type 2 FCC ID B8QACSCT
Yes, you can use the ACSCTG 2-Button Universal Remote in placed of the ACSCTG type 2 remote.
-
is it suitable for genie silentmax 1000 3042
Yes, the 41713R remote will work with your Genie Silentmax 1000 opener.
-
Is this remote compatible with a Genie 3024H IntelliG 1000 opener? Thanks! Matt
Yes, the ACSCTG 2-Button Universal Remote is compatible with the Genie model 3024H.
-
what remote is compatible with genie model h4000-07?
Yes, the ACSCTG 2-Button Universal Remote is compatible with the Genie model H4000-07.
-
I have a Genie CM8600IC/A. Will this work with it?
Yes, the ACSCTG 2-Button Universal Remote is compatible with Genie model CM8600IC/A.
-
Is this compatible with the genie pro max PMX500-XLACSRIG??
Yes, the ACSCTG 2-Button Universal Remote is compatible with Genie PMX500XL.
-
Can this remote work for a Genie Intellicode 1/2 HP Model H4000A 0 late 90s model garage opener?
Yes, the ACSCTG 2-Button Universal Remote is compatible with the Genie model H4000A.
-
I have a GU4TG2 model universal 4 button remote and am looking for a second remote that I can use. Will the ACSCTG2 button work?
Yes, the ACSCTG 2-Button Universal Remote is compatible with the same models/brands as the GU4T remote.
-
Does this one : ACSCTG 2-Button Universal Remote working on ACSRG remote??
Yes, the ACSCTG 2-Button Universal Remote is a compatible replacement for the ACSRG remote.
-
Is this one work on receive Model ACSRG?
Yes, the ACSCTG 2-Button Universal Remote is a compatible replacement for the ACSRG remote.
-
Does this replacement model work with model IS550/A?
Yes, the ACSCTG 2-Button Universal Remote is compatible with the Genie model IS550/A.
2-Button Universal Garage Door Opener Remote Programming Instructions
FAQ's for the ACSCTG-UNIV2 2-Button Universal Garage Door Opener Remote
UNIVERSAL 2-BUTTON REMOTE INSTRUCTIONS
*NOT FOR USE WITH ANY GARAGE DOOR OPENER MANUFACTURED PRIOR TO 1993. SAFETY BEAMS (PHOTOCELLS) MUST BE IN PLACE AND OPERATIONAL.
THINGS TO KNOW BEFORE STARTING:
- During programming, the garage door opener may operate. Ensure that the garage door opening is clear of personnel or any obstructions.
- Do not press the LEARN button for longer than the noted 2-3 seconds as it could cause your existing, operational remotes and keypads to no longer work.
- All buttons are factory set to Genie Intellicode® 1.
Below are the brands and specifications that this remote is compatible with. Find the ID# in Chart A below references your specific opener specification. You will need this number during programming. Refer to STEP 1 to find the type and/or LEARN/ PROGRAM button.

NOTE: During programming, the garage door opener will operate. Ensure that
the garage door opening is clear of personnel or any obstructions.
STEP 1 - Find Specifications & Learn Button
- Locate the brand and opener/receiver specifications for your device by consulting the label on the opener/receiver, the instruction manual, the current remote controls for the opener, or the original manufacturer of the opener/receiver.
- Find the LEARN/PROG button on your device - the shape, color, or name of this button could vary by brand. For garage door openers, be sure to check under the light covers. For commercial or gate openers, this button may be on the circuit board of the opener. In some cases, this button could also be on an external receiver that is mounted on or nearby the product. Consult the device's manual if needed.
*For Marantec® openers, reference operator manual to program remotes to the operator's head.

STEP 2 - Activate Remote/Button Layout & LED
Activation Tab: Pull tab to activate the remote.

LED - The LED will light with each button press and will also light in response to button presses during different programming modes.
STEP 3 - Programming Remote
IMPORTANT: For ID#4 Chamberlain®/LiftMaster®/Craftsman® Yellow Learn Button - move immediately to the proper section below. For all other ID#s, proceed to LEARN METHOD section.
LEARN METHOD
Review Chart A to find your specifications and available programming options. Each button can be programmed individually to operate up to 2 different brands of garage door openers and gate receivers.
- Remove the activation tab from the inside battery compartment.
- Find and remember the required number of button presses (ID#) in the LEARN METHOD column next to your brands/specification in Chart A. REMEMBER: For ID#4 Chamberlain®/LiftMaster®/Craftsman® Yellow Learn Button ONLY - Move immediately to instructions below. For all other ID#s, proceed to step 3.
- On remote, press and hold down BOTH buttons at the same time – as soon as the RED LED begins flashing, immediately release both buttons (@ 5 seconds).
- On remote, press the button of your choice the required number of times from CHART A.
- When presses are complete, simply WAIT until the GREEN LED blinks and then goes out.
- On the opener, press LEARN/PROGRAM button for 2-3 seconds and then release.
- Press and release button you just programmed once every 2 seconds until the garage door opener operates.
- Test the button - programming is complete.
TIP: Allow the LED light on the universal transmitter to stop flashing before your next button press.
ONLY for ID#4 Chamberlain®/LiftMaster®/Craftsman® Yellow Learn:
- Remove the activation tab from the inside battery compartment.
- On remote, press and hold down BOTH buttons at the same time – as soon as the RED LED begins flashing, immediately release both buttons (@ 5 seconds).
- On the remote, press the button of your choice four times.
- When presses are complete, simply WAIT until the GREEN LED blinks and then goes out.
- On remote, press and hold down the button you just chose until the GREEN LED blinks and goes out again – then release (@5 seconds).
- On the opener, press LEARN/PROGRAM button for 2-3 seconds and then release.
- Press the remote button you chose ONE time. The opener will click.
- On the opener, press the LEARN/PROGRAM button again for 2-3 seconds then release.
- Press the remote button you chose ONE time again. The opener will click again.
- Press the remote button again and the opener will activate.
- Test the button - programming is complete.
TIP: Allow the LED light on the universal remote to stop flashing before your next button press.
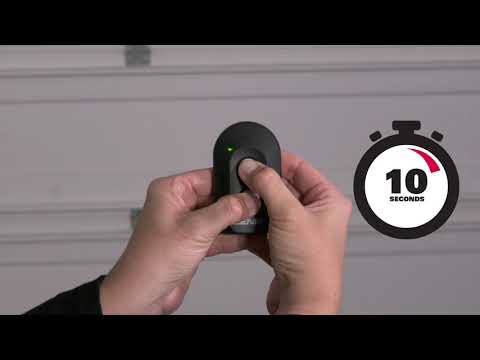
Clearing Remote
To clear any existing programming from the remote, perform the following:
- Press and hold down BOTH buttons at the same time – continue holding down both buttons until the GREEN LED blinks and goes out (@10 seconds).
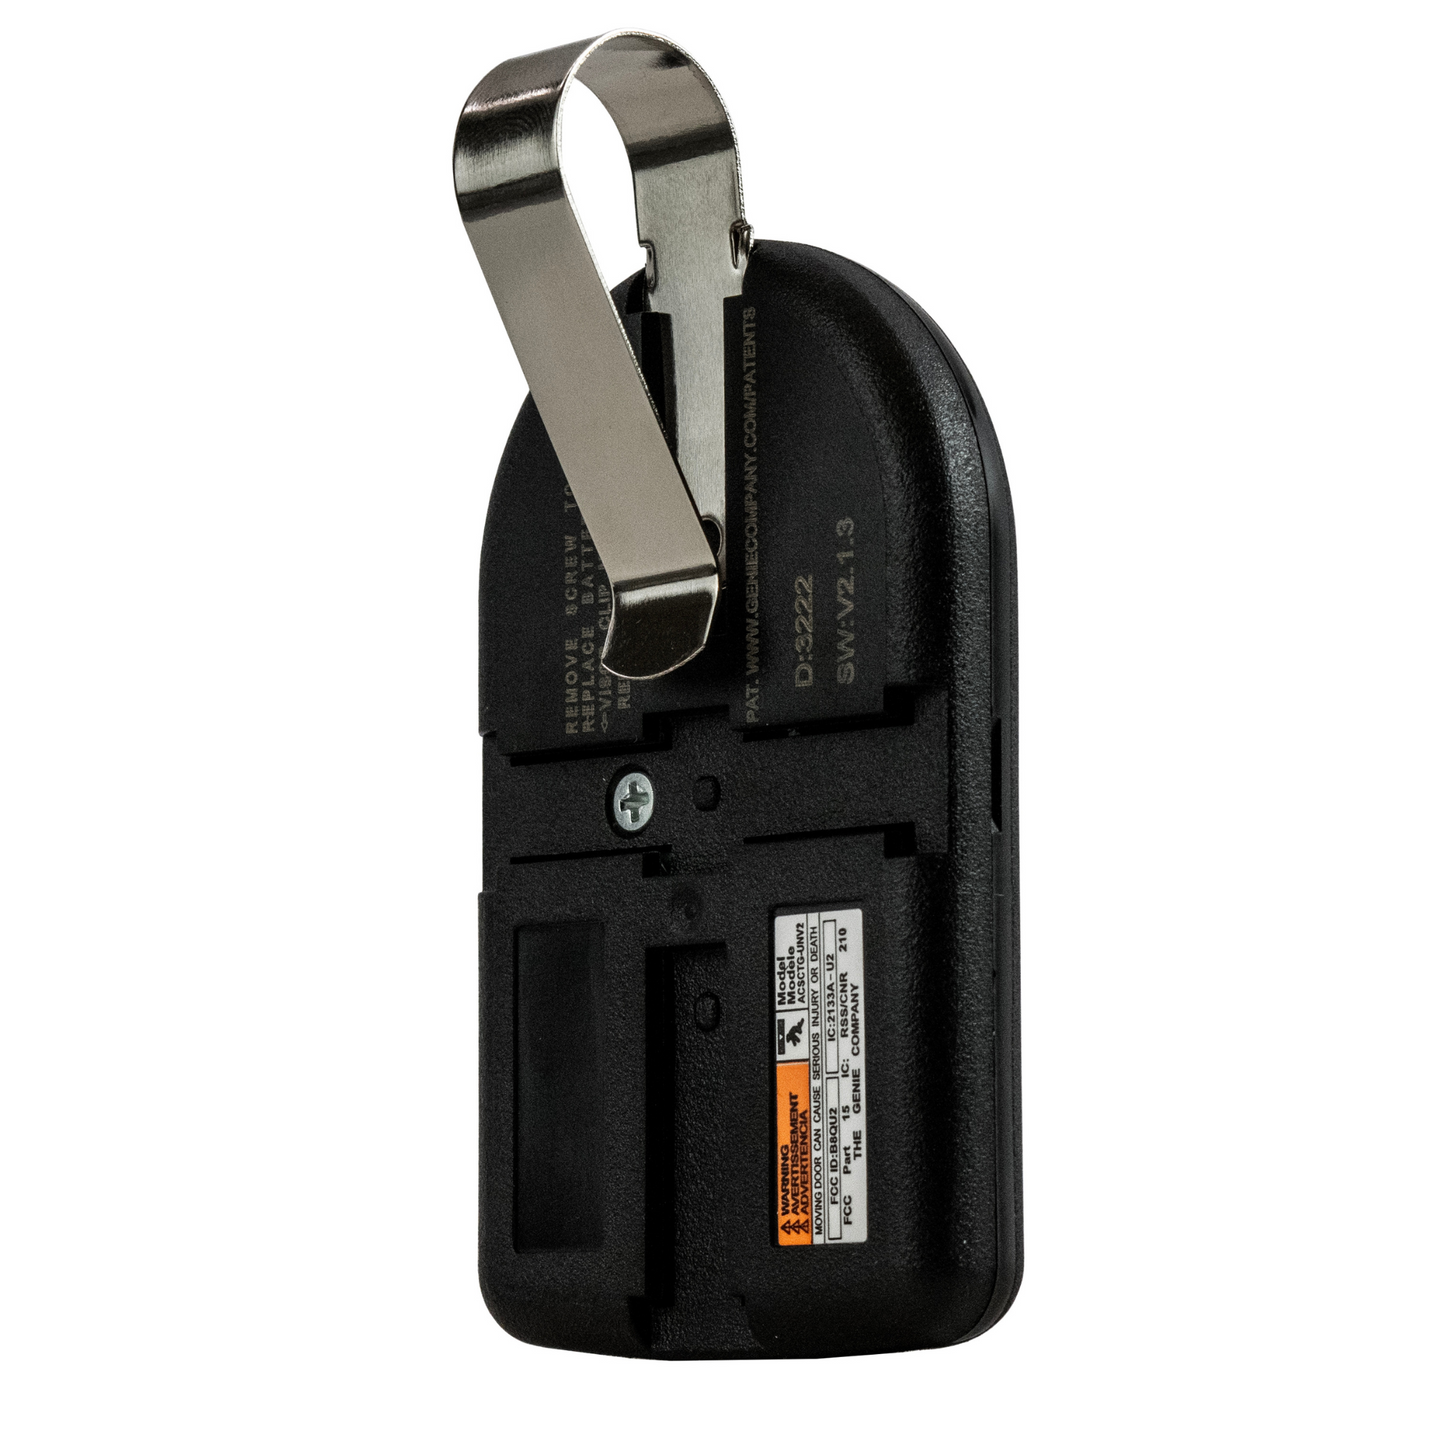
Installing Visor Clip - Changing Batteries
Visor Clip
Insert visor clip to any of the 4 slots in the back of the case dependent on mounting preference.
Change Battery
Remove the visor clip and screw from the back of the remote.
Pry case open with small coin or screwdriver.
Replace the battery with a CR2032 coin cell.
Programming Assistance:
If the opener does not activate after the steps shown, repeat steps or
contact Customer Care by website chat (www.geniecompany.com)
or by phone at: 1-800-354-3643 for programming assistance.
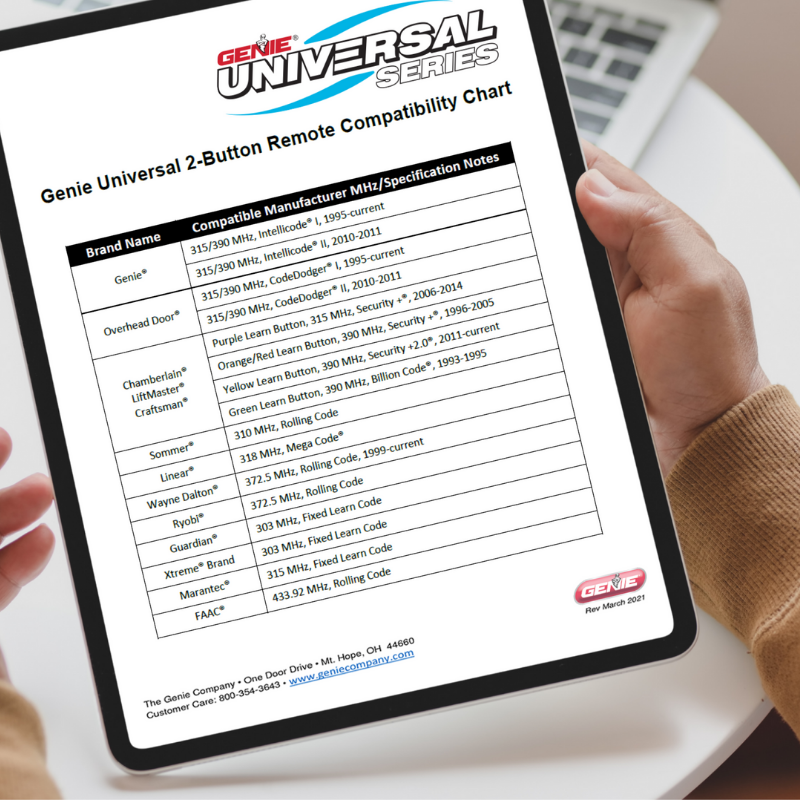
2-Button Universal Garage Door Opener Remote Compatibility Chart
Genie Universal 2-Button Remote Compatibility Chart
| Brand Name |
|
| Genie® |
315/390 MHz, Intellicode® I, 1995-current |
| Genie® | 315/390 MHz, Intellicode® II, 2010-2011 |
| Overhead Door® | 315/390 MHz, CodeDodger® I, 1995-current |
| Overhead Door® | 315/390 MHz, CodeDodger® II, 2010-2011 |
| Chamberlain® LiftMaster® Craftsman® | Purple Learn Button, 315 MHz, Security +®, 2006-2014 |
| Chamberlain® LiftMaster® Craftsman® | Orange/Red Learn Button, 390 MHz, Security +®, 1996-2005 |
| Chamberlain® LiftMaster® Craftsman® | Yellow Learn Button, 390 MHz, Security +2.0®, 2011-current |
| Chamberlain® LiftMaster® Craftsman® | Green Learn Button, 390 MHz, Billion Code®, 1993-1995 |
| Sommer® | 310 MHz, Rolling Code |
| Linear® | 318 MHz, Mega Code® |
| Wayne Dalton® | 372.5 MHz, Rolling Code, 1999-current |
| Ryobi® | 372.5 MHz, Rolling Code |
| Guardian® | 303 MHz, Fixed Learn Code |
| Xtreme® Brand | 303 MHz, Fixed Learn Code |
| Marantec®V | 315 MHz, Fixed Learn Code |
| FAAC® | 433.92 MHz, Rolling Code |

Works with Most Rolling Code Brands of Garage Door Openers Sold in the USA
-
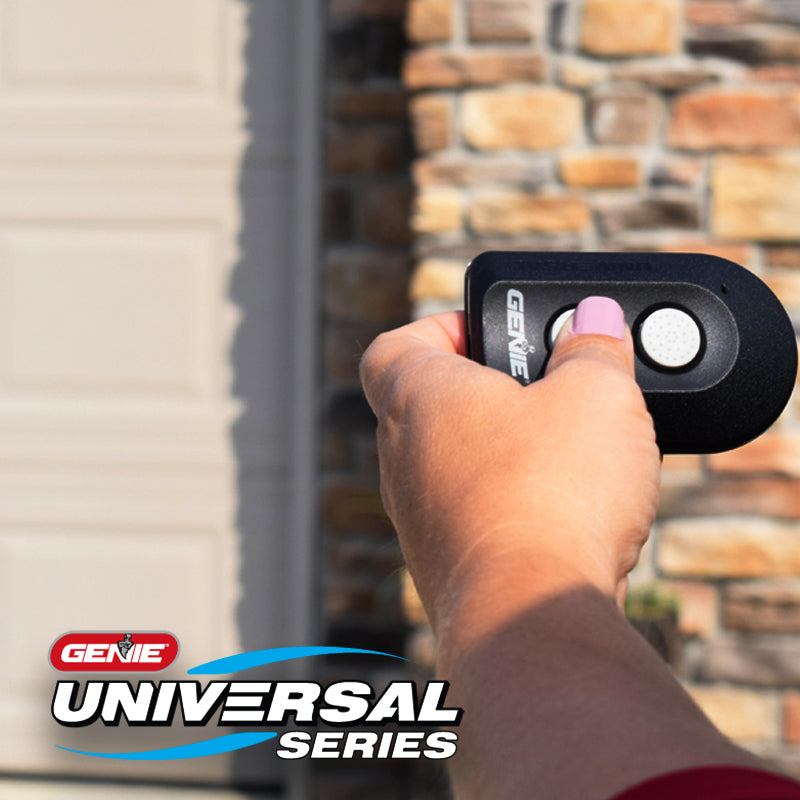
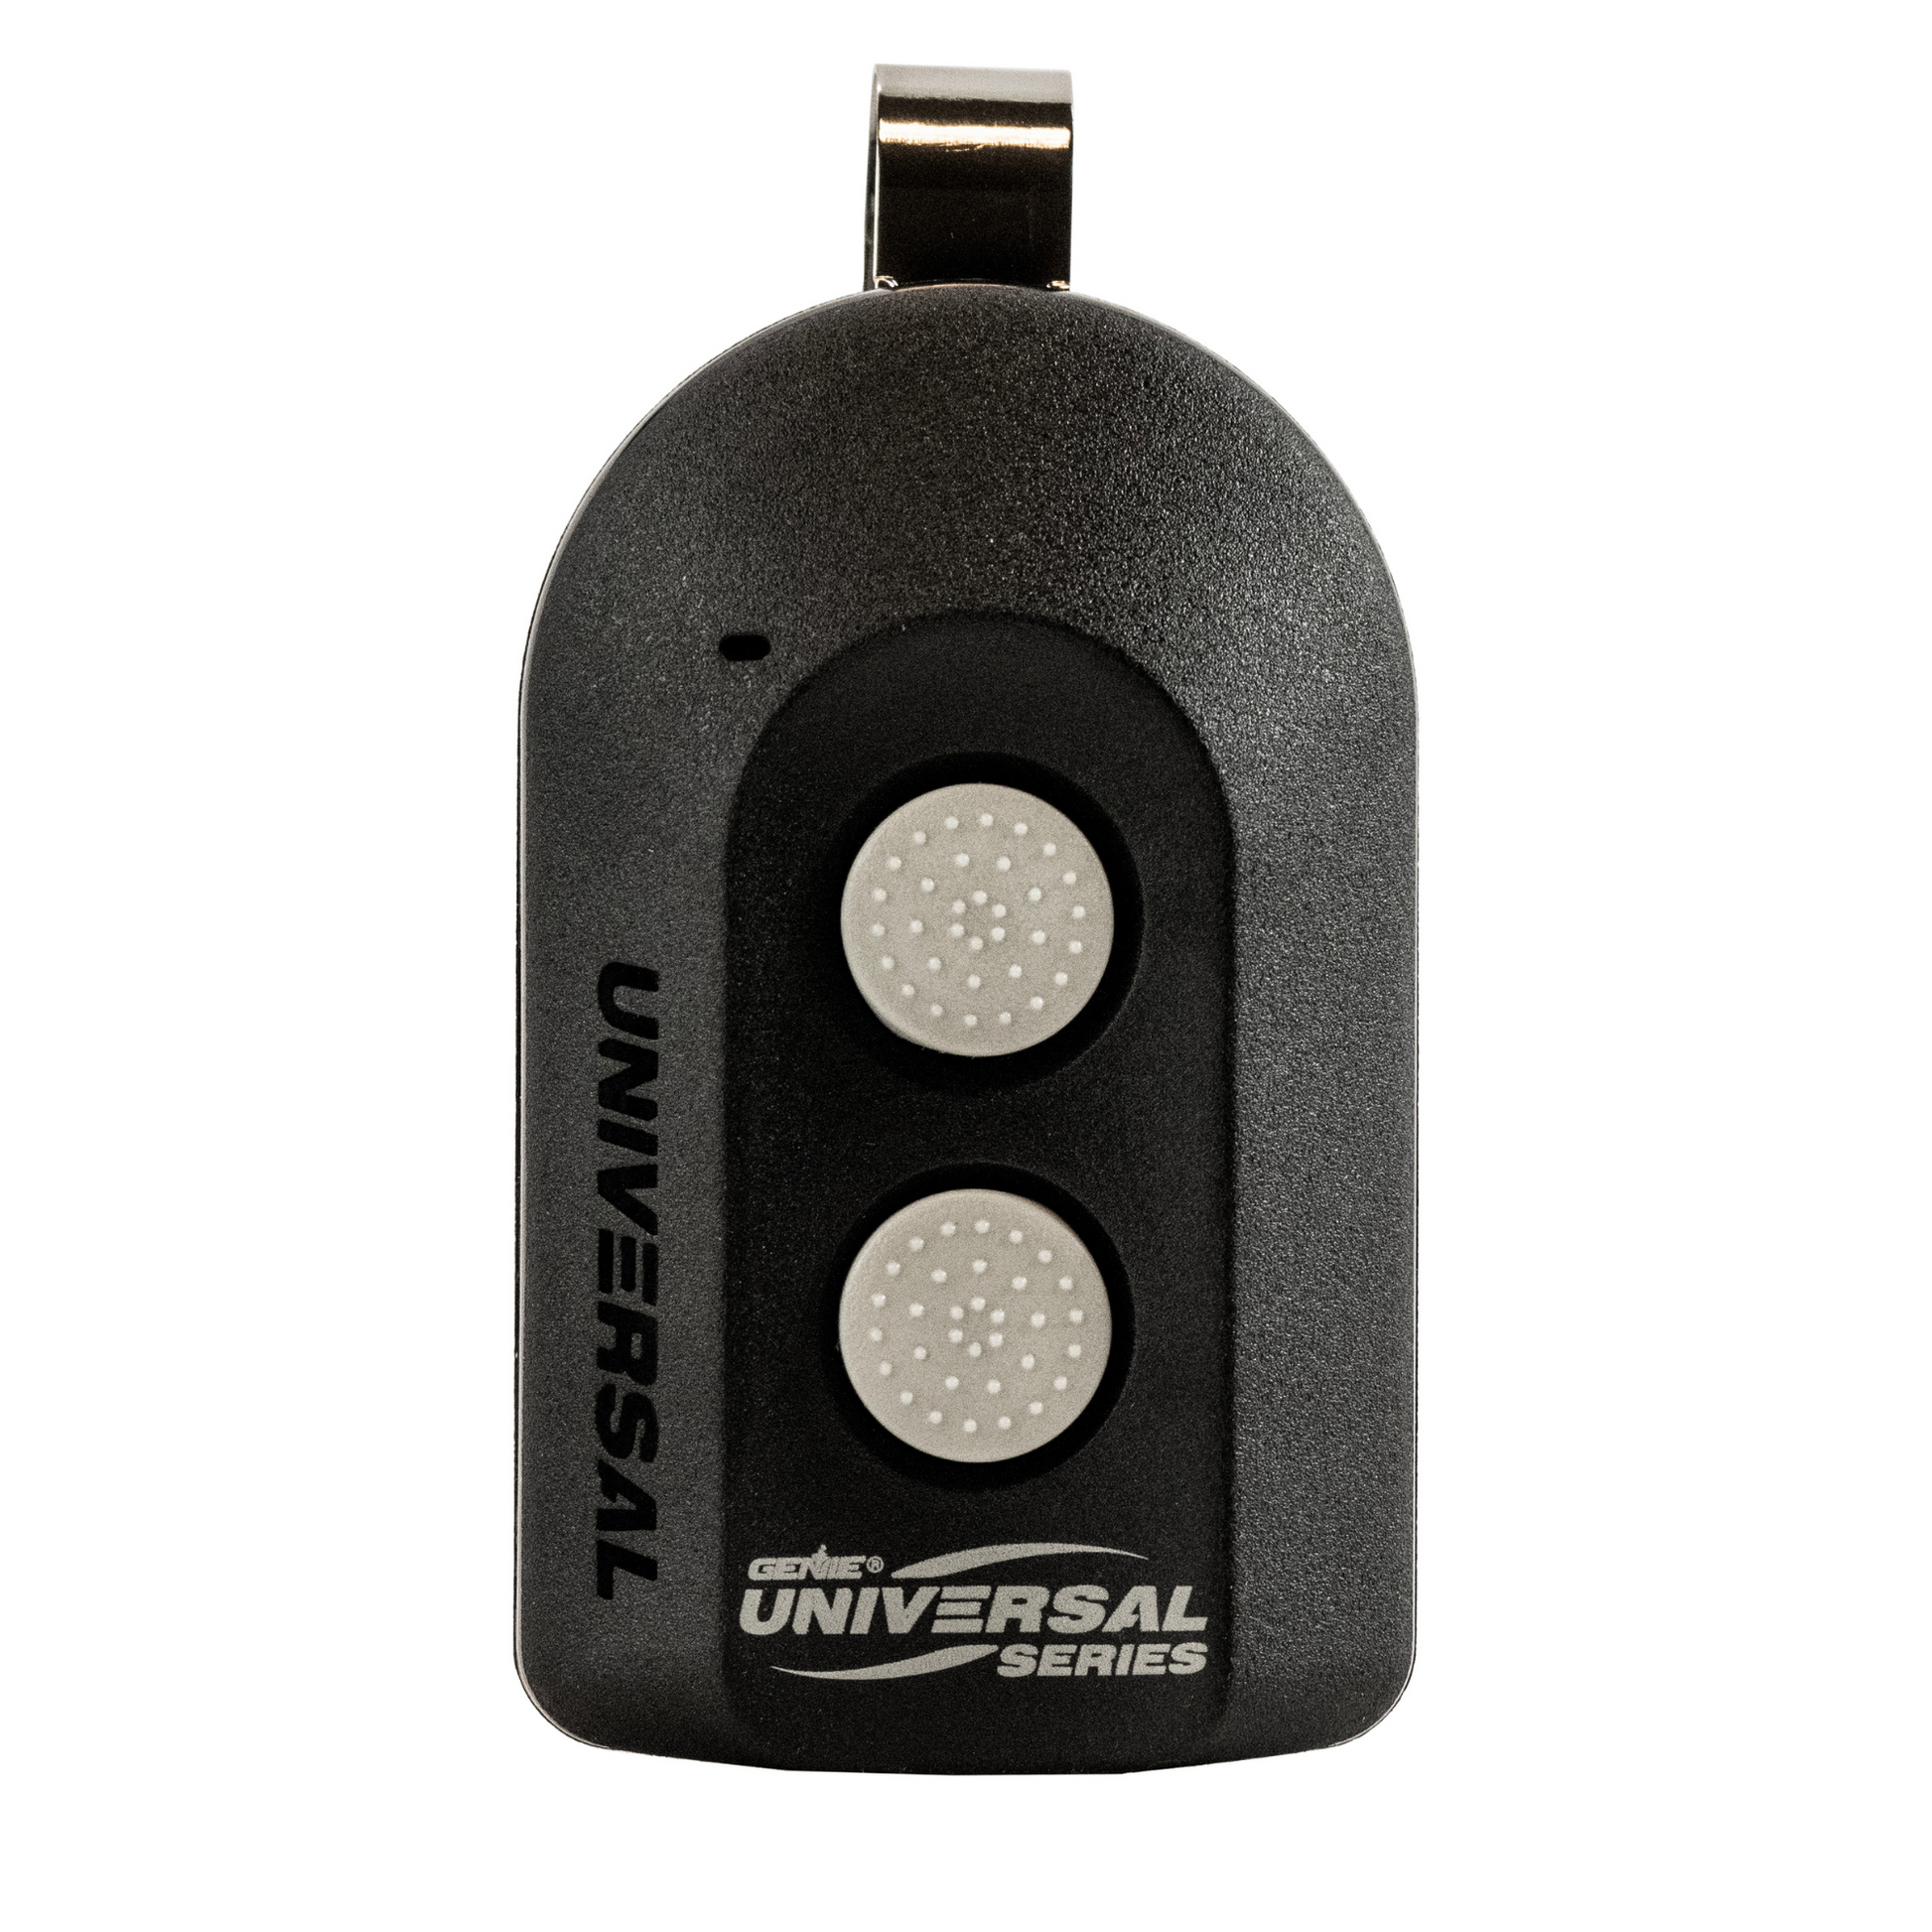
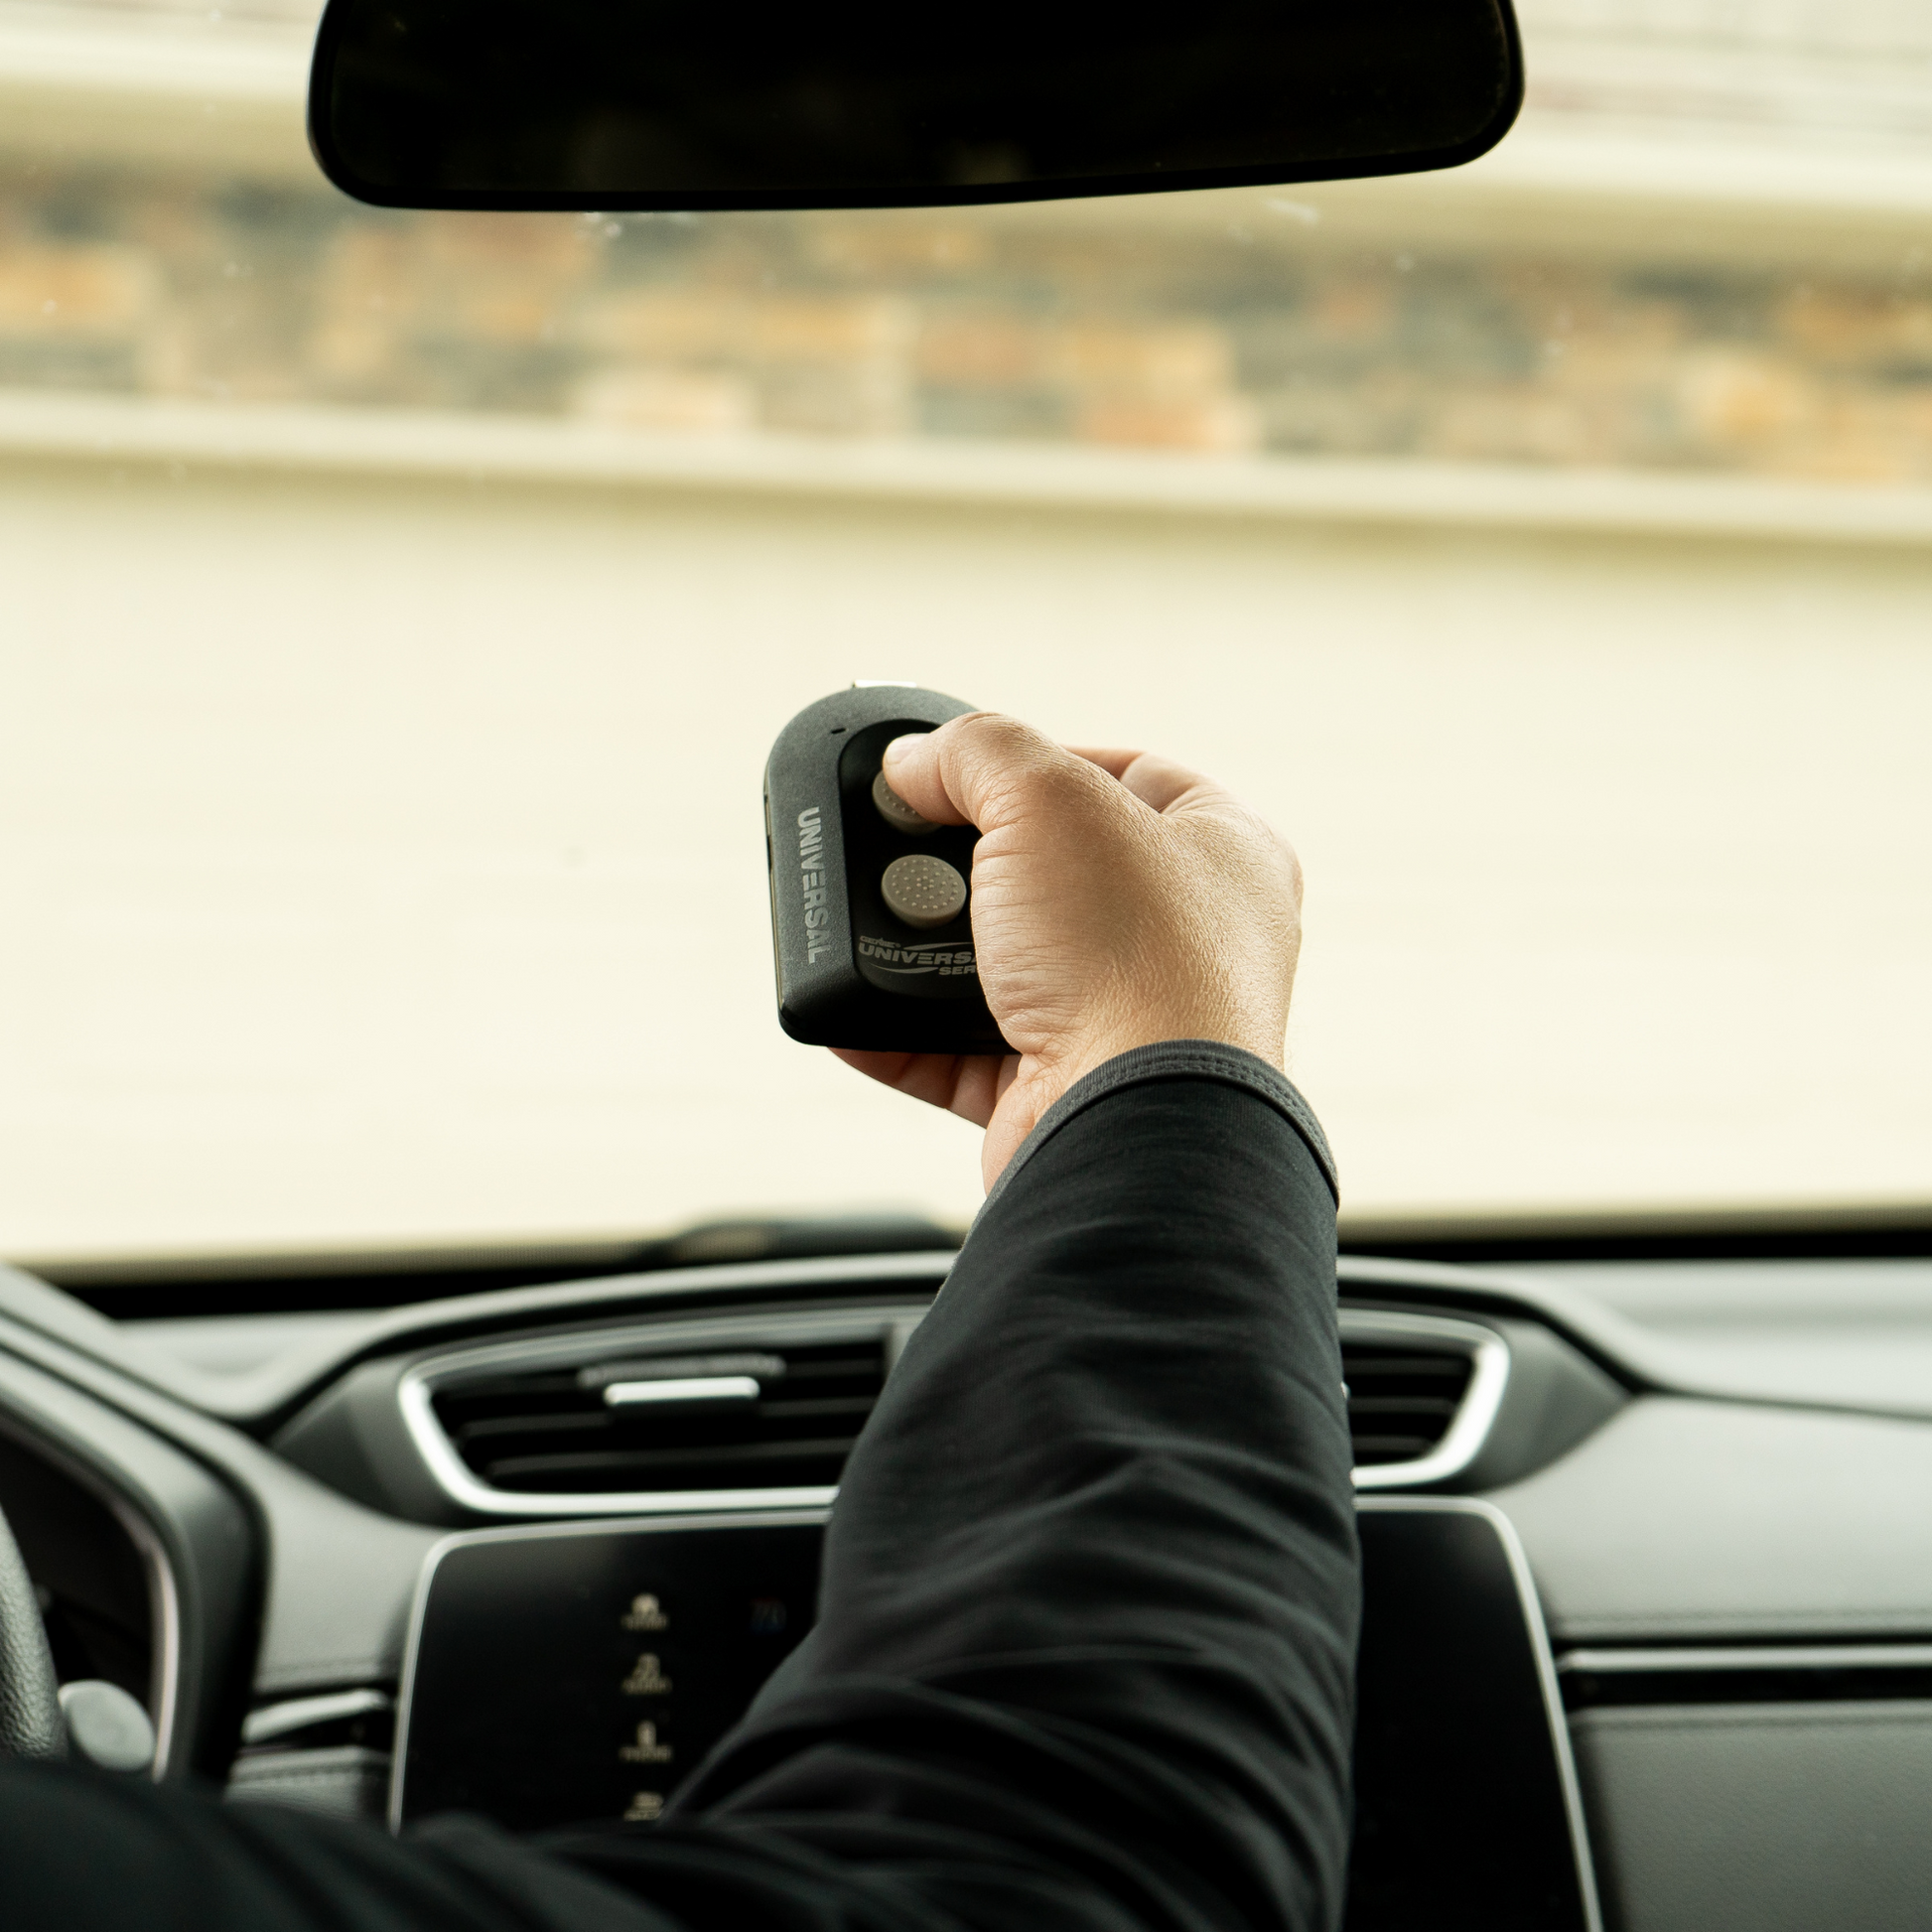
Easy to Use
This Universal garage door opener remote features two large easy to push buttons. The remote is also designed to be easy to hold onto plus simple to program.
-
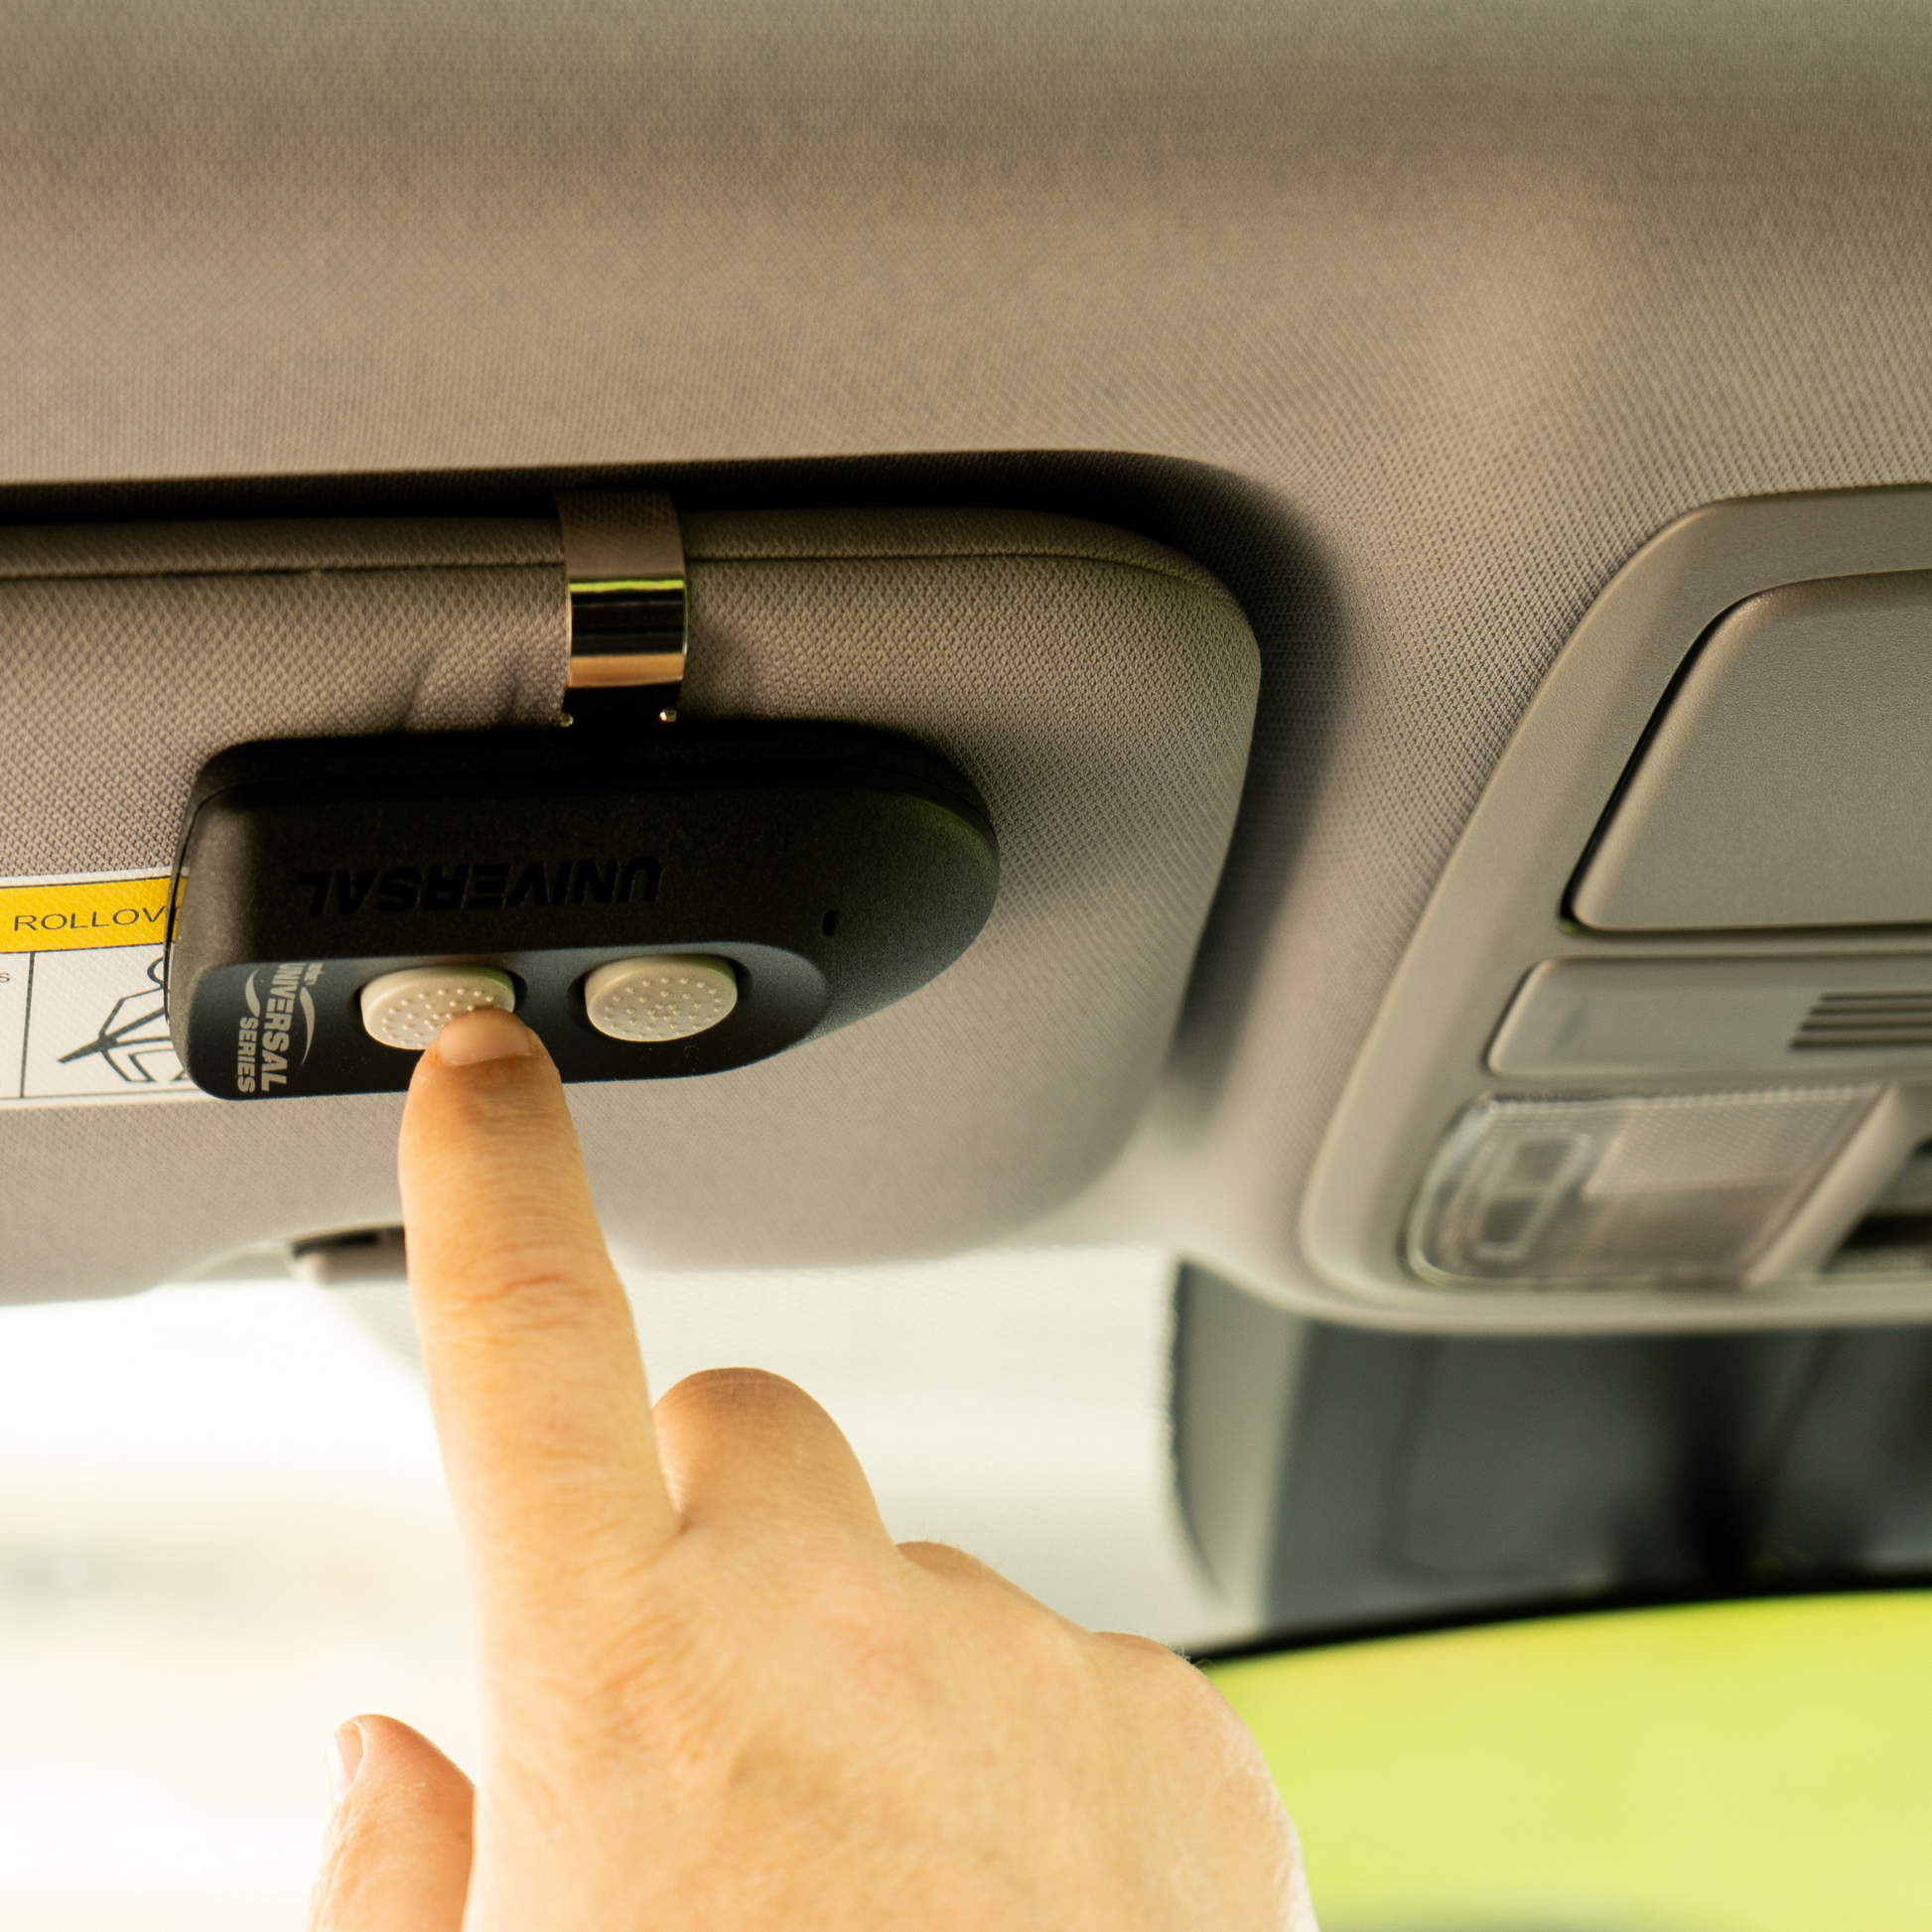
Reversible Visor Clip
The reversible visor clip that is included with this remote makes it easy to hang on any vehicles visor. No need to fumble around to open your garage when you know where the remote securely hanging.
-

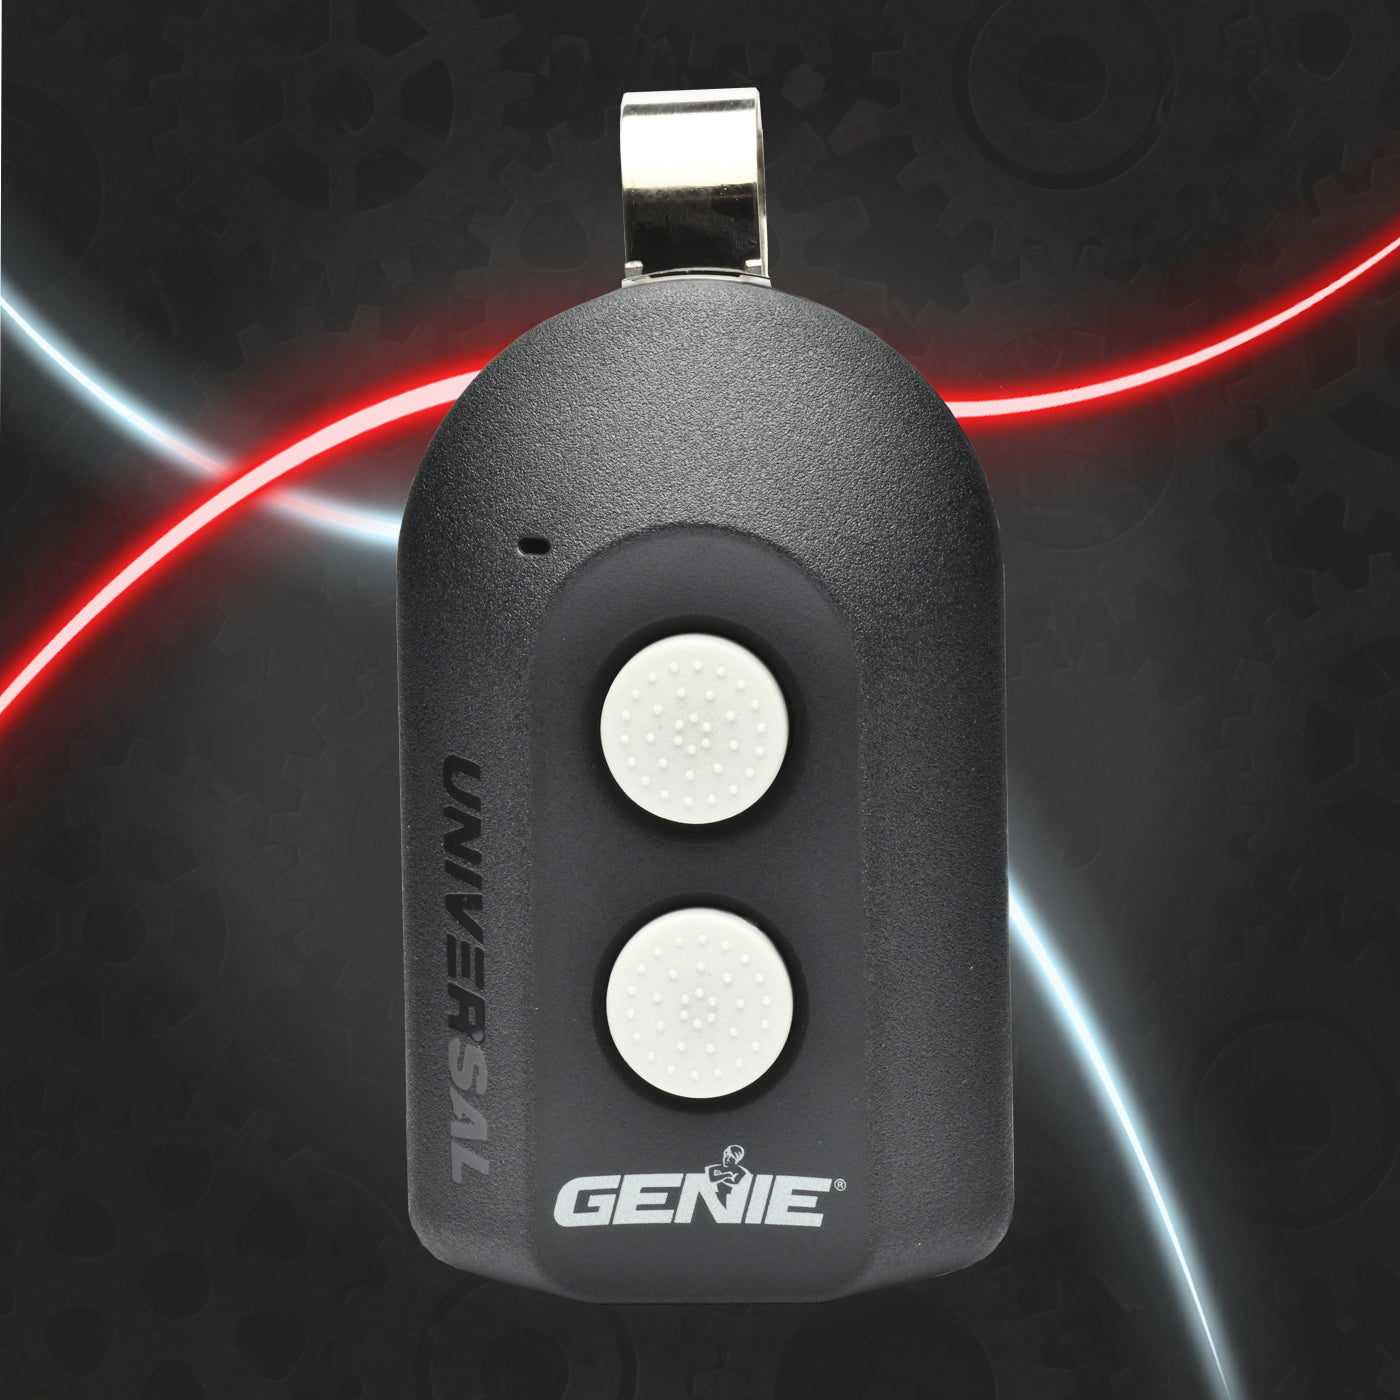
2-Buttons
Eliminate the need to have a different remote for each door. Program up to two different garage door opener brands into this single universal garage door opener remote.


