The Genie Company
Wireless Wall Console -39902R
Wireless Wall Console -39902R
Couldn't load pickup availability
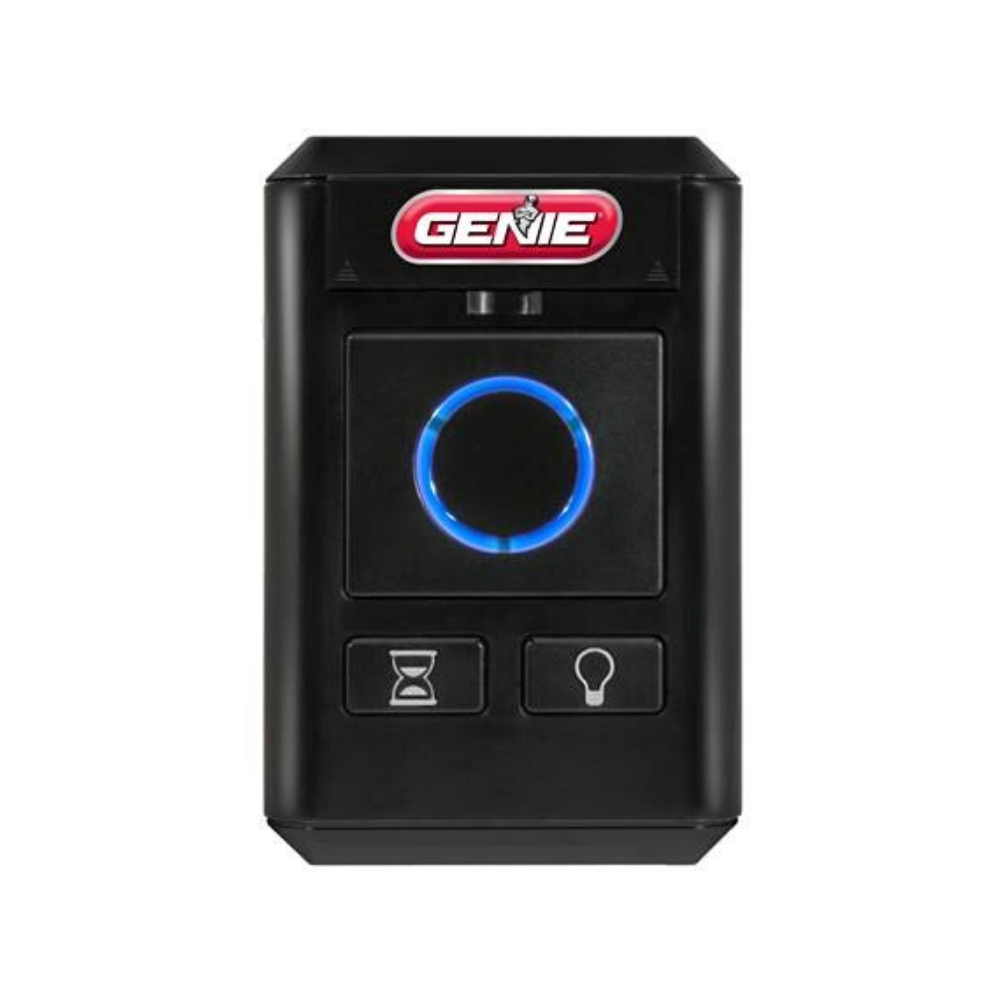
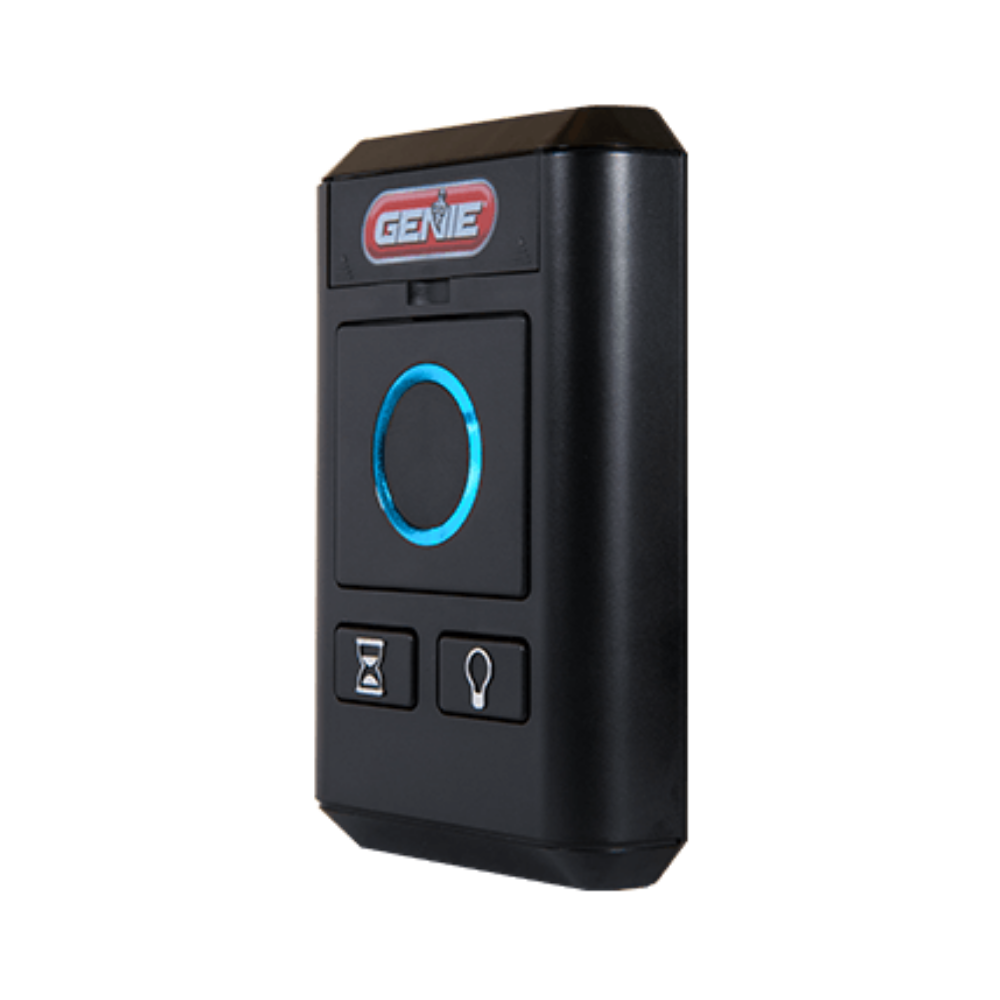
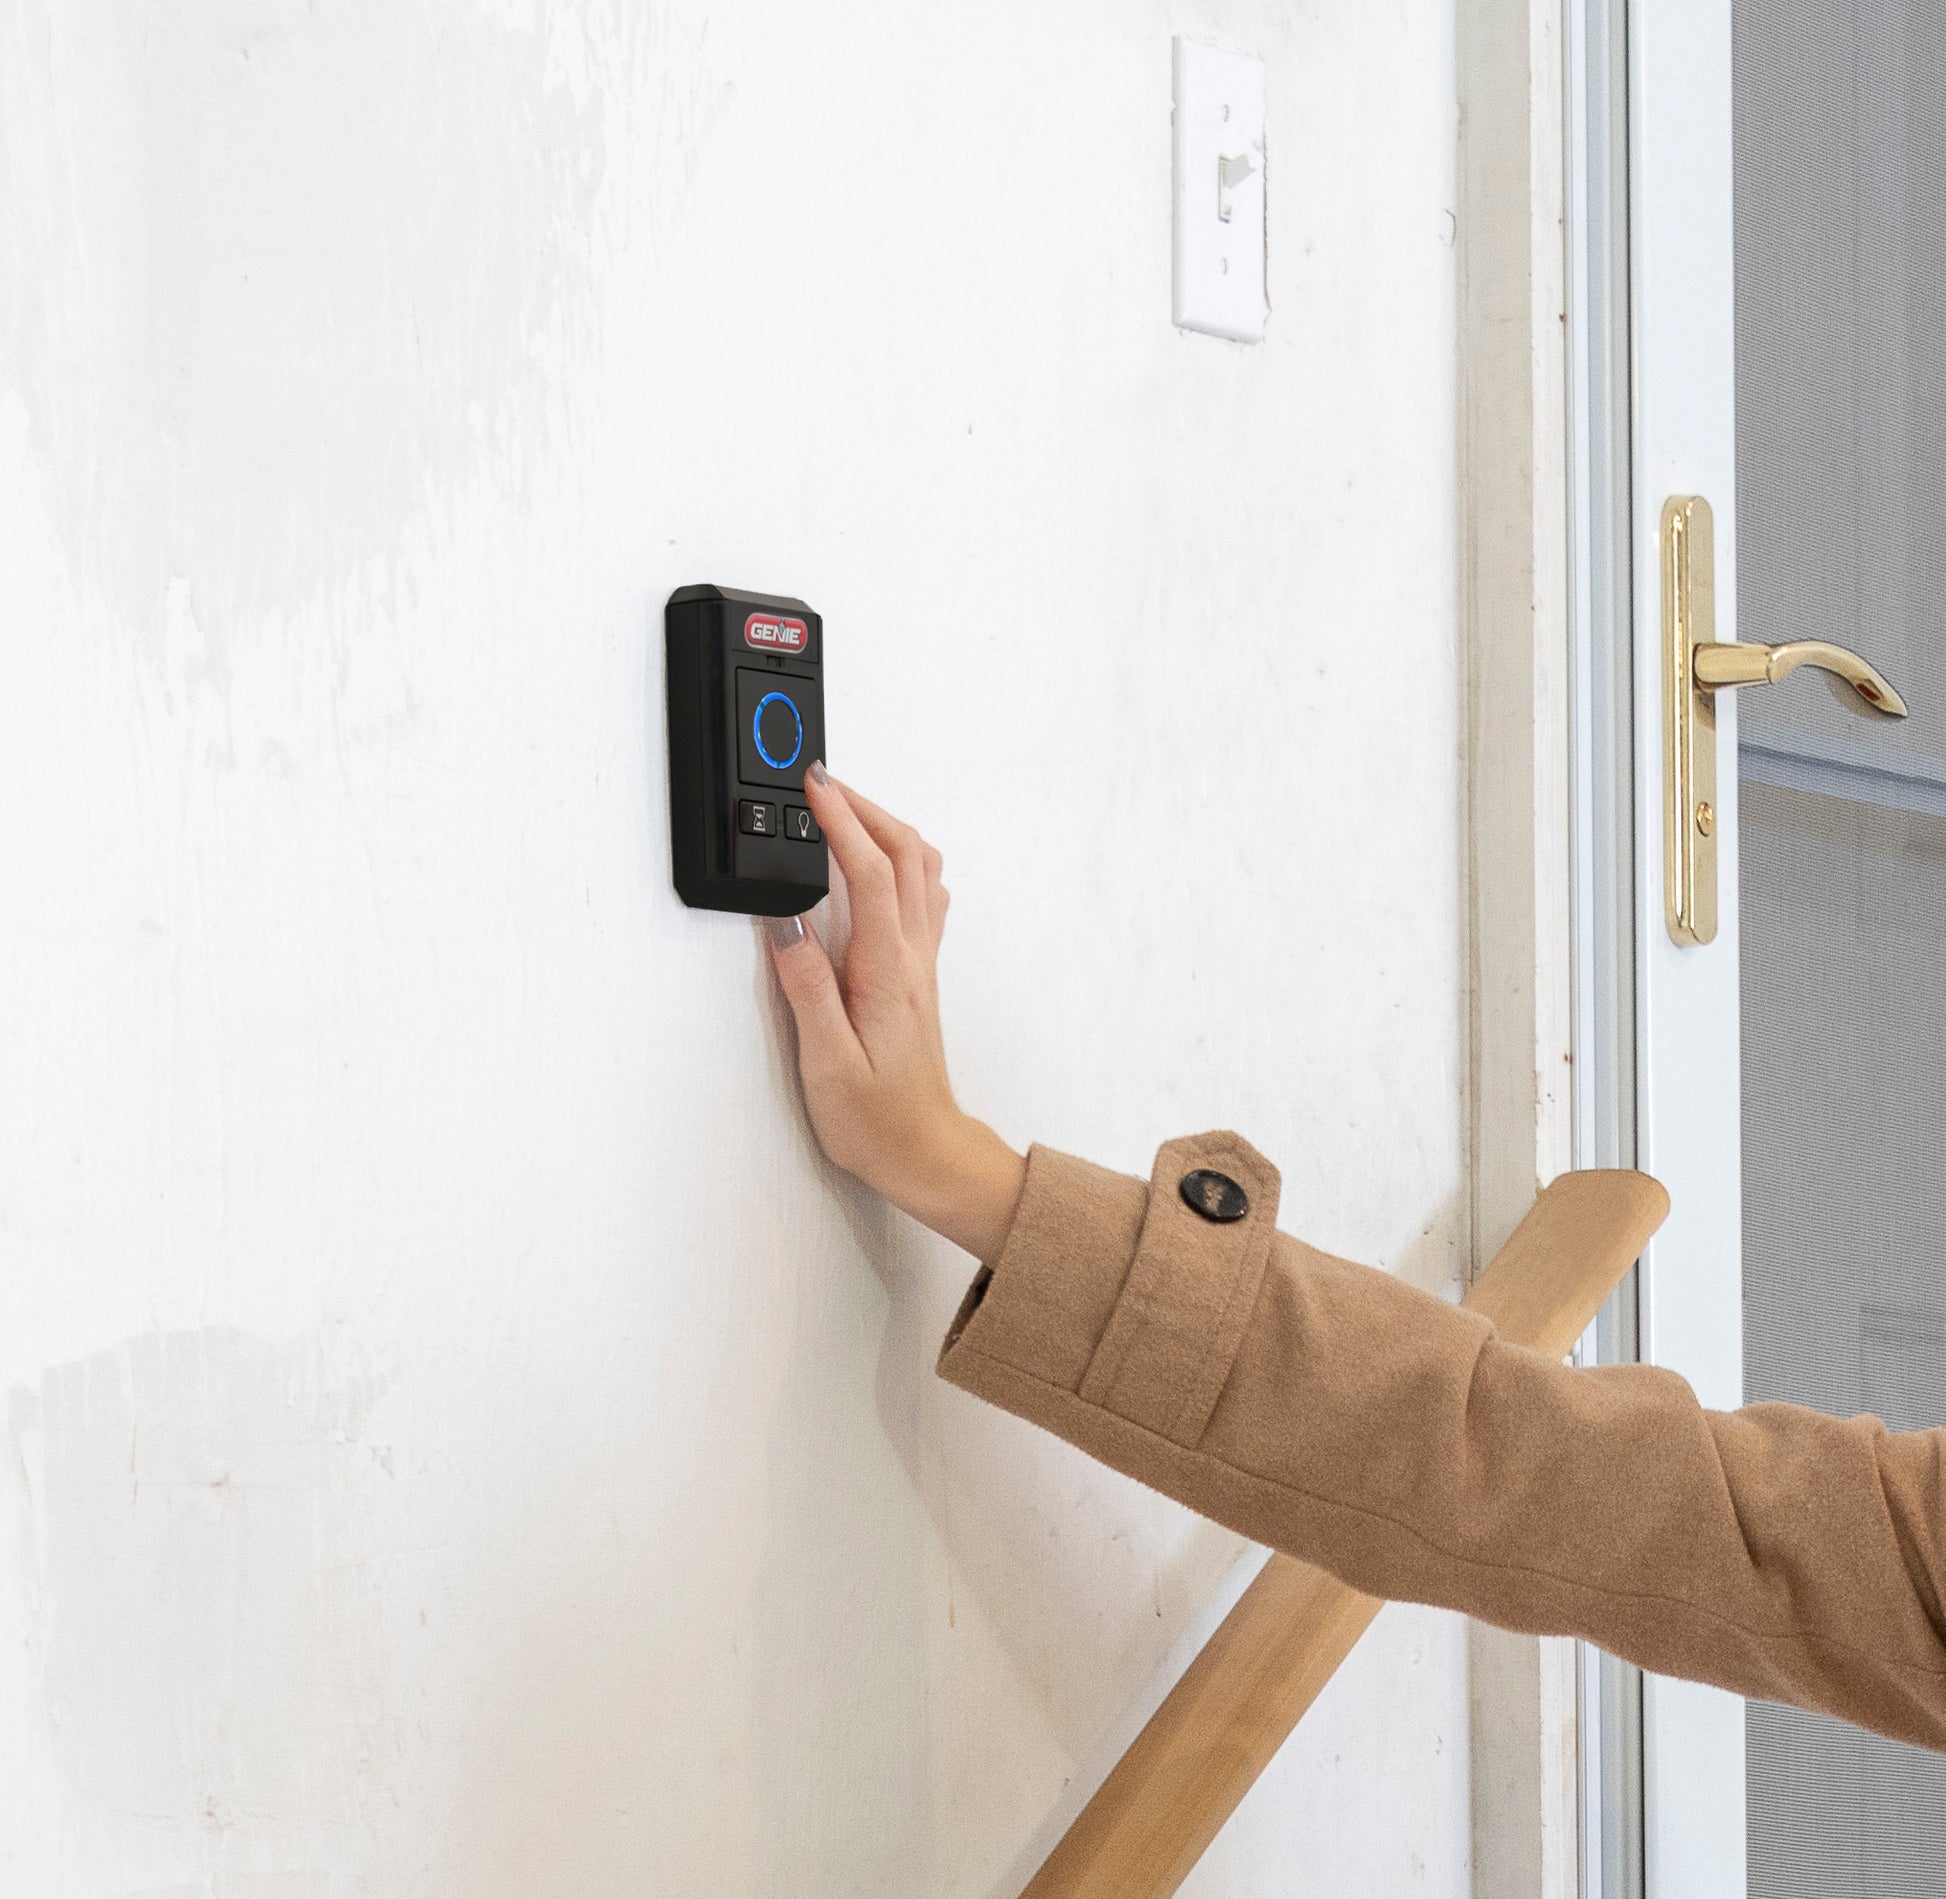
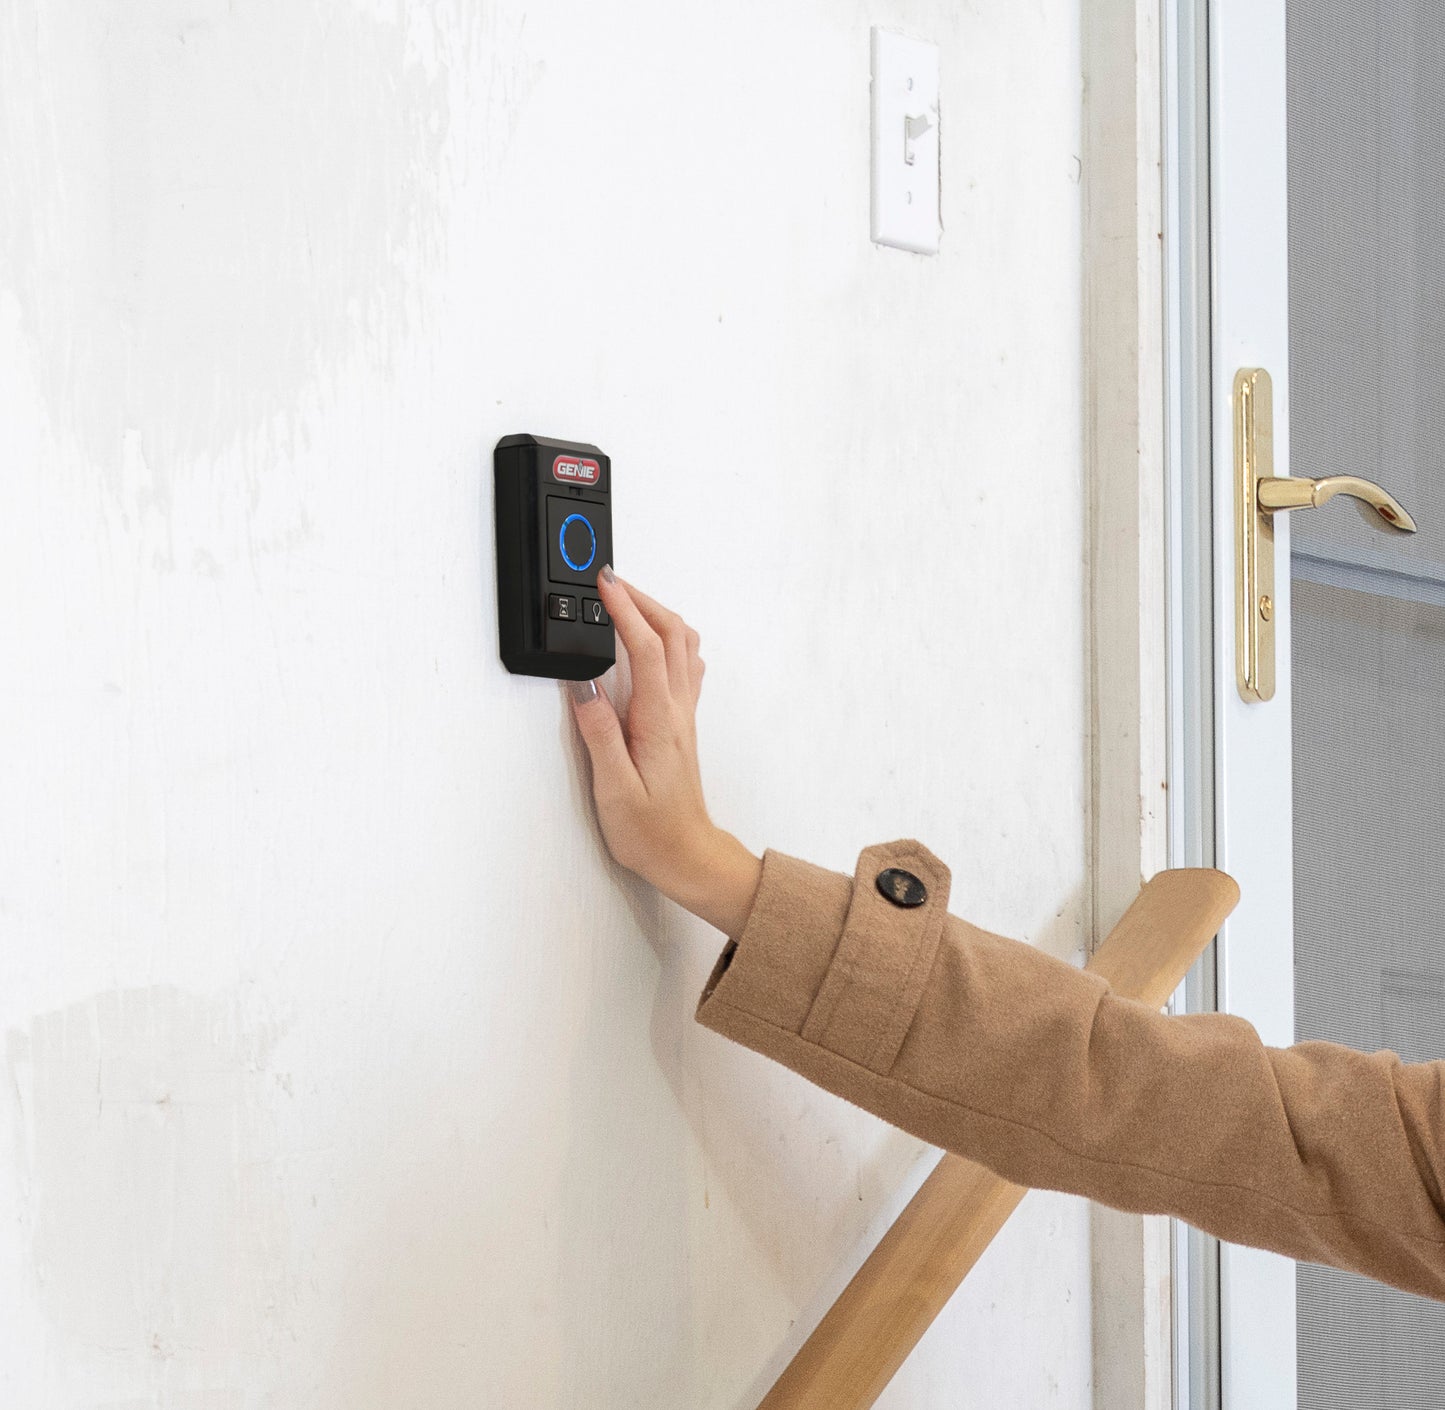
The Genie wireless wall console has upgraded functionality, a sleek new design with a blue LED light, and a completely wireless installation! No strings attached! - No need to have additional wired wall consoles, this wireless wall console easily programs just like the Genie remotes. Having multiple wireless wall consoles is not an issue! This wireless wall console is perfect to add to your side door or additional garage access point with a quick and easy install. A bright blinking blue LED light allows you to find your wireless wall console in the dark easily. The wireless wall console controls the lights on the garage door opener and the opening/closing of the garage door. It even has a jogger delay- this delay button allows you to have up to thirty extra seconds to delay the closing of the garage door. No need to jump over the garage door safety sensors just set the time delay close feature for 10, 20, or 30 seconds by pressing the hourglass button on the wireless wall console. The Wireless Wall Console will work with all Genie Intellicode® garage door openers manufactured since 2013. The Genie wireless wall console is powered by two AAA batteries. If the batteries are running low you will see a blinking red light weeks ahead of time reminding you to change the AAA batteries.
- Completely Wireless Installation - No need to have an additional wired wall console -absolutely no wiring required for operation!
- Works with all Genie Intellicode® openers since 2013. Click here for more details to see if your garage door opener is compatible. (Not compatible with Models 1022, 1024, 1042, 2022, 2024, 2027, 2042.)
- Large buttons and attractive blue LED light makes the console easy to see in the dark.
- The pulsating light has two optional speeds or can be turned off for maximum battery life.
- Backlighting will turn red to notify the user of low battery.
- Turn only the garage door opener light itself on at any time for steady light in the garage.
- Programs just like a regular Genie transmitter - having multiple wireless wall consoles is not an issue!
- Delay Button- can allow a user an extra 10 seconds to exit calmly and safely before the door begins to move. (Press button up to three times for a maximum of 30 seconds delay before door movement.)
- Includes Wireless Wall Console, (2) AAA batteries - that are easily accessible through a sliding cover on the front, (2) #6 x 1.25 Phillips screws and (2) #6-#8 drywall anchors
- Model: GWWC-P
- ⚠ California Residents: Proposition 65 WARNING
SKU: 39902R
In Stock! Usually ships within 24 hours.
ASK A QUESTION View full details
QUESTIONS & ANSWERS
Ask a Question-
How do I manually turn the overhead light on and off from the wall console?
You would press and release the light bulb button.
-
Will this Wirelesee wall Console work with model 3060L-07? If not do have one that will?
No, this is not compatible with a Genie model 3060L-07, however we do have a Universal 3 button wireless wall console available through Home Depot.
-
Will this work on IS550/A models?
No, the Wireless Wall Console -39902R will not work with the Genie Model IS550/A.
-
Will this work on IS550/A?
No, the Wireless Wall Console -39902R will not work with the Genie Model IS550/A.
-
If I disable the LED light on the 39902R Wireless Wall Console, will I have to reprogram the wall console to work with the opener?
No you will not have to reprogram the wall console after doing this.
-
It appears that the “Wireless Wall Console -39902R” does not have the Sure-Lock/lock out feature. Is this correct?
That is correct, it does not have the sure lock feature.
-
Does this product (SKU 39902R) work with “Circuit Board / Series II Wall Console Bundle 38875R3.S”? Considering using the Wireless Wall Console instead of the wired Series II Wall Console.
Yes, the 39902R wireless wall console will work with the 38875R3.S circuit board/ wall console bundle. You can use the wireless wall console in place of the wired, or you can install both if you want to use more than one at different locations in your garage.
-
Is there a way to turn or disable the flashing blue light?
Yes, you can:
BLUE LED Blink rate Mode 3 (Blue LED OFF - Maximum Battery Life)
With only (1) AAA battery installed - hold down the DELAY button while simultaneously installing the second AAA battery. Continue to hold the DELAY button for a total of 10 seconds until the LED flashes 3 times letting you know your selection is complete. -
Would this possibly work with the excelorator model ISD1000 with intellicode?
No, it will not.
-
Will the 39902R work with model CM7600IC/A? If not, do you sell an alternate wireless wall product that does? Thank you.
No, it will not. We currently do not have a wireless wall console that will work with the CM7600IC/A model.
-
Will the Wireless Wall Console -39902R work with the PowerMax 1500 Model 4062? If not, might you have an alternate product to suggest? I don't see the original wired wall console for sale on your website.
Yes, the 39902R wirless wall console will work with the PowerMax 1500 model garage door opener.
-
How far / how many feet from the house will this unit work / operate the garage door ?
We do not recommend installing this wireless wall console out of sight of the garage door.
-
Is it possible to make the door button function as the delay button? I have one of these mounted near the door and would like to make sure it ALWAYS delays closing for safety reasons. My kids forget and push the larger button.
No, the delay function will not work unless the delay button is pushed before the open/close button.
-
Will the wireless 39902R wall console work with Conversion kit #36359R?
No, it will not.
-
Where is the program button on the 39902R? The instructions are not clear at all. Only led I see is the round one on the opener button, do not see a program button. Please help[
After getting the garage door opener powerhead into learn mode, you will hit the main button on the wall console three times (this is the button that will open and close the door).
-
Will this work with the genie powermax 1200 3062 model?
The Wireless Wall Console -39902R is compatible with Genie openers made after 2013. You will need to check the serial number on your garage door opener. If it starts with a 13 or higher, it was made after 2013 and will be compatible.
-
Is the Wireless Wall Console -39902R compatible with my garage door opener model 3155L? Can it replace the wall wired console? Thank you.
Yes, you can replace your existing wall consle with the Wireless Wall Console -39902R.
-
Will this work on models 6070 and 6170?
Yes, the Wireless Wall Console -39902R is compatible with Genie models 6070 and 6170.
-
Can I program the console to keep the garage door locked?
Hello. No, this wall console does not have the ability to lock the garage door.
-
will this work w the 2040L?
Hello. I am sorry this will not work with your opener. You can use the Universal wireless wall console 41550R with your 2040L Genie garage door opener.
-
Looking for a wireless wall console that’s compatible with a PMX500ic garage door opener.
You can use the universal genie wireless wall console 41550R with your Genie model PMX500IC.
-
Will the wireless wall console work with model 1155?
Yes, the Wireless Wall Console -39902R is compatible with Genie model 1155.
-
Will it work with model 3142 ?
Yes, the Wireless Wall Console -39902R is compatible with Genie model 3142.
-
The blue light turned red? Why
A red light on the Wireless Wall Console -39902R indicates the battery should be changed.
DIY Programming and Installation Video for the Genie Wireless Wall Console
PDF Wireless Wall Console Installation Instructions
Genie's Wireless Wall Console (39902R) Installation and Operation Instructions
COMPATIBILITY: DOOR, DELAY, and LIGHT buttons are compatible with most Genie openers manufactured since 2013. The wireless wall console is NOT compatible with the following Models: 1022, 1024, 1042, 2022, 2024, 2027 or 2042.
WARNING: MOVING DOOR CAN CAUSE SERIOUS INJURY OR DEATH.
• DO NOT install wall console unless the door operator’s safety device works as required by the door operator’s manual.
• Wall Console must be mounted in sight of door, at least 5 feet above floor and clear of moving door parts.
• Keep people clear of opening while door is moving.
• DO NOT allow children to play with the transmitter or door operator. If safety reverse does not work properly:
• Close door then disconnect opener using the manual release handle.
• DO NOT use transmitter or door operator.
• Refer to Door and Door Opener Owner’s Manuals before attempting any repairs.
Use high-quality batteries with leakage protection whenever possible. Consider changing batteries annually to help prevent premature corrosion and defects inside any accessory.

STEP 1) Program Wall Console to Garage Door Opener
Program Button Type Openers (See Fig. 1)
Open cover and remove battery tab before programming.
- Press and hold the program button on the opener until the round LED turns blue, then release.
- The round LED will go out and the long LED will begin flashing purple. Fig. 1.
- Press the DOOR button on the WALL CONSOLE 3 times or until the door operates.

STEP 2) Operating the Door with Wall Console

- DOOR Button - Runs garage door opener.
- DELAY Button - Adds a 10+ second delay for door operation. Press the delay button and door will automatically operate after set delay.
- LIGHT Button - Overrides the automatic timed light function of the garage door opener.
NOTE: Photocell override operation will not work on most models. See opener owners manual for information pertaining to photocell override.
Wireless Wall Console LED Signals:
The Wireless Wall Console includes self-diagnostic LEDs
- LED Blue Blink = Indicates NORMAL status.
- LED Red Blink = Indicates a low battery.
Clearing the Wireless Wall Console from the Powerhead (Factory Default):
With only (1) AAA battery installed - hold down the DOOR button while simultaneously installing the second AAA battery. Continue to hold the DOOR button for a total of 10 seconds until the LED flashes 3 times letting you know your selection is complete. Go to STEP 1 to reprogram the wall console to the powerhead.
Delay Door Movement Feature:
The default delay period is set for a 10-second delay. With this feature, an open door will delay on close. A closed door will delay opening. Once the DELAY button has been pressed the operation can’t be canceled unless the same console DOOR button is pressed. During the activation of a delay operation, consecutive button presses will add 10 seconds to the delay time. Up to 3 consecutive button presses for a total of 30 seconds can be made. At any point in time during a delay operation, a DOOR button press will disable the current delay. The garage door opener light will begin flashing 4-5 seconds prior to movement.
STEP 3) Mounting the Wireless Wall Console (See FIG. A)
Wall Consoles should be mounted at least 5 feet from floor in a convenient location within sight of the garage door.
- Remove battery cover, battery activation tab and batteries.
Mounting to garage framing:
- Drill a 3/32” pilot hole for the screw under battery door.
- Install included screw into pilot hole, leaving 1/8” gap between the screw head and wall.
- Hook the slotted mount on back of Wall Console over the screw.
- Mark and drill a 3/32” pilot hole for the top screw.
- Secure Wall Console to the wall. (Do not over-tighten).
- Reinstall batteries and battery cover.
Mounting to drywall:
- Drill a 3/16” pilot hole for the drywall anchor.
- Lightly tap drywall anchor into hole with a hammer until flush with wall.
- Install included screw into anchor, leaving 1/8” gap between the screw head and wall.
- Hook the slotted mount on back of Wall Console over the screw.
- Mark position of pilot hole for the top drywall anchor and remove wall console.
- Drill 3/16” pilot hole for top drywall anchor.
- Lightly tap anchor into hole with a hammer until flush with wall.
- Secure Wall Console to the wall. (Do not over-tighten).
- Reinstall batteries and battery cover.
Wireless Wall Console can also be directly mounted to a standard single gang wire box. (Screws and gang box not included)
Changing LED Blink Rates
NOTE: Any changes to the Blue LED blink rate other than the default setting will impact battery life. Example….going to a faster rate (from once every 3 seconds to once every 2 seconds will decrease battery life).
Factory Default Setting Mode 1 (Blink Rate - Once every 3 seconds)
NOTE: THIS WILL ALSO UNPAIR YOUR CONSOLE FROM THE POWERHEAD. With only (1) AAA battery installed - hold down the DOOR button while simultaneously installing the second AAA battery. Continue to hold the DOOR button for a total of 10 seconds until the LED flashes 3 times letting you know your selection is complete. Go to STEP 1 reprogram your wall console to the powerhead.
BLUE LED Blink rate Mode 2 (Faster Blink Rate - Once every 2 seconds)
With only (1) AAA battery installed - hold down the LIGHT button while simultaneously installing the second AAA battery. Continue to hold the LIGHT button for a total of 10 seconds until the LED flashes 3 times letting you know your selection is complete.
BLUE LED Blink rate Mode 3 (Blue LED OFF - Maximum Battery Life)
With only (1) AAA battery installed - hold down the DELAY button while simultaneously installing the second AAA battery. Continue to hold the DELAY button for a total of 10 seconds until the LED flashes 3 times letting you know your selection is complete.
For questions, comments or troubleshooting, contact The Genie Company at:
1 Door Drive, Mount Hope Ohio, 44660 or call 1-800-354-3643 or visit our website at www.geniecompany.com
Which openers are compatible with the Genie Wireless Wall Console?
- The wireless wall console is compatible with most Genie Intellicode® garage door openers manufactured since 2013. The wireless wall console is not compatible with Models 1022, 1024, 1042, 2022, 2024, 2027 or 2042.
How do you program the wireless wall console?
- The wireless wall console can be programmed in a similar way that any other Genie Intellicode remote is programmed – by pressing the PROGRAM button on the opener for approximately 2 seconds, then pressing the large DOOR button on the console 3-4 times until the door moves.
- The wireless wall console has 3 buttons. The largest button (DOOR button) moves the door up and down. There is a “Jogger button” (DELAY button) that when pressed provides the user 10 seconds before the door begins to move. Press the button up to 3 times for a maximum of 30 seconds. The final button is a work LIGHT button that allows you to turn the light on the opener on and off.
Does this console have any type of backlighting?
- The Genie wireless wall console has a pulsing backlight that makes it easy to locate in dark spaces. You can change the pulse rate to an alternate speed or turn it off completely for maximum battery life. The backlight will also turn red to visually indicate when the batteries need to be changed.
How will I know if the batteries need to be changed?
- The backlight will turn red to visually indicate when the batteries need to be changed.
How does the “Jogger button” (DELAY button) work?
- When the “Jogger Button” (DELAY button) is pressed – the user will have 10 seconds before the door begins to move. The delayed movement could be an upward or downward movement depending on the position of the door when the button is pressed. Press the button up to 3 times for a maximum of 30 seconds before the door moves.
How do I stop the door if I have already pressed the “Jogger button” (DELAY button)?
- The delay function can be stopped by pressing the DOOR button on the same wall console.
After I press the “Jogger button” (DELAY button), how will I know my time is
up and the door will begin to move?
- After the DELAY button is pressed, the wireless wall console backlight will proceed to flash once per second for 10 seconds, 20 seconds or 30 seconds depending on how many times you pressed it. The work light on the opener will flash 4-5 seconds prior to door movement to alert the user.
How do I clear out the wireless wall console from the opener head?
- In all IntelliG® and TriloG® operators (Models 3024, 3064, 4024, 4124, 4064, 4164), the wireless wall console will clear from the head in the same manner as other radio frequency (RF) devices (such as keypads or transmitters) clear out. This is also true of ReliaG® operators produced since the middle of 2018 (Models 1028, 2028, 3020, 3120). Please follow the instructions inside the manual to clear out RF devices.
- For any ReliaG® operators 2013 – mid-2018, the wireless wall console does NOT clear from the head in the same manner. The wireless wall console can be cleared from the opener head by using the specific process documented on the backside of the console. Please reference the label on the back of the console or the instructions for the wireless wall console.
When my Safe-T-Beam® system is obstructed, can I override them by holding down the DOOR button on the wireless wall console and force the door to close?
- This is called ‘constant contact to close’. The wireless wall console cannot perform this function with any opener manufactured prior to 2019. It may be performed with some openers manufactured 2019 +, please consult the opener manual to see if this feature applies to the unit you have.
What kind of batteries does the wireless wall console use?
- The wireless wall console operates with (2) common AAA batteries conveniently located underneath the battery cover at the front of the wall console.
-

Free Shipping
We offer FREE shipping and handling on all orders that total over $17.99 and are shipped to a US address. All orders are shipped using UPS ground, directly from The Genie Company.
-

Genuine Replacements
Buying GENUINE Genie accessories and parts guarantees that you are getting quality OEM materials backed by a Genie warranty.
-

Support
Need assistance? We are here for you! We offer a wide range of customer support options including contact by phone or email, web chat services with a live agent, and a robust support section also located on our website. All customer care teams and services are based in the USA.

