| Problem |
What to Do |
| Opener does not run from the remote control |
- Check power source: If the garage door opener is plugged into an outlet- plug a lamp into the outlet used for that powerhead. If the lamp glows, power source and outlet are ok. If it does not, check the fuse, circuit breaker or non-compatible GFCI.
- If the garage door opener is wired directly (connected to a wiring box); check that the fuse is not blown or that the circuit breaker is ON and not tripped off.
- If the power source is OK, Check connections at the powerhead terminals (see wall console installation on Page 18, tightening any loose connections. Check connections at the wall console terminals- tighten any loose connections.
|
| Door Opener Starts for no apparent reason |
- Check Wires to ensure that they are not cut (staples can cut insulation and short wires).
- Replace any shorting staples and shorted wires.
- Was the remote control lost or stolen? If so, erase all remote controls codes from receivers memory and reprogram for the remaining remote controls. (See erase all receiver memory on page 22).
- Ensure that no buttons are stuck "pushed in" on wall console or any handlheld remote controls.
|
| Door Starts down, then stops before it completely closed |
- Check close limit switch setting (see set limit switches and force controls on page 20) Adjust as needed.
- Check for shorted wires
- Check the garage door for binding
|
| Door Starts Down, then stops and goes back up |
- If installation is new, check the door arm position
- Check operation of the contact reverse function
- Check Safe-T-Beam system for beam obstruction or misalignment of lenses.
- Check Safe-T-Beam system diagnostic code.
- Check close force adjustment (see set limit switches and force controls on page 20). Adjust as needed.
- Check garage door for binding.
|
| Door will only run closed |
- Check open limit switch for a short circuit and for proper wiring.
- Check open force adjustment (see set limit switches and force controls on page 20.) Adjust as needed.
- Check condition of the garage door and garage door spring(s).
- Warning: If you suspect a problem with the garage door hardware or springs, contact a Genie Factory authorized dealer for service, or contact Genie Customer Service.
|
| Door will only run open |
- Check Safe-T-Beam system as detailed in the Safe-T-Beam self diagnostic troubleshooting chart. (see Safe-T-Beam system self-diagnostic troubleshooting section on page 24).
- Check close limit switch for a short circuit and proper wiring.
- Check close force adjustment (see set limit switches and force controls on page 20). Adjust the force as needed.
|
| Lights will not go out |
- Disconnect wires connected to the wall console. (see wall console installation on page 18 for help). Check their condition and replace or reconnect.
- Until a replacement wall console can be obtained if needed, disconnect the wall console and use only remote controls or wireless keypad to operate the garage door opener
|
| Door Starts Up, but stops before it is completely open |
- Check that both the garage door and opener are n good repair, properly lucbricated, and propery balanced as detailed in the maintenance section.
- Warning: If you suspect a problem with the garage door hardware or springs, contact a Genie Factory authorized dealer for service, or contact Genie Customer Service.
- Check open limit switch for a short circuit and for proper wiring.
- Check the open force adjustment. (see set limit switch and force controls on page 20.) Adjust the force settings as needed.
|
| Operator runs, but door does not move |
- Ensure magnetic carriage assembly is engaged to the rail drive screw (refer to install magnetic carriage assembly onto rails on page 10).
- Check force adjustments (see set limit switches and force controls setting on page 20.) Adjust these force settings as needed.
- Check that all sections of the Screw Drive Rail are turning when the motor runs. If not:
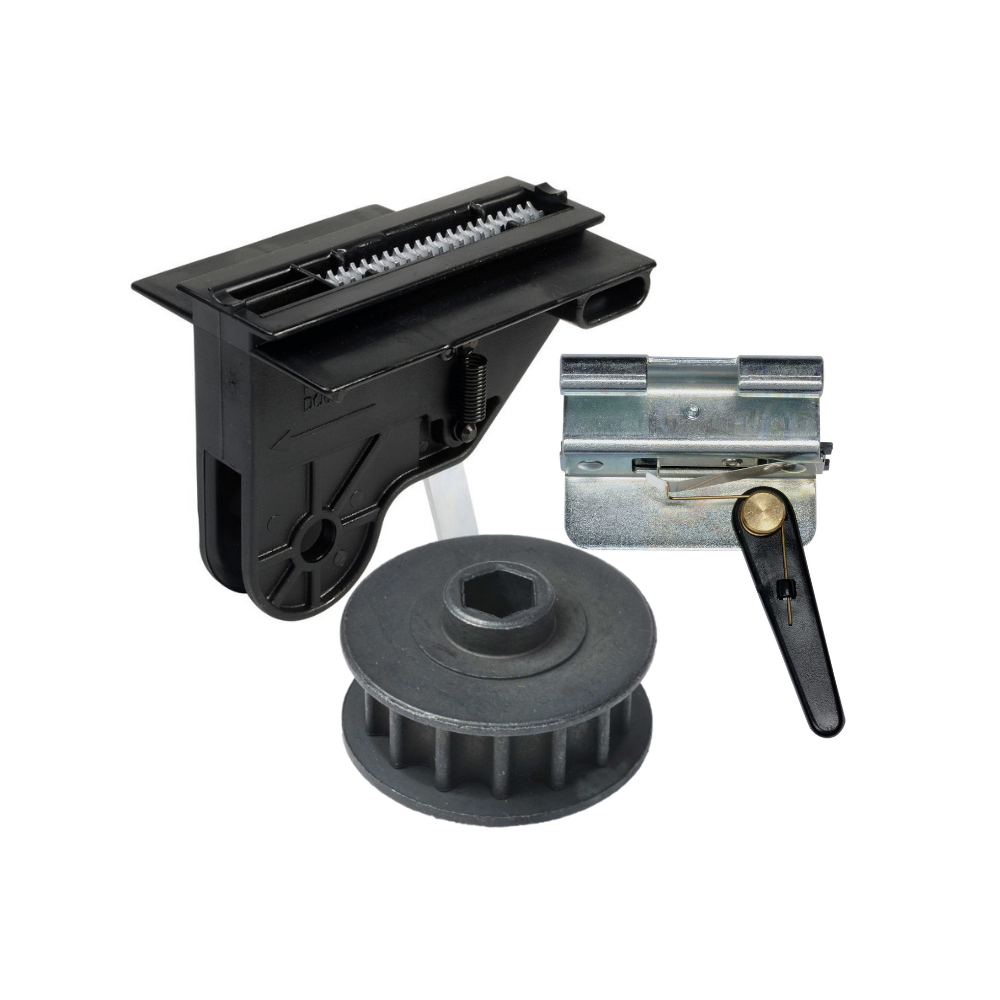
- Check condition (not cracked, split, or broken) and placement of coupler. (part # 30257T.S) Replace as needed.
- Check condition (not cracked, split, or broken) and placement of collar and clips. (part #'s 19807A04.S and 19806A04.S). Replace these as needed.
- Check the Screw Drive Carriage (part # 36179R.S)- if the motor is running and the screw drive is turning inside the rail - then the carriage most likely needs to be replaced.
|
| Wakk Console Vacation Lock function does not work |
- Ensure magnetic carriage assembly is in contact with the close limit switch.
- Check when the garage door is fully closed, that the carriage activates the close limit switch. If not, adjust the position of the close limit switch. (See page 19)
|
| Remote control has less than 25' operating range |
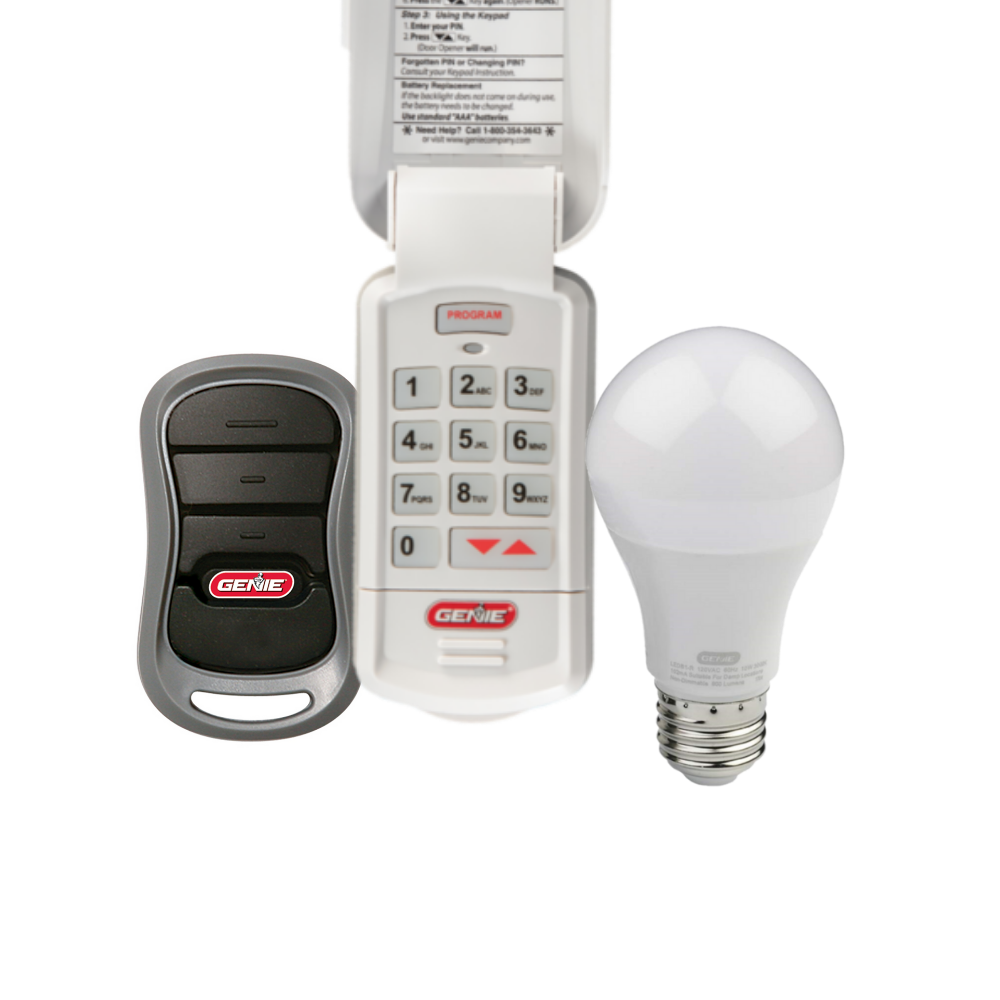
- Relocate the remote control inside the car.
- Ensure the remote control is pointing toward the garage door when pressing the control button.
- Replace the remote control battery. (Type A23 for the original remotes). See page 22
- Reposition the antenna wire.
- Do not attempt to retune remote controls or receiver.
|
| Opener works from wall control, but not from remote control |
- Program code for each remote control into receiver memory (See programming the remote control on page 22).
- Replace the garage door remote control battery. (Type A23 if it is the original remote). See page 22 for details
- Check the Safe-T-Beam system for beam obstruction or misalignment of lenses.
- Check the Safe-T-Beam system for any diagnostic codes (both LED lights should be solid). If diagnostic code is present, troubleshoot as detailed in the Sae-T-Beam system self diagnostic troublshooting chart (see page 24).
|
| Door Closes, and opener shuts down |
- Check position of the Series II multi function wall console vacation lock switch. It must be in the UNLOCKED position for the garage door opener to open the garage door.
|


