

The Genie Company
GK-R Keyless Entry and GM3T-R Remote Pack
GK-R Keyless Entry and GM3T-R Remote Pack
Couldn't load pickup availability
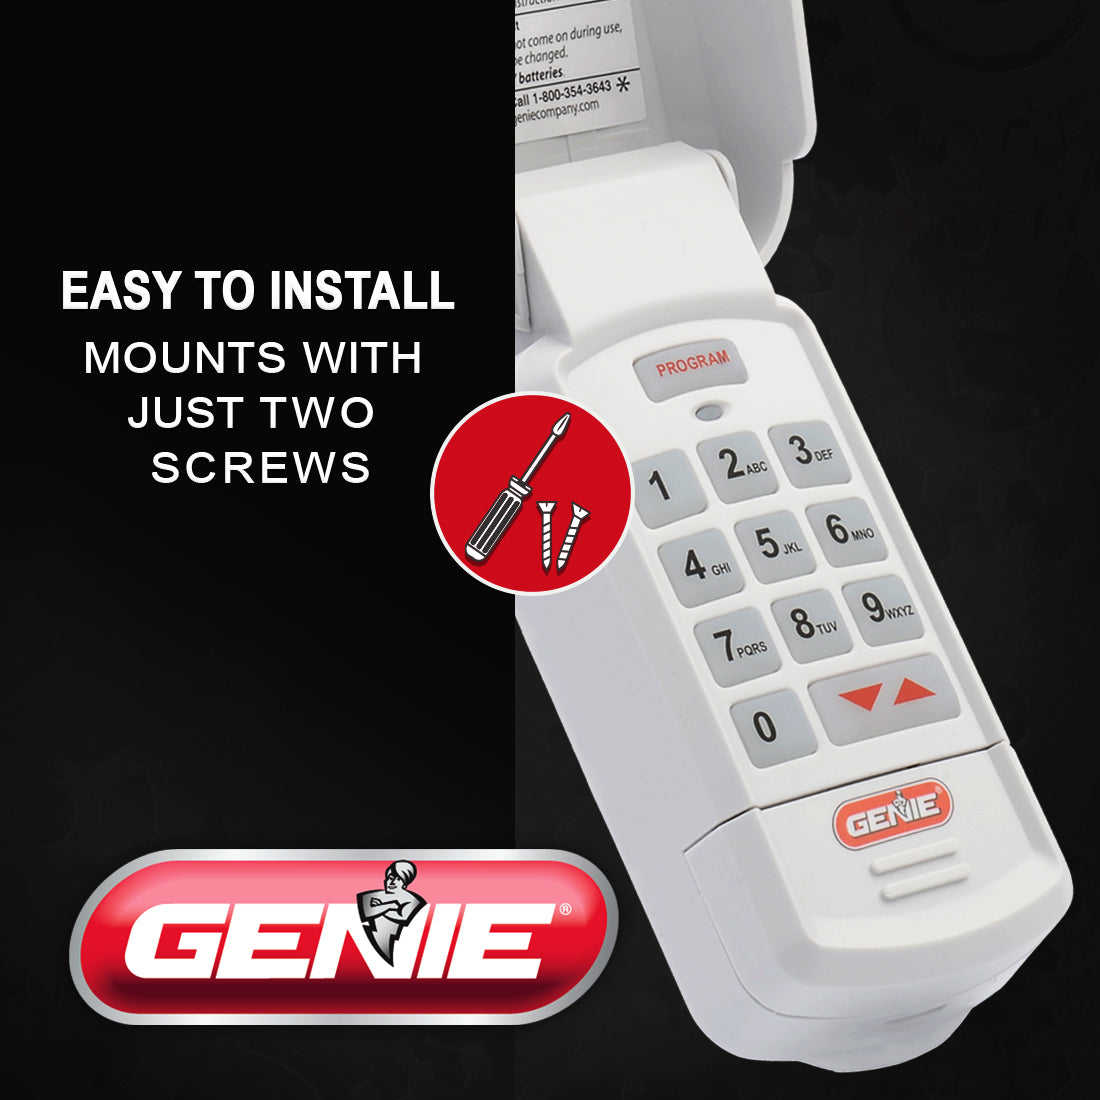
- Easy Installation! The accessories included have easy installation and simple programming, plus detailed, illustrated programming instructions are included. It makes a great weekend DIY project.
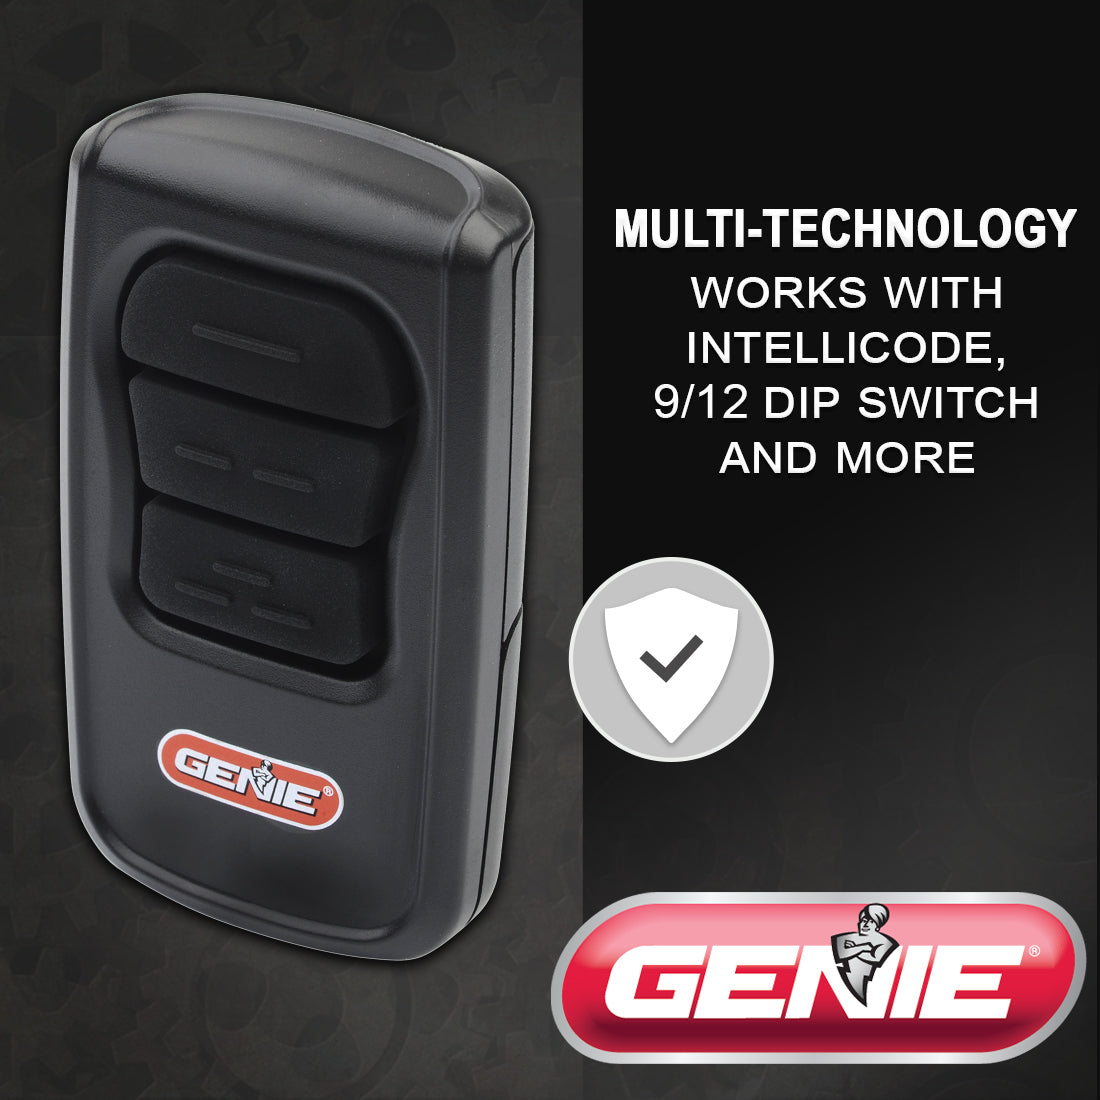
- Both of the garage door accessories are compatible with most Genie openers. The keypad works with all Genie Intellicode models, and the Master remote works with Intellicode and 9/12 dipswitch Genie models.
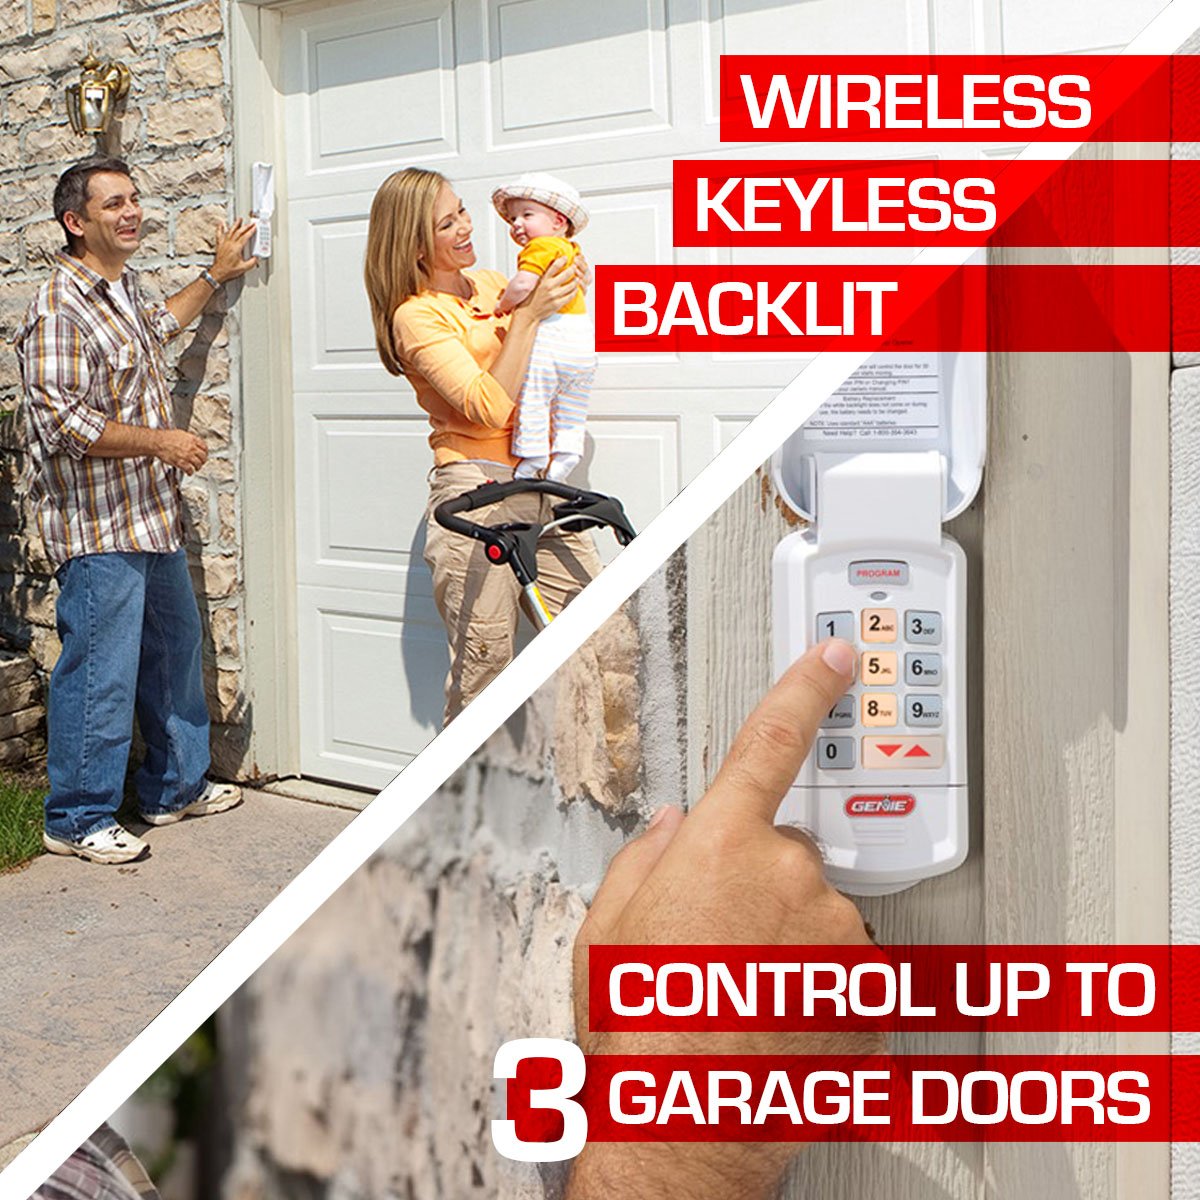
- The wireless keypad features a back-lit keypad, making it easy to see the numbers even in the dark.
- The small compact remote has 3 large buttons for operating up to 3 Genie systems, all the same or all three different
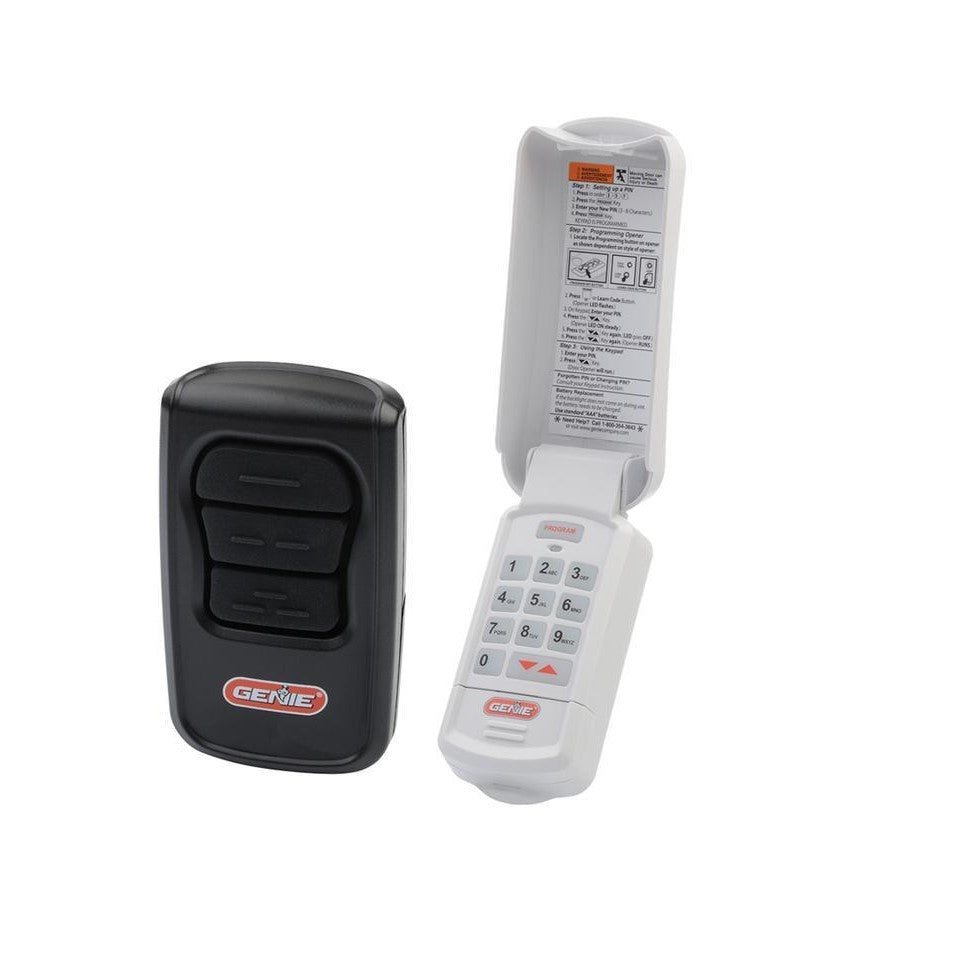
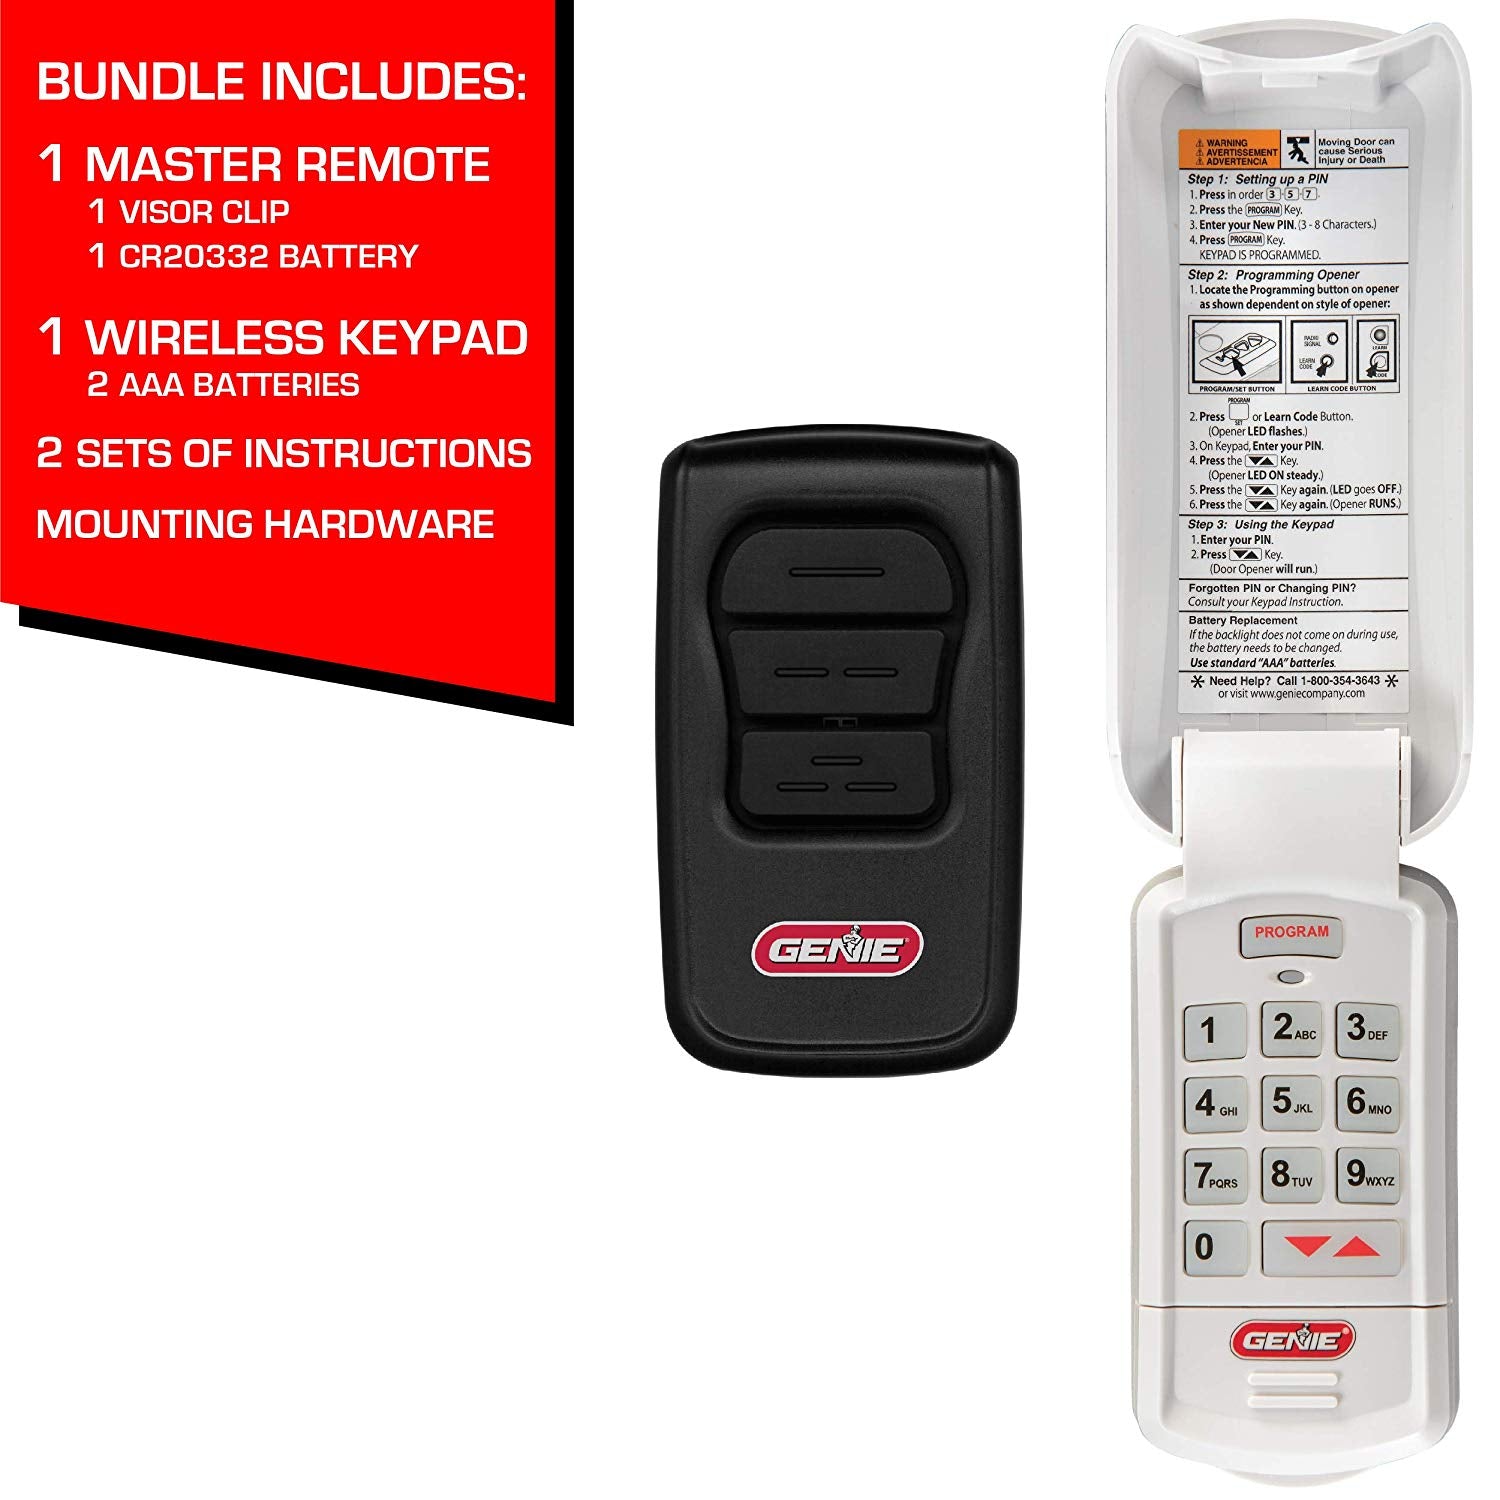
- With this bundle you will receive, 1 Keypad with 2 AAA batteries and mounting screws, 1 GM3T-R remote with battery and visor clip, along with programming instructions.
- Genuine Genie Accessories
- Models GM3T-R and GK-R
- ⚠ California Residents: Proposition 65 WARNING
Dimensions
Dimensions
Size:
5.022"L x 3.080"W x .833"H
Fits over standard junction box
UPC: 050049021412
SKU: 39911R
In Stock! Usually ships within 24 hours.
ASK A QUESTION View full details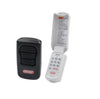


Programming the Genie GK Wireless Keypad Video
This video is helpful for installing and programming the Genie Wireless Keypad to your garage door opener. This GK-R keypad will work with the new model and older model Genie garage door openers. The instructions in this video will help you with both new and old-style Genie Intellicode garage door openers. Use the guide below to go straight to the steps if you are programming the new keypad, changing the pin or factory resetting an already installed keypad.
GK-R (Genie Garage Door Opener Keypad) Programming Quick Reference Card

*It is recommended to complete the programming before mounting the keypad.

Activate the Genie wireless keypad (GK-R) by opening the battery cover compartment and pull the protective tab. Reinstall the battery compartment door to begin programming.

Keypad LED'S
Successful Entries
The keypad LED will flash each time a key is pressed and entry is accepted.

The Keypad LED and PROGRAM key will flash slowly and the number pad backlight will remain on for 15 seconds indicating a successful program or valid pin number has been entered.

Failed Entries
The Keypad LED, PROGRAM key and Number pad black light will flash rapidly indicating a problem with the programming or invalid PIN entry.
- Wait 15 seconds until the backlighting shuts off before entering a valid PIN or resetting the keypad to reprogram.

How to program the Wireless Keypad, Genie garage door openers
For use with Genie Intellicode® garage door openers
STEP 1) PROGRAMMING A PIN NUMBER
Program the keypad for the first time* with a Personal Identification Number (PIN). This PIN must be 3 to 8 digits.
1. Ensure number pad backlighting is off.
2. Press 3-5-7 in sequence.
3. Press the PROGRAM key. LED will blink once per second.
4. Enter a PIN number (3-8 digits).
5. Press the PROGRAM key. LED will blink twice and shut off. • The keypad is now programmed with a PIN number and ready to program to the garage door opener(s).
• See STEP 2A to program 1 Opener.
• See STEP 2B PROGRAMMING FOR MULTIPLE OPENERS if using the keypad to operate up to 3 doors.
• If LED did not blink twice and shut off, please see RESETTING THE KEYPAD (FACTORY DEFAULT) section
STEP 2A) PROGRAMMING THE KEYPAD TO 1 OPENER- (if you have more than one garage door skip to the next step.)
1. Place garage door opener into PROGRAMMING MODE as illustrated below.
2. Ensure number pad backlighting is off.
3. Enter the PIN number on the keypad.
4. Press the UP/DOWN key 3 to 4 times slowly until the garage door opener operates.
• This completes the programming of a single door. See STEP 3 SINGLE DOOR OPERATION for further instruction
|
Putting the garage door opener into programming mode. |
|
Current Production Garage Door Openers
There are 3 types of programming button pads. Type 1 is shown in these steps. All buttons perform the same function and programming is the same for all types shown above. Place the garage door opener into programming mode. Type 1-2-3 1. Press and hold the program button until the round LED turns blue, then release.
2. The round LED will go out and the long LED will begin flashing purple. 3. Return to STEP 2A or 2B.
|
|
-OR- |
|
Garage Door Openers manufactured between 1995 to 2011 and all external receivers Note: The learn code buttons are normally located under the lens covers on earlier models. Place the garage door opener into programming mode: 1. Press & Release the learn code button once. The red LED will begin to flash.
2. Return to STEP 2A or 2B. Note: The openers LEARN LED will time out in 30 seconds. Programming the keypad to the opener must be completed within the 30 seconds. |


STEP 2B) PROGRAMMING THE KEYPAD FOR MULTIPLE OPENERS (UP TO 3)
Program the keypad with a Personal Identification Number (PIN) as described in step 1. (This pin number will be the same for all the doors.) Then follow these additional steps.
1. Ensure number pad backlighting is off.
2. Enter PIN as programmed in STEP 1.
3. Press the PROGRAM key twice. LED will blink once per second.
4. Enter the total number of openers that keypad will be operating. (2 or 3).
5. Press PROGRAM key once. LED will blink twice and shut off.
• NOTE: Only one PIN number can be used.
• The keypad is now programmed with a PIN number and set up for multi opener operation. The keypad is now ready to program to multiple garage door openers.
• If LED did not blink twice and shut off, please see RESETTING THE KEYPAD (FACTORY DEFAULT) section.
PROGRAMMING THE KEYPAD TO MULTIPLE OPENERS (UP TO 3)
1. Place desired garage door opener (1, 2, or 3) into PROGRAMMING MODE.
2. Ensure number pad backlighting is off.
3. Enter the PIN number on the keypad.
4. Press the UP/DOWN key once.
5. Press the number of the desired door (1, 2 or 3).
6. Press the UP/DOWN key 3-4 times slowly until the garage door opener operates.
• Repeat steps 1 through 6 to program second and third openers.
• This completes the programming of multiple doors. See STEP 3 MULTI-DOOR OPERATION for further instruction.
STEP 3) OPERATING THE KEYPAD WITH THE OPENER(S)
Single Door Operation:
1. Ensure number pad backlighting is off.
2. Enter the PIN number.
3. Press the UP/DOWN key.
4. The opener will operate.
Multi-Door Operation:
1. Ensure number pad backlighting is off.
2. Enter the PIN number.
3. Press the UP/DOWN key.
4. Press number key corresponding with the desired door (1, 2, or 3).
5. The desired opener will operate.
NOTE: Keypad will remain active for 15 seconds after a successful entry is made. During this 15 seconds, ANY key will operate the opener.
* RESETTING THE KEYPAD (FACTORY DEFAULT):
If the keypad has already been programmed or at any time the programming should be erased and started from the factory default, follow these steps.
1. Ensure that the number pad backlighting is off.
2. Press and hold the PROGRAM and UP/DOWN Keys together for approximately 5 seconds.
3. The LED will flash twice and all lights will go out indicating the keypad has been reset.
4. Start at STEP 1 to program a new PIN number
*REPLACING THE WIRELESS KEYPAD BATTERIES
If the keypad backlighting fails to operate, the batteries may require replacing.
Programming will not be lost during battery change.
The GK-R Genie wireless keypad uses two AAA batteries (36863A.S).

1. Remove the battery cover and batteries.
2. Replace the batteries with the same type alkaline AAA and check for proper direction of (+) and (-) terminals.
*Rechargeable batteries are not recommended.
Genie Master Remote (GM3T-R) Programming Instructions
GenieMaster™ Transmitter OPERATION
A. For use with Intellicode® 1 Openers—
The Remote comes from the factory in the Intellicode® 1 Operating Mode. The Intellicode®1 Mode is indicated by a RED LED on the remote whenever a button is pressed (FIG. 2).
Program it as you would any Intellicode® 1 remote using the following steps:
1. Locate the Learn Code Button and Learn Code Indicator LED on your opener’s powerhead (FIG. 1) (See owner’s manual).
2. Press and release the Learn Code Button—the Learn Code LED will blink rapidly.
3. Press and release a Remote Button, (FIG. 2)—the Learn Code LED will stay on (stops blinking)
4. Press and release the same Remote Button again—the Learn Code LED will turn off.
5. Press and release the same Remote Button again—the Door Opener will run.
NOTE: Each opener must have its own assigned Remote Button. To program additional openers, repeat the steps above using a different Remote Button.


B. For use with Intellicode® 2 Openers—
The button or buttons on your remote that you wish to use to operate Intellicode® 2 openers, must be switched to the Intellicode® 2 Operating Mode. The Intellicode® 2 Mode is indicated by a GREEN LED on the remote whenever a button is pressed (FIG. 2).
To shift to Intellicode® 2 mode:
1. Press and hold the chosen Remote Button—A steady RED LED will be illuminated and after 10 seconds— a GREEN LED will also illuminate.
2. Release the button.
3. Press and release that same button again TWICE—the remote’s LEDs will both turn off.
4. Press and release that same button again—the remote’s GREEN LED will light while you press that button indicating it is now in Intellicode® 2 mode.
To program the remote to an opener:
1. Press and hold the PROGRAM/SET (FIG. 1) button on opener’s powerhead for 2 seconds or until the round LED turns BLUE. When you release the button the BLUE LED will go out and the LONG LED will turn PURPLE.
2. Press and release the Remote Button you want to assign to that opener.
3. Press and release that same button. After releasing the button the second time, the LEDs will both be off.
4. Press and release that same button again—the Door Opener will run.
C. For use with Openers having a row of Code Switches (9 or 12 switches).
(If you already have a working “code switch” remote, simply match your new GenieMaster™ Remote switches to those on your existing remote and proceed to step 4.)(FIG.3)
To operate a Code Switch equipped operator:
1. Open the opener’s light lens in order to gain access to its row of Code Switches. These are 3 position switches (+, – and 0).
2. Slide off the rear cover of the remote (FIG. 3).
3. Set the Code Switches positions in the remote to match those of the switches in the opener. (If you are working with a 9 switch operator, set the remote switches 10, 11 and 12 to the center or “0” position)
4. Locate the non-rolling code button label inside the Rear Cover (FIG. 3).
5. Press the non-rolling code button B, C or D (FIG.3) that matches the appropriate code switch description on the label. The YELLOW LED next to the battery will begin flashing.
6. Press and release the Remote Button you want to assign to that opener—the GREEN LED on the remote will flash for approximately 2 seconds and stop.
7. Pressing the same button again will operate the opener—The RED LED on the remote will flash while the button is pressed.
D. Replacing the Battery. (Programming is not affected by battery replacement.)
1. Slide the Circuit Board Cover off the back of the remote (FIG. 3).
2. Slide the old battery toward the bottom of the remote and out.
3. Properly discard the old battery.
4. Slide a new (2032 size) battery into position and slide the Cover back on
E. Resetting the Remote
To return a Remote Button to its original Intellicode® 1 mode:
1. Slide the Circuit Board Cover off (FIG. 3).
2. Press the DEFAULT button—the yellow LED will flash.
3. Press the Remote Button you wish to reprogram. It's now Intellicode® 1 again.

-
Easy to Install
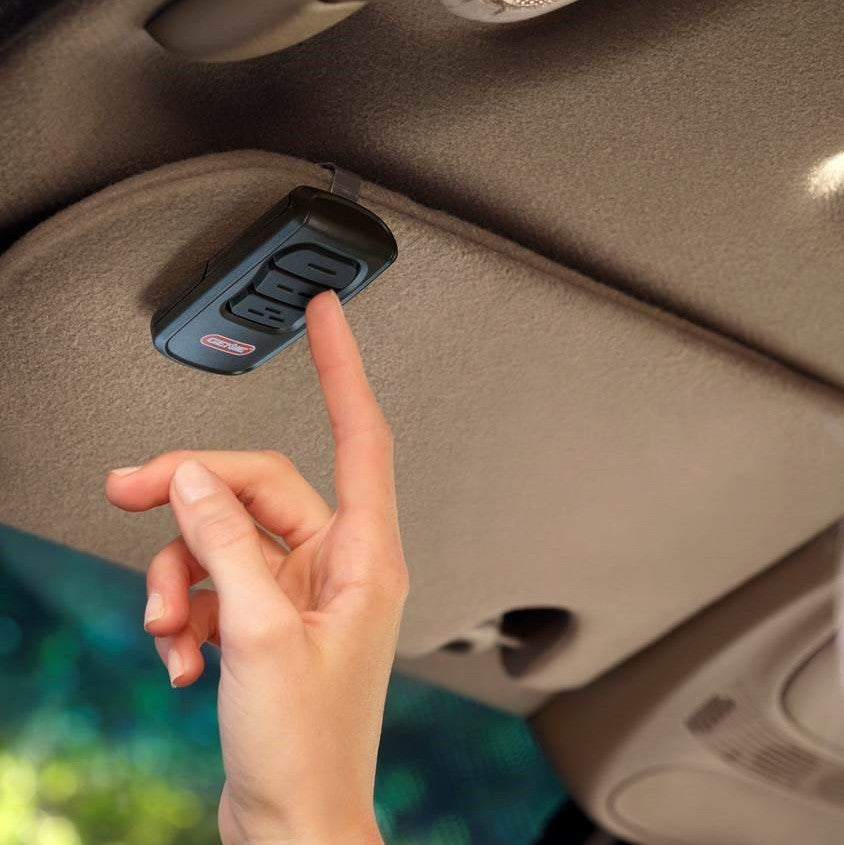
Both Genie products are a breeze to install and program. The wireless keypad will mount to the outside of the garage, and the three button remote includes a visor clip to hang in your vehicle!
-

Multi-Functional
Both the GK-R wireless keypad and GM3T-R Master remote can operate up to 3 different garage doors. The keypad allows for safe and secure pin code access and the remote is perfect to take along with you on the go.
-
Compatible
The Genie Master Remote works with most Genie garage door openers ever made. It works with Intellicode® and 9/12 dip switch Genie models. The wireless keypad also works with all Genie Intellicode models.
